To replace your Hyundai Sonata’s headlight bulb, first identify the correct type—2011-2017 models use 9005 high beams and H11 low beams, while 2018-2019 use similar configurations. You’ll need basic hand tools, gloves, and safety glasses. Turn off the engine, open the hood, and remove the dust cover from behind the headlight assembly. Disconnect the electrical connector, release the retaining clip, and install the new bulb without touching the glass. Secure everything, then test both beams to verify proper operation and alignment for ideal nighttime visibility.
Identifying the Correct Bulb Type for Your Sonata Model
Before you purchase replacement headlight bulbs for your Hyundai Sonata, you must identify the exact bulb type specified for your model year and trim level. Check your owner’s manual or the vehicle door jamb for OEM specifications, as bulb compatibility varies greatly across generations. For 2011-2017 models, high beams use 9005 (HB3), while low beams differ—2011-2013 standard models require H11/H8/H9, but hybrids need H7. The 2018-2019 models typically use 9005/HB3 for high beams and H11/H8/H9 for LED low beams. Older 2006-2010 Sonatas employ 9005 (HB3) high beams with H7 or H11B low beams depending on the year. Trim differences matter—Eco Hybrids and Limited editions may deviate from standard configurations. Verify HID presence before ordering, as these systems require different bulb types. The 2015 Sonata uses D3S and 9005 (HB3) for its headlight configuration. Consider factors like brightness levels, color temperature, and lifespan when evaluating upgrade options such as halogen, LED, and HID alternatives to ensure you select bulbs that meet your driving needs and comply with DOT regulations for road safety.
Gathering Necessary Tools and Safety Equipment
Having confirmed your bulb specifications, you’ll need to assemble the right tools before opening the hood. Proper tool organization streamlines the replacement process and prevents mid-job interruptions. Gather a flat blade screwdriver for prying clips, Phillips head for securing components, and circlip pliers for retaining rings. Include a trim tool set to remove interior panels without damage.
Safety protocols require specific protective equipment. Wear safety glasses to shield against debris and work gloves for hand protection. Use a headlamp for low-light access points. Keep wheel chocks positioned to stabilize the parked vehicle. When upgrading to LED bulbs, be aware that dashboard warning lights may appear due to electrical system compatibility issues.
For bulb handling, gloves prevent oil transfer to halogen elements. Prepare 9005 bulbs for 2015-2019 low beams and dust caps for sealing. A 14-gauge wire harness enables plug-and-play installation on compatible models. After installation, verify that your LED bulbs match the factory bulb type to maintain proper reflector function and beam pattern.

Fit For - These light bulbs combo compatible with Hyundai Sonata high and low beams 2015 2016 2017 2018 2019 2020 2021 2022. Our bulbs are suitable for Off-Road use only. If you need assistance or have any questions, please contact us via Amazon message for a free kit.

Fit For - These light bulbs combo compatible with Hyundai Sonata high and low beams 2011 2012 2013 2014. Our bulbs are suitable for Off-Road use only. If you need assistance or have any questions, please contact us via Amazon message for a free kit.

【Perfect Fit for Hyundai Sonata】The package includes 6pcs bulbs for fog light high/low dual beam bulbs combo, perfectly compatible with Hyundai Sonata 2011 2012 2013 2014 original halogen bulb replacement[Note: The same vehicle model may use xenon or halogen lamps, if your bulb is xenon light, it is not suitable for replacement and only suitable for halogen bulb replacement]
Preparing Your Vehicle for Bulb Replacement
Once you’ve assembled your tools, position the Sonata on level ground and engage the parking brake to prevent vehicle movement during the procedure. Turn off the engine, remove the ignition key, and switch off all lights to eliminate electrical hazards. Pull the interior hood release, then disengage the secondary latch beneath the hood’s front edge. Secure the prop rod in its designated holder, ensuring hood safety throughout the replacement process.
Clear debris from the engine bay surrounding the headlight assembly. Maintain workspace organization by staging your flashlight, gloves, and cell phone within arm’s reach. Wear gloves to prevent skin oils from contaminating the new bulb‘s glass surface. Avoid touching the glass part of the halogen bulb with your fingers, as oils can cause premature bulb failure. Before beginning work, identify the correct bulb type for your Sonata model to ensure proper compatibility and performance. For the 2015 Hyundai Sonata, verify that your replacement bulbs meet DOT regulations to maintain legal compliance and optimal nighttime visibility. The passenger side low beam offers easier access, while the driver side may require air intake repositioning.
Replacing the Passenger Side Headlight Bulb
With your workspace prepared and safety measures in place, begin the passenger side replacement by locating the round black dust cover on the rear of the headlight housing. Twist it counterclockwise half a turn until loose, then remove completely. Grasp the electrical connector‘s black housing and pull straight off the bulb base. Release the retaining clip by pressing down and swinging it outward, then extract the old bulb straight out, noting its orientation tab.
For ideal bulb longevity, handle the replacement 9005 halogen by its base only—never touch the glass envelope. Align the positioning notch with the socket slot, insert the bulb, and secure the retaining clip. Reconnect the electrical connector until it snaps firmly. Replace the dust cap by twisting clockwise. To maintain a waterproof seal, ensure the dust cover is fully seated before testing the headlights. After completing the installation, take a picture to confirm proper bulb positioning and secure assembly. For consistent lighting performance across both headlights, consider replacing bulbs in pairs to ensure uniform brightness on your vehicle. This straightforward headlight maintenance typically requires 5-10 minutes completion time.
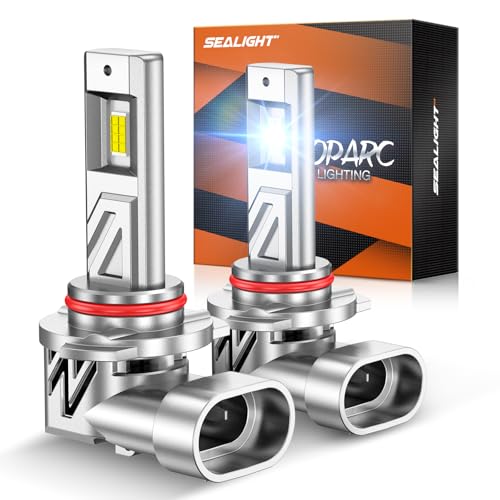
1200% Super Brighter: SEALIGHT 9005/HB3 bulb with upgraded chips, 70,000LM brightness and 6500k cool white that provide instant brightening, allowing you to see the road ahead with crystal clarity
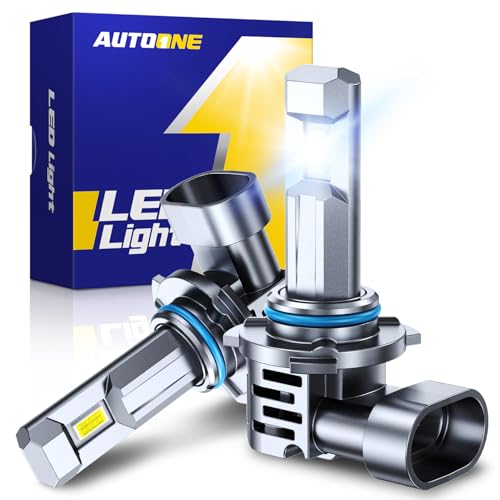
Great Brightness - 36000 Lumens
[Exact Fit for your car]: Our lights provide you with a perfect 1:6 Compatible for hyundai sonata 2015-2022. Enjoy bright and clear lighting with our lights to enhance your driving experience.
Replacing the Driver Side Headlight Bulb
The driver-side headlight bulb replacement follows the same fundamental procedure as the passenger side, though limited working clearance often complicates access. Twist the rear access cap counterclockwise and remove it—improper reinstallation later can cause headlight fogging. Unplug the electrical connector by pulling straight off, then depress the retaining clip or rotate the bulb to release. Note the base’s orientation tabs before removal. Verify your bulb type (typically 9005 for 2015–2017 models) and match OEM wattage to preserve bulb lifespan and prevent optics damage. Wear gloves to avoid skin oils on halogen glass, which create hot spots and shorten service life. Consider upgrading to projector headlight assemblies for enhanced light output and better road illumination compared to standard reflector designs. Always replace bulbs in pairs to maintain consistent lighting intensity across both headlights. Align tabs precisely when installing the new bulb, fully engage the lock, and confirm the cap seals completely to prevent moisture entry.

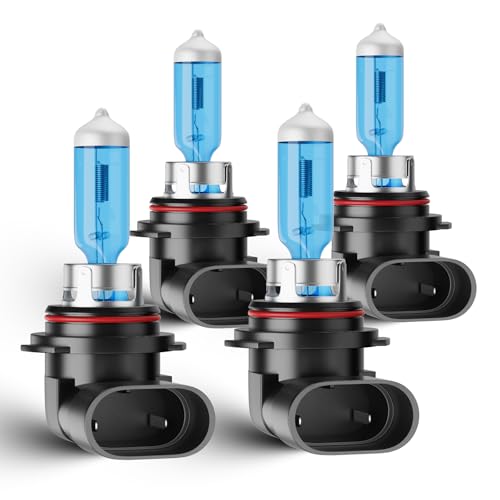
[Ultra Bright White Light]: 9005/HB3 Halogen headlight bulb, filled with 25% xenon which lead to 80% more light output than standard bulbs. 4300K warm white light provides perfect light pattern and excellent performance.

【Visual Enhancement】: The OKOENIEO 9005 HB3 halogen bulbs are 200% brighter than other halogen bulbs, providing drivers with a wider and farther field of vision. Offering a greater visibility, they allow drivers to spot deer, wildlife, falling rocks, or obstacles ahead of time, ensuring safer nighttime driving.

60,000 Hours Lifespan: Thanks to the fanless, aerospace-grade aluminum body with a hollow-carved structure, heat is dissipated naturally and efficiently without any moving parts. This advanced passive cooling system eliminates the risk of fan failure, ensuring long-term reliability and consistent performance. Enjoy a durable, maintenance-free lighting solution.
Installing and Securing the New Bulb
Proper bulb insertion begins by aligning the base tabs with corresponding notches in the socket housing—misalignment prevents full seating and causes intermittent contact. Position the notch on the bulb base pointing downward to establish correct bulb orientation. Avoid touching the glass surface, as oil contamination reduces lifespan. Once seated, snap the electrical connector onto the base until it clicks, confirming a secure lock without forcing.
Activate the securing mechanism by flipping the retaining clip over the bulb, ensuring all three black tabs lock behind the metal retainer. Hinge the clip on the screw side and work it back under the frame. Install the dust cap with the arrow at 9:00, then twist clockwise until the arrow reaches 12:00. Verify all tabs engage properly before testing. Wearing protective gloves during installation helps preserve bulb longevity and prevents skin oils from transferring to the glass surface.
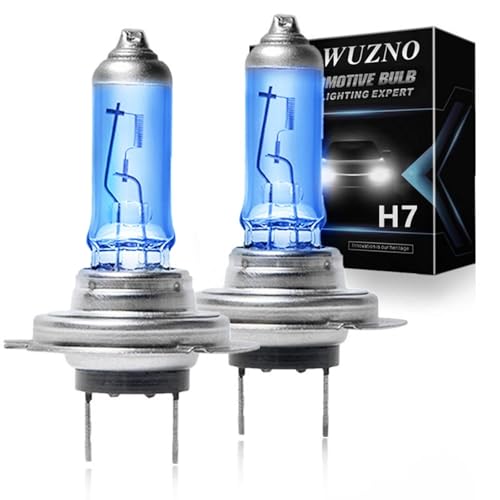
Fit Hyundai Sonata 2011 2012 2013 2014,High Beam H7, Low Beam H7 Lights 6000k White

Lights Dim Over Time, Replace In Pairs: Your lights are a pair, one is never turned on without the other. If one bulb burns out, the other isn't far behind. Replace your H7 XtraVision Halogen bulbs in pairs for optimum performance.

Fit for 99% of vehicles - SYJIIP Halogen headlamp are close to the wattage of the stock halogen headlamp bulb, which can reduce the occurrence of CANBUS problems, avoid erroneous and flickering. As long as your stock light bulb model is the same as ours, then SYJIIP's light bulb will be suitable for your car.
Testing and Verifying Proper Headlight Function
After securing the new bulb, you’ll need to verify proper operation before reassembling the headlight housing. Reconnect the battery if you’ve disconnected it during replacement. Start your engine and activate the headlight switch to test both low and high beams. Inspect the beam pattern and alignment from multiple angles to guarantee proper illumination.
If you’re experiencing issues, perform continuity testing by disconnecting the bulb and using a multimeter in continuity mode. Touch probes to the socket terminals—a beep confirms a functioning bulb. For resistance testing, set your multimeter to ohms and check the socket wires. Low resistance near zero indicates proper function, while infinite resistance signals a faulty bulb. When upgrading to higher-performance options like LED and HID conversions, consider potential impacts on your vehicle’s electrical system. Verify both headlights operate correctly before finishing. For best results, use a flat wall or garage door positioned approximately 25 feet away to assess beam alignment and ensure even illumination without creating glare for other drivers. Regular headlight inspections help prioritize safety by ensuring optimal visibility during nighttime driving conditions.