
Park your vehicle on level ground 25 feet from a wall, then mark vertical and horizontal reference lines aligned with each headlight’s center. Locate the vertical adjustment screws on your headlight assemblies—turning clockwise raises the beam, counterclockwise lowers it. Position the brightest portion 2 inches below your marked horizontal line. Use horizontal adjustment screws to center beams on their respective vertical marks, making quarter-turn increments. Our extensive guide covers professional alignment techniques, compliance standards, and maintenance practices you’ll want to master.
Tools and Preparation You’ll Need
Before adjusting your car’s headlights, you’ll need specific tools that match your vehicle’s design and adjustment mechanism. Essential headlight tools include hex T-handle wrenches (typically 4-6mm for European and aerodynamic headlights), specialty ratchets with roller clutch features, and basic screwdrivers or sockets for accessing adjustment screws. Professional settings benefit from electronic alignment systems with laser guidance and visual meters offering ±0.1% vertical accuracy.
Critical preparation techniques involve positioning your vehicle on a level surface and verifying tire pressure to prevent stance-related misalignment. Remove excess weight, clean headlight lenses thoroughly, and measure the proper distance—approximately 20 inches—between headlights and reference points. If equipped, temporarily disable automatic leveling systems. Warm up your vehicle to operating temperature for real-world simulation conditions. Proper beam pattern accuracy ensures your headlights provide optimal visibility without creating glare for oncoming traffic. For many European vehicles with deeply recessed adjustment points, an extra long hex tool with a 300mm blade length provides the necessary reach to access hard-to-reach fasteners.

Blade-through-handle design for high torque applications

【Ergonomics T-handle Grip】:High-strength nylon mix with fiberglass makes handle working durable but comfortable.You could save strength by using WISEUP t-handle wrench without slip

MADE IN AMERICA- High quality, Industrial Grade Professional Tools made in the U.S.A
Creating Reference Points on the Wall
Creating accurate reference points on the wall forms the foundation for precise headlight alignment. Position your vehicle perpendicular to the wall at 25 feet distance on level ground. First, mark the vertical center reference point (YC) by aligning tape with your vehicle’s centerline—use the hood ornament or front emblem. Confirm perpendicularity by measuring equal distances from each front wheel to the wall.
Next, establish horizontal reference markings by measuring the distance between headlight centers and drawing a straight X-axis line connecting them. Add vertical Y-axis lines aligned with each headlight’s center, extending upward approximately 3 feet. Ensure your truck is parked on level ground with proper tire pressure and a full gas tank to maintain accurate positioning. Mark a horizontal line 2 inches below headlight height to define maximum acceptable beam cutoff for low beams. Label additional points as needed: “C” for lamp centers, “H-H” for horizontal reference. Keep these reference marks visible during adjustments to ensure accurate alignment throughout the process.
Adjusting Vertical Headlight Aim
Once you’ve established your reference points, locate the vertical adjustment screws on each headlight assembly under the hood. These screws typically require a Phillips screwdriver. Turning clockwise raises the beam; counterclockwise lowers it. Adjust each headlight so the most intense portion of the beam aligns just below your horizontal tape line—approximately 2 inches lower than the headlight center height. This downward vertical adjustment prevents dazzling oncoming drivers while maximizing road illumination.
For reflector headlights, position the sharp cutoff line along the marked horizontal reference. Projector LED headlights display a stepped cutoff that must be leveled according to your vertical tape marks. Fine-tune beam placement incrementally, checking alignment after each adjustment. Some LED assemblies feature VOL/VOR markings to guide proper vertical aiming direction. Understanding the color temperature of your headlight bulbs can also impact how beam cutoff lines appear during adjustment. Proper beam pattern and headlight housing design are essential to translate your lumen output into usable road illumination. Ensure the LED chips face the reflectors on both sides to maximize the efficiency of your beam pattern.
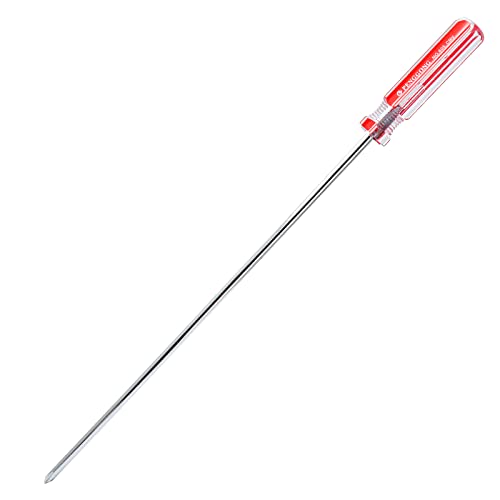
Package Content: 1 x Extra Long Phillips Screwdriver 10 Inch, which is the ideal size and length for the job. The longer length allows you to easily enter the place.
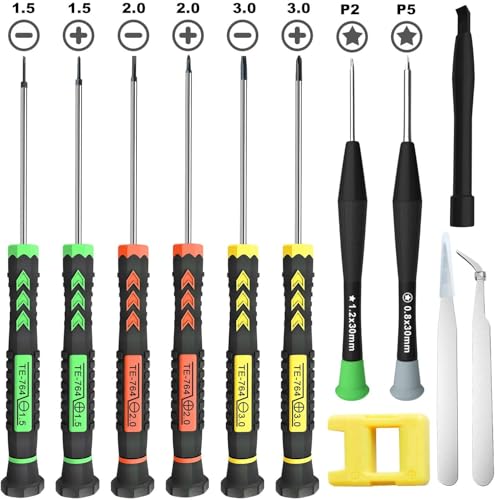
[Package Includes] – 1 x 3.0 Flathead Screwdriver, 1 x 2.0 Flathead Screwdriver, 1 x 1.5 Flathead Screwdriver, 1 x 3.0 Phillips Screwdriver, 1 x 2.0 Phillips Screwdriver, 1 x 1.5 Phillips Screwdriver, 1 x Pentalobe 2 Screwdriver, 1 x Pentalobe 5 Screwdriver, 1 x Helper Stick, 2 x Tweezers, 1 x Magnetizer & Demagnetizer Tool

STRENGTH AND DURABILITY: Made of heat-treated alloy steel
Fine-Tuning Horizontal Alignment
After completing vertical alignment, you’ll need to address horizontal beam positioning to guarantee your headlights illuminate the road effectively without creating hazardous glare for oncoming traffic. Locate the horizontal adjustment screws at the back or sides of your headlight assembly. Using a Phillips screwdriver or socket wrench, turn the screw a quarter turn at a time while monitoring the beam on your reference wall. The brightest portion should align slightly right of the vertical center line for proper beam spread and glare reduction. Adjust each headlight independently, ensuring the beam remains centered on its corresponding vertical tape mark. Avoid making adjustments on uneven surfaces or with improper vehicle load, as this compromises accuracy. Both headlights should produce an even, cutoff beam pattern that conforms to traffic regulations for optimal safety. For reference, position your vehicle approximately 25 feet from a wall to establish an accurate measurement baseline for alignment testing. Test your final alignment during nighttime driving conditions. Consult your owner’s manual for vehicle-specific horizontal adjustment procedures and specifications.

1 unit of front headlight adjustment screw driver tool ONLY for 2018-2022 JL.

Designed to check the alignment of Multi-V pulleys prior to fitting a new belt

【High Quality Material】The headlight horizontal adjustment screw is made of high-quality material, which is wear- and durable, not easy to be damaged, and has a long service life.
Safety Standards and Maintenance Tips
Proper headlight alignment must comply with Federal Motor Vehicle Safety Standard 108 (FMVSS 108), which establishes mandatory requirements for brightness levels, beam patterns, color temperature, and aiming angles across all vehicles operating on U.S. roadways. Legal compliance demands DOT-approved headlights emitting white or amber light between 2500K and 6000K, with high beams capped at 3600 lumens. You’ll maintain beam height within the 22–54-inch range to prevent excessive glare.
Maintenance importance extends beyond legal compliance. You should clean lenses regularly to prevent oxidation-related brightness reduction. Inspect bulbs for dimming or flickering, replacing them promptly to preserve visibility. Check headlight aim annually and after suspension or tire modifications. Use only manufacturer-specified bulbs and assemblies conforming to FMVSS 108. Consider upgrading to LED or HID alternatives for improved brightness and longevity compared to standard halogen bulbs. For daytime running lights, follow proper DRL bulb replacement procedures to ensure correct installation and function. Headlamps must provide selectable upper and lower beam distribution to ensure proper illumination under varying driving conditions. Protect headlight casings from cracks and moisture ingress, which compromise beam patterns and light distribution effectiveness.


