WD-40 can temporarily clean foggy headlights by filling surface micro-scratches with its petroleum-based formula, creating an immediate clarity improvement that lasts 5-10 minutes. However, it doesn’t remove the underlying oxidation layer or provide UV protection, so you’ll need to reapply it every few days. The oily residue also attracts dirt and washes off in rain, making it a cosmetic fix rather than a permanent solution. For severely oxidized lenses with deep pitting, WD-40 won’t produce meaningful results. Our extensive guide below explores proper application techniques, protective coatings, and long-term maintenance strategies.
What Causes Headlights to Become Foggy and Oxidized
Polycarbonate and acrylic headlight lenses undergo chemical degradation when ultraviolet radiation from sunlight breaks down the polymer chains at the surface—a process known as photodegradation. This oxidation process creates a yellowed, micro-roughened layer that causes light scattering and reduces beam intensity. Manufacturer-applied clear coats delay UV damage but eventually wear away from road debris impact, abrasive washing, and environmental contaminants like road salt and industrial pollutants. Once protective layers erode, oxidation accelerates. Mechanical micro-scratches from grit and sand compound the problem by increasing surface area exposed to oxygen and trapping dirt. Internal moisture intrusion through deteriorated seals produces condensation that further scatters light. Geographic factors matter—stronger UV regions and coastal salt exposure accelerate degradation. Without restoration or recoating, re-oxidation progresses faster as you’ve lost protective barriers. Many homeowners attempt temporary fixes using household items like WD-40, though these solutions typically require frequent reapplication. For lightly oxidized headlights, whitening toothpastes containing baking soda offer a budget-friendly alternative with mild abrasive properties that can remove surface haze. In severe cases, this degradation can reduce visibility by up to 50%, significantly compromising nighttime driving safety.

Full-Cycle Sanding Support - The car drill polishing kit featuring 3 inch sanding discs range 60/80/120/240/400/800/1000/1500/2000/3000/5000/10000 grit sandpaper for dry and wet use, with orbital sander pads, imitation wool buffing pad, and upgraded backing pads for 1/4 and 1/8 inch shank. Seamlessly transition from sanding to polishing.

KIT INCLUDES: 1 - Disc Pad Holder, 3.25 in (8,2 cm) 6 - 3M Gold Sanding Discs 500 Grit, 3 in (7,6 cm) each 4 - 3M White Finishing Discs 800 Grit, 3 in (7,6 cm) each 1 - 3M Trizact Refining Disc 3000 Grit, 3 in (7,6 cm) 2 - 3M Quick Headlight Clear Co

No Grinding, No Thinning – Just Lasting Clarity: Tired of complicated kits that force you to sand down your valuable headlight lens? Our revolutionary solution requires NO grinding, NO sanding, and NO damaging removal of your headlight's protective layer. Simply clean with our solution, rinse thoroughly, and apply the coating. You get a perfectly restored, like-new finish without compromising your headlight's structural integrity or future durability. It's safe, fast, and permanently effective
How to Apply WD-40 to Your Headlights
Applying WD-40 to headlights requires proper surface preparation to achieve temporary clarity improvement. Begin by wiping your headlights to remove surface grime, then mask surrounding painted areas with tape for protection. Ascertain the lenses have cooled if recently used. For controlled applicator techniques, spray WD-40 onto a folded paper towel rather than directly on the lens to prevent runoff. Apply the product evenly across the headlight surface using moderate pressure and circular rubbing motions. For enhanced headlight preparation on severely oxidized lenses, you can pair WD-40 with a drill-mounted polishing pad. After rubbing for several minutes, wipe off residue with clean towels. While WD-40 provides temporary haze reduction, it doesn’t offer long-term protection without subsequent waxing or clear coating. For long-term durability, consider reapplying a UV-protective clear coat after the WD-40 treatment to shield against sun exposure damage.

Instructions for Use: The first yellow drill attachment installed on the drill, cushion pad white surface and drill attachment black surface paste, use the first in the lamps on the spray water and then use the cleaning pad to dry in a circle, and then according to the grain size from small to large in order to use the waterproof abrasive disc on the lamps for polishing, and finally use the sponge polishing pad for polishing

【Package Contents】Include 25 x 3-inch foam polish pads, 2 x drill adapter, 2 x suction cup.
Package Includes: 8 pcs 3" Sponge Polishing Pads, 1 pcs Woolen Buffer Pad,1 pcs Drill Adapter,1 pcs Suction Cup
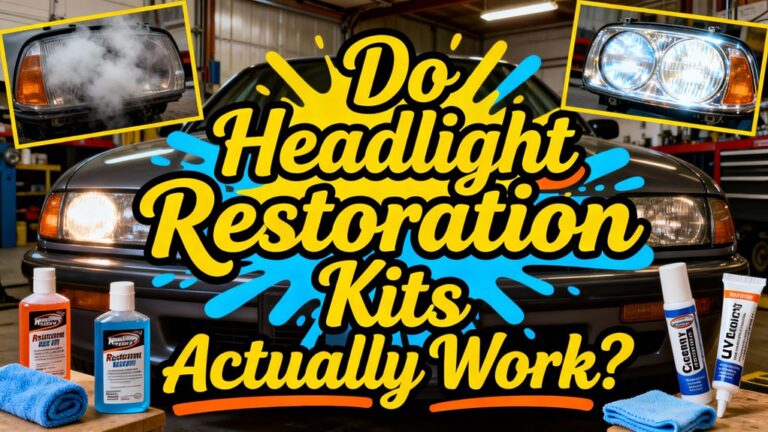
Real-World Results: Does WD-40 Actually Work
How effective is WD-40 when put to the test on oxidized headlights? The product delivers immediate visual clarity improvements by filling microscopic scratches and oxidation with its oil-based formula. After 5-10 minutes of dwell time, you’ll notice the treated surface appearing approximately 10 times clearer than untreated areas. However, this temporary effectiveness comes with significant limitations. The oily residue attracts dirt and grime, while the liquid coating washes off during rain or car washes, exposing scratches again. Without UV protection, sun damage continues unabated, causing the foggy appearance to return. For a genuinely permanent solution, the restoration process requires UV-resistant clear coat application after progressive wet sanding and polishing to prevent re-oxidation. WD-40 outperforms toothpaste in effort-to-result ratio, but both methods leave oxidized lenses with similar hazy outcomes. For deep UV-induced fogging, WD-40 proves ineffective compared to dedicated restoration systems with UV sealers.
Video Evidence and User Testimonials
Numerous automotive enthusiasts have documented their WD-40 headlight cleaning attempts on video, providing observable data points that align with the product’s temporary effectiveness profile. Video comparisons from sources like Car Addict Garage and Yak Motley demonstrate immediate haze reduction through masking tests, where treated halves show noticeably clearer lenses. The 2024 Sonoma Strong Hauling test on a Toyota Tundra achieved “brand new shiny appearance” results, while a 2011 Tacoma test yielded “ten times clearer” outcomes. However, user insights reveal critical limitations—Headlight Restoration Hacks notes the oil-filling effect that reverts after washing, and Car Addict Garage explicitly labels results as “quick temporary fix, not permanent.” Viral YouTube shorts garnering 1.7M views indicate widespread interest, though professional evaluations consistently emphasize WD-40’s non-permanent solution status for oxidized polycarbonate lenses.
WD-40 vs. Toothpaste and Other DIY Methods
When comparing WD-40 to toothpaste for headlight cleaning, the fundamental difference lies in mechanism: WD-40 masks surface defects by filling microscopic roughness with petroleum distillates, while toothpaste physically abrades away oxidized polycarbonate through mild abrasive particles.
DIY comparisons consistently show toothpaste producing more durable results. In effectiveness analysis, WD-40’s improvement typically fades within days to weeks, requiring frequent reapplication. Toothpaste treatments often maintain clarity longer—sometimes requiring only monthly touchups—because they remove rather than conceal oxidation. Applying toothpaste requires significant effort, involving vigorous rubbing to achieve the desired clarity improvement.
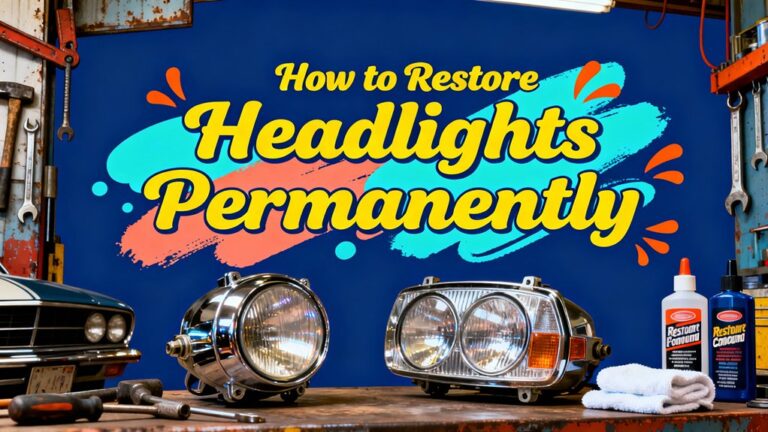
Neither method reliably restores heavily UV-degraded lenses; both primarily address light surface haze. Professional kits incorporating progressive sanding, polishing compounds, and UV-resistant clearcoats consistently outperform both DIY methods, delivering months-to-years durability. Without UV protection, any polished surface will re-oxidize under environmental exposure.

KIT CONTENTS - Each headlight restoration kit includes (8) Step 1 Oxidation Removing Wipes, (1) Step 2 Sanding Kit, and (2) Step 3 Ceramic Coating Wipes.

UV Headlight Coating Kit: The Sylvania UV Block Clear Coat Kit is a premium headlight clear coat designed to protect and restore dull or cloudy lenses to like-new condition

Easy Headlight Restoration Kit: The Sylvania Headlight Restoration Kit is easy to use and includes everything needed to repair two headlight lenses and restore light output with no tools needed
When WD-40 Works Best and When It Doesn’t
WD-40 delivers its most legitimate benefits when applied to headlights suffering from surface contamination rather than structural degradation. You’ll achieve maximum cleaning effectiveness on lightly soiled lenses where dust, grime, and dead bugs are the primary culprits. The solvent properties remove these surface contaminants efficiently, providing immediate clarity improvement.
However, longevity factors severely limit its practical value. The product fails on headlights with deep oxidation, UV damage, or heavy pitting. Since it leaves no protective barrier, the oily residue attracts new dirt and washes off with rain within two weeks. You’ll find WD-40 ineffective for aged lenses requiring restoration—it’s merely temporary cosmetic enhancement that reveals underlying scratches once evaporated. Consider it surface preparation rather than genuine restoration. The oil-based formula fills microscopic scratches, creating an initial shiny appearance that mimics professional results. Professional headlight restoration products with advanced formulations can remove oxidation and yellowing more effectively than temporary solutions. For headlights suffering from significant cloudiness or yellowing, dedicated restoration kits with UV sealants provide superior long-term protection compared to temporary WD-40 applications.
Protecting Your Headlights After Cleaning
Regardless of your chosen cleaning method—whether WD-40 or a dedicated headlight restoration kit—the clarity you’ve achieved will deteriorate rapidly without proper protection. After removing WD-40’s oily film with isopropyl alcohol, apply UV-resistant clear coats or ceramic headlight sealants to prevent oxidation. These protective coatings chemically bond to polycarbonate lenses, offering superior defense against ultraviolet degradation compared to temporary waxes. Apply thin, even layers following manufacturer cure times, and use microfiber applicators to avoid scratching. Consumer-grade and professional-grade sealers differ significantly in durability and protection level, so choose based on your skill level and budget. Establish maintenance routines that include pH-neutral car wash soap, prompt removal of acidic contaminants, and periodic inspections every few months. Understanding UV exposure and oxidation helps explain why protective coatings are essential for long-term headlight clarity. Reapply sealants at recommended intervals—typically 6–12 months for DIY products. Without these protective coatings and consistent maintenance routines, lenses will cloud again within weeks. Since WD-40 lacks UV blockers, it cannot shield headlights from the sun’s rays that cause ongoing deterioration.

Cleans and Seals: Instantly clear the cloudy, dull, and yellowed headlights of your vehicle with Formula 1 Headlight Restorer and Sealant. Our headlight renewal polish protects against oxidation, weathering, and UV rays all in one easy step.

CLEAR LIGHTS: Meguiar's Clear Headlight Coating is the ultimate solution to maintain exceptional optical clarity on both new and restored headlights, ensuring optimal visibility and safety during nighttime driving

PREVENTS HEADLIGHT FADING: Protects headlights from damaging UV rays that cause yellowing, fading, and discoloration.
Potential Drawbacks and Precautions to Consider
Although WD-40’s petroleum distillates temporarily mask oxidation by filling surface imperfections, this oily film attracts road contaminants that accelerate re-fogging within days of application. You’ll face temporary setbacks as rain washes away the solvent, exposing original scratches and UV damage underneath. The residue traps dirt and grime, requiring more frequent cleaning cycles than professional restoration kits.
Application hazards include overspray risks to painted surfaces and rubber seals, which can degrade trim components. You must thoroughly pre-clean lenses to prevent uneven results, and heavily oxidized headlights demand multiple treatments. For best results with severely damaged lenses, consider using wet sanding with progressive grits followed by polishing compounds to properly restore clarity. Without UV protection, sun exposure continues degrading the polycarbonate lens despite WD-40’s initial shine. Deep pitting and chalky oxidation remain unaddressed, as the product lacks the abrasive compounds and protective sealers found in dedicated headlight restoration systems. Professional headlight restoration uses advanced, eco-friendly techniques that provide lasting protection and superior results compared to temporary chemical solutions. The method works best as a quick and effective solution for moderately clouded lenses rather than severely degraded ones.
Tips for Long-Term Headlight Maintenance
Long-term headlight clarity depends on establishing consistent maintenance protocols that address both immediate contamination and progressive UV degradation. You’ll need to perform routine checks monthly, inspecting for early yellowing or clouding that indicates UV exposure damage. After cleaning with WD-40, apply automotive wax or UV-resistant sealant every 3-6 months to create a protective barrier against surface oxidation. Park in covered areas whenever possible to minimize sun exposure, and rinse your vehicle after driving through polluted or salty conditions. Address haze promptly with polishing agents before full yellowing develops. For stubborn oxidation that resists standard cleaning methods, headlight restoration kits offer deeper cleaning solutions to restore clarity more effectively. Test light transmission quarterly to verify effectiveness, and document improvements to track your maintenance schedule’s success. For maximum durability and performance, consider how laser headlight bulbs compare to traditional options when planning long-term upgrades alongside maintenance routines. Regular vehicle maintenance helps prevent more costly repairs, and using proper products ensures optimal performance and longevity of vehicle parts. This systematic approach prevents costly restoration while maintaining peak visibility and safety.

HEADLIGHT RESTORE MADE EASY: Professional-grade 2K clear coat spray with a build in adhesion promoter to restore clarity to yellowed, foggy, or scratched headlights for improved visibility and appearance.

🌀Quality Butyl Rubber Material - Our butyl tape is made of quality butyl rubber material, which is strong in adhesion, durable and flexible, and has reliable weather and shock resistance, not easy to aging and deformation, which can provide you with long-lasting performance. This sealant can be reused for a long time, which is convenient for you to modify your lights for many times.

Professional RV Roof Repair Tape: 6inches wide, 33 feet long. Ideal for professional motorhome repairs, it seals roofs, windows and doors with an ultra-long-lasting waterproof seal to avoid costly water leaks.