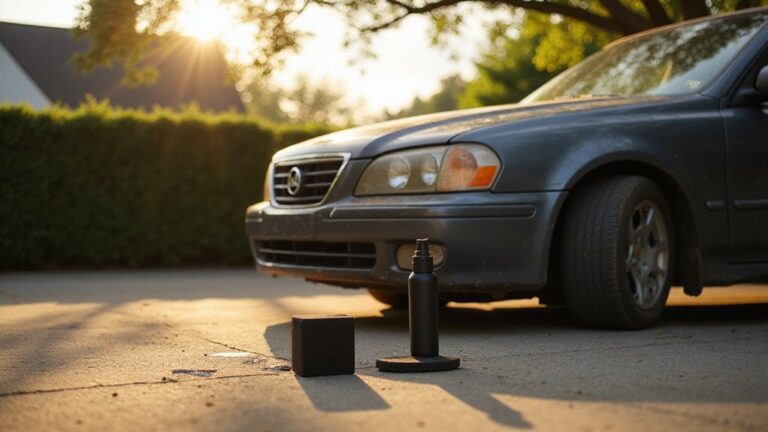
To clean yellow headlights, you’ll need wet/dry sandpaper (1000-3000 grit), a polishing compound with micro-abrasives, and a UV-resistant sealant. Start by wet sanding with 1000 grit to remove oxidation, then progress to finer grits for smoothness. Next, apply polishing compound with a foam pad to eliminate haziness and restore clarity. Finally, seal with a ceramic or UV-protective coating to prevent future yellowing. This process takes about an hour per headlight and greatly improves nighttime visibility while preventing damage that requires costly replacements down the road.
Understanding Why Headlights Turn Yellow
Your car’s headlights turn yellow primarily because ultraviolet radiation from the sun breaks down the polycarbonate plastic lens at a molecular level. This UV exposure accelerates oxidation, where oxygen reacts with the plastic surface, creating that characteristic yellow haze. When your headlight’s protective coating wears off, oxidation effects worsen dramatically, reducing light output and compromising nighttime visibility.
Environmental contaminants compound the problem. Road salt, chemicals, and debris create micro-scratches that trap moisture and pollutants. Temperature fluctuations cause expansion and contraction, forming tiny cracks where water infiltrates the housing. Using harsh cleaning chemicals can strip away the protective coating on your headlight lenses, leaving them even more vulnerable to UV damage and oxidation. When moisture accumulates inside the headlight housing, it creates condensation that can further degrade the lens clarity and requires desiccant packets or heat to remove effectively. Chemical Guys headlight restoration products are specifically formulated to remove oxidation and yellowing while restoring clarity to clouded lenses. Your headlight lifespan depends partly on the plastic’s formulation—softer polycarbonates with higher oil content yellow faster than harder varieties. Understanding these degradation mechanisms helps you implement targeted restoration techniques and preventative measures to maintain peak headlight performance.
Gathering Your Restoration Tools and Materials
Successful headlight restoration requires specific tools and materials matched to your chosen technique—mechanical polishing, chemical treatment, or a hybrid approach. Your restoration equipment should include a rotary or orbital polisher with 3″ backing plates, sanding discs ranging from 400 to 2000 grit, and foam pads for progressive polishing stages. Material selection centers on plastic-specific polishing compounds, UV-resistant sealants, and protective coatings like ceramic applications that prevent future oxidation. Complete kits from brands like 3M Perfect-It offer integrated solutions with abrasives, compounds, and sealants. Essential preparation items include masking tape to protect surrounding paint, microfiber towels for scratch-free buffing, and rubbing alcohol for surface preparation. The most effective approach combines wet sanding with fine-grit sandpaper to remove the oxidized layer, followed by progressive polishing stages for optimal results. After polishing, applying a clear coat or UV sealant protects the headlights from future oxidation and yellowing. Budget-conscious restorers can achieve results with hand-application kits starting at $10 per headlight, while professional-grade cordless polishers cost up to $700. For machine sanding, Mirka Abralon 3″ sanding discs deliver high-quality results across various grits including 180, 360, 500, 1000, 2000, 3000, and 4000.

KIT CONTENTS: Each headlight restoration kit includes (8) Step 1 Oxidation Removing Wipes, (1) Step 2 Sanding Kit, and (2) Step 3 Ceramic Coating Wipes

UV Headlight Coating Kit: The Sylvania UV Block Clear Coat Kit is a premium headlight clear coat designed to protect and restore dull or cloudy lenses to like-new condition

KIT INCLUDES: 1 - Disc Pad Holder, 3.25 in (8,2 cm) 6 - 3M Gold Sanding Discs 500 Grit, 3 in (7,6 cm) each 4 - 3M White Finishing Discs 800 Grit, 3 in (7,6 cm) each 1 - 3M Trizact Refining Disc 3000 Grit, 3 in (7,6 cm) 2 - 3M Quick Headlight Clear Co
Preparing Headlights for Cleaning
With your tools and materials assembled, proper headlight preparation determines whether your restoration delivers professional results or wastes time fighting preventable problems.
Begin with surface inspection—examine each lens for oxidation depth, yellowing severity, and physical damage. This assessment guides your cleaning methods selection. Apply automotive masking tape around headlight edges to protect surrounding paint and trim from accidental sanding or chemical exposure.
Wash headlights with soapy water and a soft-bristled brush, removing all surface dirt and debris. Rinse thoroughly and dry completely. For embedded contaminants, clay the lens with proper lubricant to guarantee smooth compound adhesion. Wipe headlights with isopropyl alcohol to degrease surfaces. Consider using latex gloves during this process to protect your skin from harsh chemicals and cleaning solutions. For longer-lasting results, you may want to apply a UV protectant after cleaning to prevent future fogging.
Work in shade—direct sunlight causes cleaners to dry prematurely, reducing effectiveness and creating streaks.
Wet Sanding Technique for Oxidation Removal
Wet sanding removes oxidized plastic layers that cause yellowing and restore optical clarity to deteriorated headlight lenses. You’ll need wet/dry sandpaper and consistent water application throughout the process.
Begin by soaking your sandpaper for 10 minutes and masking surrounding paint with painter’s tape. Start grit progression with 1000 or 1500 grit to eliminate heavy oxidation, then advance to 2000 and 3000 grit for surface refinement. Add soap to your water for enhanced lubrication.
Sand in one consistent direction using light pressure, keeping both lens and sandpaper wet constantly. Spend 20-30 minutes per grit, rinsing frequently to assess progress. Your headlights will appear hazy after wet sanding—this milky appearance is normal and requires polishing to restore transparency and protect against future UV degradation. Using drill buffing pads can significantly speed up the polishing phase compared to manual application. Regular maintenance with polishing and cleaning can help sustain the clarity you’ve achieved through wet sanding. For minor yellowing cases, consider trying Meguiar’s PlastX before committing to the full wet sanding process.

Full-Cycle Sanding Support - The car drill polishing kit featuring 3 inch sanding discs range 60/80/120/240/400/800/1000/1500/2000/3000/5000/10000 grit sandpaper for dry and wet use, with orbital sander pads, imitation wool buffing pad, and upgraded backing pads for 1/4 and 1/8 inch shank. Seamlessly transition from sanding to polishing.

Complete Restoration Kit: Package includes 100 pcs of 3 inch sanding discs with an assortment of grits (800, 1000, 2000, 3000, 5000, 20 pcs of each grit), a 1/4-inch shank, a backing plate, a foam buffing pad, a synthetic wool pad, 2 sponge pads.

KIT INCLUDES: 1 - 3M Trizact Refining Disc 1000 grit, 3 in/7.6 cm 1 - 3M Trizact Refining Disc 3000 grit, 3 in/7.6 cm 2 - 3M Quick Headlight Clear Coat Wipes 1 - Foam Pad with 3M Hookit Attachment, 3 in/7.6 cm 1- Disposable Glove
Polishing for Crystal Clear Results
After wet sanding creates a hazy finish, polishing restores crystal-clear transparency through progressive abrasive refinement. You’ll need polishing products containing aluminum oxide or similar micro-abrasives—choose medium-cut compounds for initial passes, then fine polishes for final clarity.
Start by masking surrounding paint and cleaning headlights thoroughly. Apply polish in small dabs using microfiber applicators or foam pads. Hand polishing techniques work with circular motions and consistent pressure, while machine polishers (orbital or rotary) speed the process but require careful control to prevent surface burns.
Execute multiple polishing stages: begin with cutting compounds to remove sanding marks, then progress to finer polishes. Finish with foam pads to eliminate micro-marring. Wipe residue with isopropyl alcohol afterward. For machine polishing, opt for slow speed settings to minimize polish sling and maintain better control over the application. This systematic approach delivers factory-like clarity and prepares surfaces for protective sealants. Professional-grade headlight restoration kits offer comprehensive solutions combining multiple polishing stages in pre-formulated systems designed specifically for automotive headlight applications. After polishing, apply a UV-resistant clear coat to protect the restored headlights from future oxidation and yellowing.

HEADLIGHT RESTORATION CERAMIC KIT (GAP401): Complete DIY headlight restoration kit for vehicle owners with cloudy, yellowed, or oxidized headlights who want restored clarity and ceramic protection when detailing at home without dealer costs
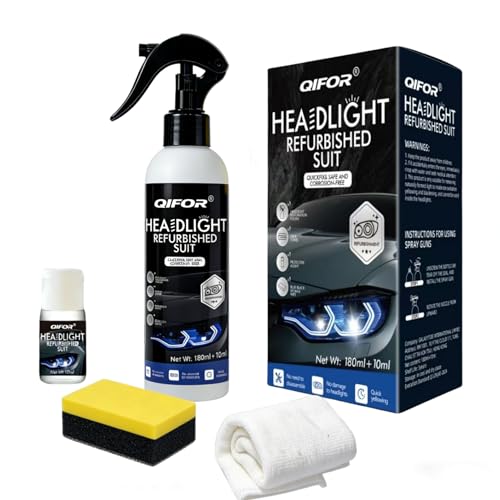
KIT CONTENTS - Each headlight restoration kit includesOne bottle of headlight yellowing removal solution (6.09OZ), one bottle of headlight crystal plating solution (0.34OZ), one towel, and one sponge

Instructions for Use: The first yellow drill attachment installed on the drill, cushion pad white surface and drill attachment black surface paste, use the first in the lamps on the spray water and then use the cleaning pad to dry in a circle, and then according to the grain size from small to large in order to use the waterproof abrasive disc on the lamps for polishing, and finally use the sponge polishing pad for polishing
Applying Protective Coatings
Three protective coating options shield your freshly polished headlights from future oxidation: ceramic coatings, paint protection film (PPF), and vinyl tint films. Ceramic coatings chemically bond to your lens surface, creating a UV-blocking barrier that resists yellowing and scratches while improving water repellency. For coating application, thoroughly decontaminate headlights, apply thin even layers in a dust-free environment, and allow proper curing time. PPF offers self-healing polyurethane protection against rocks, debris, and UV damage through professional heat-sealed installation. Vinyl tints combine style with scratch resistance and UV protection using repositionable adhesives. The repositionable Ultra-Clear® Adhesive allows for multiple adjustments during installation to ensure proper alignment and bubble-free application. Before applying protective coatings, ensure your headlight bracket is properly secured and aligned for optimal lens positioning. Longevity benefits vary—ceramic coatings require reapplication every 1-2 years, vinyl films last 1-6 years depending on thickness, while PPF provides extended protection. You’ll maximize durability by combining films with ceramic coatings underneath.

BY POPULAR DEMAND! - The Cerakote Headlight Step 3 Professional Detailer Pack was designed by popular demand for detailing professionals and car lots that need quick and easy access to multiple headlight restoration applications.
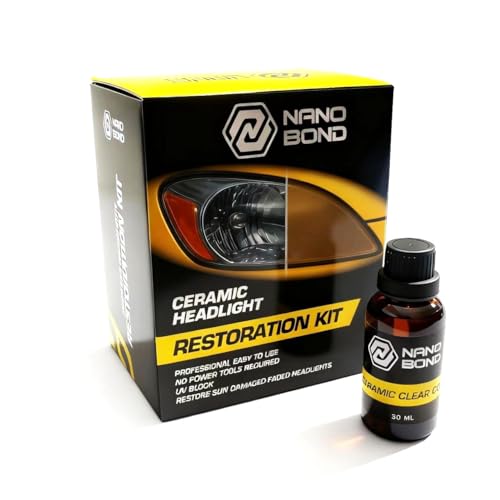
Fix Foggy Headlights - Restore factory clarity to your vehicle with this professional headlight restoration kit. This specialized formula acts as a powerful headlight cleaner to eliminate the haze that ruins your car's look and compromises your safety on the road.

CLEAR LIGHTS: Meguiar's Clear Headlight Coating is the ultimate solution to maintain exceptional optical clarity on both new and restored headlights, ensuring optimal visibility and safety during nighttime driving
Maintaining Restored Headlights
Once you’ve restored your headlights to their original clarity, you’ll need to implement a maintenance routine that preserves their transparency and prevents re-oxidation. Essential headlight longevity tips include washing your lenses monthly with pH-neutral vehicle soap and soft microfiber cloths to remove dirt, bugs, and road grime. Park in shaded areas or garages whenever possible to minimize UV damage that causes yellowing. Regular maintenance techniques involve inspecting headlights for internal fogging, cracks, or seal degradation that allows moisture intrusion. Apply protective films or coatings that block UV rays and guard against road debris. After exposure to harsh weather or road salt, wash headlights immediately to prevent chemical buildup. Professional headlight restoration services use advanced eco-friendly techniques to achieve results that can enhance brightness by up to 140 percent. Following restoration, apply a UV sealant to protect against oxidation and maintain lens clarity over time. For optimal visibility, consider upgrading to high-quality LED or HID bulbs that work with your restored lenses to enhance both clarity and illumination performance. These preventative measures will maintain your restored headlights‘ clarity and extend their functional lifespan considerably.
Comparing DIY Kits to Professional Services
When weighing DIY headlight restoration kits against professional services, you’ll find distinct tradeoffs in cost, durability, and application difficulty. DIY advantages include affordability ($10-$25 versus higher service fees), immediate home convenience, and results lasting weeks to months with proper application. You’ll invest 10-20 minutes per headlight using sandpaper grits and clear coats, though success depends on your technique and following instructional tutorials carefully.
Service benefits center on longevity and consistency. Professionals apply industrial-grade sealants that extend clarity beyond typical consumer kits, eliminating skill variability through specialized equipment and trained expertise. However, you’ll pay premium fees and schedule appointments.
Both methods dramatically improve nighttime visibility compared to yellowed lenses. Clear headlights enhance brightness and road visibility, making nighttime driving safer regardless of which restoration approach you choose. Your choice hinges on budget constraints, desired durability, and confidence in executing wet-sanding techniques without creating unevenness.
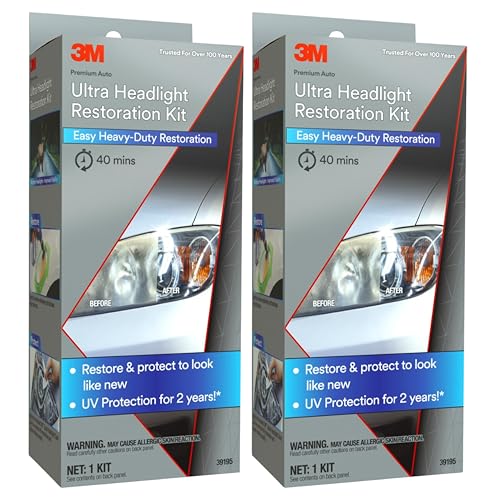
2-PACK VALUE: Includes 2 complete Ultra Headlight Restoration Kits (Part 39195) for restoring multiple vehicles or keeping a spare in your garage.

HEADLIGHT CLEANING KIT TO RESTORE CLARITY: Introducing a car detailing kit featuring high-quality car care products that quickly and easily restore headlights; the simple two-step process removes oxidization and yellowing for long-lasting clarity

CLEARER, BRIGHTER-LOOKING HEADLIGHTS - Cloudy, yellowed headlights can make your car look older than it is. This headlight restoration kit helps remove light to moderate oxidation, haze and dullness from exterior plastic lenses, restoring a cleaner, clearer look without the high cost of replacing your headlights.
Common Mistakes to Avoid During Restoration
Successful headlight restoration depends on avoiding critical errors that compromise clarity and durability. Improper cleaning before starting allows dirt particles to scratch the lens during sanding. You’ll worsen damage by using harsh chemicals like ammonia-based cleaners or DEET products that melt plastic housing. Over sanding risks permanent haze when you apply excessive pressure or skip progressive grit steps. Always wet-sand to prevent deep scratching and follow with polishing to remove micro-scratches.
Don’t neglect protective measures—tape surrounding paint and apply UV-resistant coatings after restoration to prevent rapid re-yellowing. Sylvania’s UV block clear coat technology provides an excellent protective layer that helps shield restored headlights from future oxidation and environmental damage. Avoid relying solely on temporary fixes like toothpaste, which only removes surface grime without addressing oxidation. Professional-grade methods require proper sanding progression and sealant application for lasting results that withstand environmental exposure. Rushing through the restoration process can lead to premature deterioration and diminish overall effectiveness.