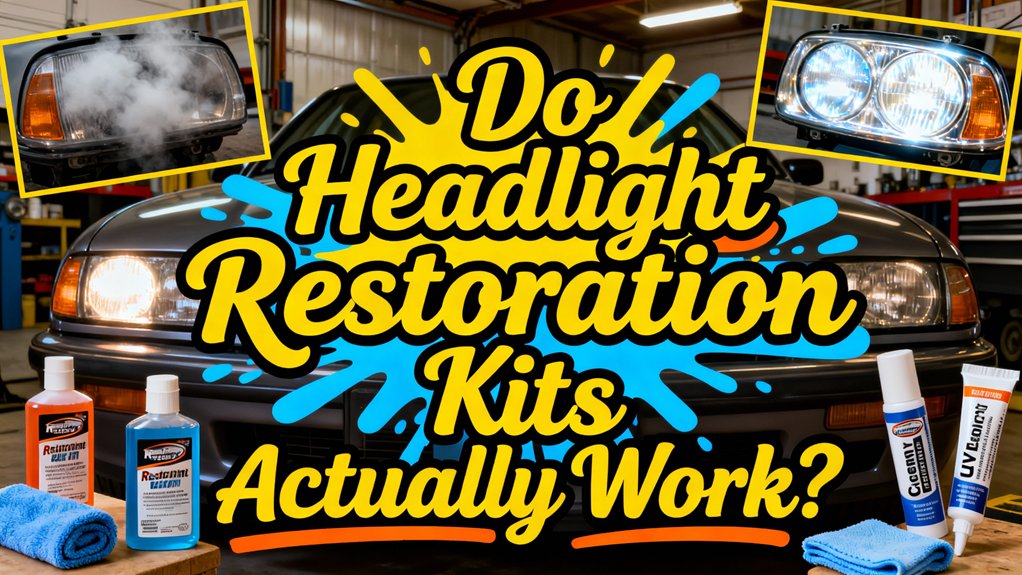
Headlight restoration kits work when you’re dealing with surface-level UV oxidation rather than internal damage. You’ll see measurable improvements in light output—often reaching 363+ feet of visibility—if you follow the proper sanding progression from coarse to fine grits and apply UV-blocking sealants. Results typically last 6-12 months before re-oxidation begins. The effectiveness depends on your technique and the severity of oxidation. Deep cracks, moisture intrusion, or damaged reflectors won’t respond to restoration. The sections below explain the complete restoration process and when replacement becomes necessary.
How Headlight Restoration Kits Remove Oxidation and Restore Transparency
Oxidation occurs when ultraviolet radiation degrades the factory-applied UV-stabilized polycarbonate coating on headlight lenses, creating a yellowed, hazy surface layer that reduces light transmission. Restoration kits perform oxidation removal through mechanical abrasion using progressive-grit sandpaper (typically 400 to 3000 grit), physically stripping away the degraded outer layer to expose clearer polycarbonate underneath. You’ll follow this with polishing compounds that eliminate fine scratches left by abrasives, restoring surface gloss essential for transparency enhancement. Chemical-based kits use solvent formulations to dissolve surface haze and contaminants, with some products containing resurfacing agents that flow into micro-abrasions to improve apparent clarity. These resurfacing agents bond strongly to the headlight surface, filling haze and swirl marks to enhance overall lens clarity and improve light output. Effectiveness depends on oxidation depth—shallow degradation responds well to chemical treatment alone, while deep yellowing requires aggressive sanding protocols. Most thorough kits conclude with UV-blocking clearcoats that replace the removed factory layer. For vehicle owners seeking the best results, understanding the science behind headlight degradation helps determine whether DIY restoration or professional services are most appropriate for their specific situation.

KIT INCLUDES: 1 - Disc Pad Holder, 3.25 in (8,2 cm) 6 - 3M Gold Sanding Discs 500 Grit, 3 in (7,6 cm) each 4 - 3M White Finishing Discs 800 Grit, 3 in (7,6 cm) each 1 - 3M Trizact Refining Disc 3000 Grit, 3 in (7,6 cm) 2 - 3M Quick Headlight Clear Co

Full-Cycle Sanding Support - The car drill polishing kit featuring 3 inch sanding discs range 60/80/120/240/400/800/1000/1500/2000/3000/5000/10000 grit sandpaper for dry and wet use, with orbital sander pads, imitation wool buffing pad, and upgraded backing pads for 1/4 and 1/8 inch shank. Seamlessly transition from sanding to polishing.

Instructions for Use: The first yellow drill attachment installed on the drill, cushion pad white surface and drill attachment black surface paste, use the first in the lamps on the spray water and then use the cleaning pad to dry in a circle, and then according to the grain size from small to large in order to use the waterproof abrasive disc on the lamps for polishing, and finally use the sponge polishing pad for polishing
What’s Inside a Typical Headlight Restoration Kit
A typical headlight restoration kit contains four functional component categories: abrasive materials for surface removal, polishing compounds for clarity restoration, protective sealants for UV defense, and preparation accessories for process optimization. Abrasive components include 3M Trizact discs in progressive grits (800-1000) and color-coded precision pads with drill attachments for systematic oxidation removal. Polishing compounds like 3M Perfect-It rubbing compound restore optical transparency through controlled surface refinement. Headlight cleaning begins with household cleaner spray for pre-sanding preparation, followed by rubbing alcohol for final surface decontamination. Lens protection requires UV Block Clear Coat or ceramic acrylic sealants that prevent re-oxidation. Quality restoration kits offer a cost-effective alternative to replacement, saving vehicle owners from high expenses associated with purchasing new headlight assemblies. Different restoration kits employ chemical-based solutions, UV sealants, and abrasive polishing systems to address headlight degradation caused by oxidation and environmental exposure. The step-by-step application techniques and expected restoration results vary depending on the severity of headlight oxidation and yellowing. Accessory components include masking tape for paint protection, spray bottles for wet-sanding lubrication, microfiber cloths for compound buffing, and safety equipment including protective gloves and eyewear.
The Multi-Step Process: Sanding, Polishing, and Sealing
Successful headlight restoration depends on executing three sequential phases—surface preparation, progressive abrasive refinement, and UV-protective sealing—each requiring specific techniques and materials to restore optical clarity and prevent re-oxidation.
Begin by cleaning and masking the lens, then inspect for cracks or moisture indicating replacement is necessary. Employ wet sanding techniques starting at 800–1000 grit to remove oxidation, progressing through 1500–2000 grit with cross-hatched overlapping passes. Maintain continuous water flow to prevent heat buildup and clogging.
Apply cutting compound using dual-action polishers with firm polishing pads (orange) to eliminate sanding marks, then shift to softer pads (white) with finishing polish. Control heat through short passes at moderate speeds. Ceramic-based coating systems like Cerakote technology provide superior scratch resistance compared to conventional polishes.
Complete restoration by applying UV-blocking clear coat to prevent rapid re-yellowing of the abraded surface. For optimal durability, mix urethane clear coat with mineral spirits in a 1:1 ratio and apply in thin, even layers using a clean shop towel.

UV Headlight Coating Kit: The Sylvania UV Block Clear Coat Kit is a premium headlight clear coat designed to protect and restore dull or cloudy lenses to like-new condition

PREMIUM CLEAR FINISH: Professional-grade polyurethane automotive spray paint designed for automotive refinishing and new paint jobs — delivers long-lasting protection and deep gloss for cars, motorcycles, and custom projects.

Wipe-on fluid is excellent for lightly yellowed or recently restored lenses
How Long Do Restored Headlights Stay Clear?
How long will your headlight restoration maintain its clarity? Restoration longevity depends primarily on your chosen method and post-treatment care. DIY kits typically deliver 6-12 months of clarity, while professional services extend this to 1-3 years. However, UV exposure remains the critical degradation factor, causing oxidation that yellows lenses regardless of initial treatment quality.
Advanced 2K clear coat applications can achieve permanent results when you follow precise sanding and polishing procedures. The diagnostic approach to extending restoration longevity involves implementing specific maintenance tips: reapply UV sealant every few months, wash headlights regularly with pH-neutral soap, park in shaded areas, and avoid abrasive cleaners. Regular cleaning keeps headlights free from dirt and grime that can diminish their clarity over time. Applying a protective sealant after wet sanding provides additional defense against environmental degradation and extends the effectiveness of your restoration investment. Environmental variables—temperature fluctuations, road chemicals, and weather severity—directly correlate with accelerated degradation rates, making proactive maintenance essential for sustained optical performance. Rain-X restoration products include step-by-step application instructions to help you achieve professional-quality results during the initial treatment process.
Cost Comparison: DIY Kits vs. Professional Service vs. Full Replacement
Budget allocation for headlight restoration requires analyzing three distinct cost tiers with measurably different ROI profiles. DIY kits occupy the $15-$33 bracket, with systems like Cerakote ($15-$18) and 3M ($20) delivering sub-$50 treatment costs for both lenses. You’ll find warranty-backed options including Sylvania’s lifetime coverage at $25. Professional services utilize specialized equipment—Delta Kits systems, proprietary protectants, and Infinity water-based coatings—commanding premium pricing without published rate schedules. Full replacement exceeds DIY expenditures by multiple factors, positioning kit restoration as cost-effective intervention. The DIY versus Professional decision hinges on restoration longevity requirements and technical capability. Professional-grade clear coats extend clarity duration but increase immediate capital outlay. These kits typically include sanding discs in various grits, rubbing compound, masking tape, and protective coating to achieve professional-looking results at home. Most restoration projects require several hours to complete, particularly when addressing heavily oxidized headlights through manual application methods. When upgrading projector headlight assemblies, consider that LED bulb compatibility may influence long-term restoration value if you plan future lighting modifications. Cost effectiveness peaks when matching restoration method to degradation severity and expected vehicle retention period.

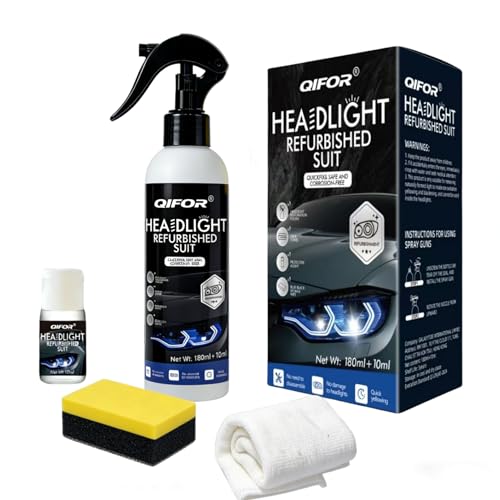
No Grinding, No Thinning – Just Lasting Clarity: Tired of complicated kits that force you to sand down your valuable headlight lens? Our revolutionary solution requires NO grinding, NO sanding, and NO damaging removal of your headlight's protective layer. Simply clean with our solution, rinse thoroughly, and apply the coating. You get a perfectly restored, like-new finish without compromising your headlight's structural integrity or future durability. It's safe, fast, and permanently effective

KIT INCLUDES: 1 - 3M Trizact Refining Disc 1000 grit, 3 in/7.6 cm 1 - 3M Trizact Refining Disc 3000 grit, 3 in/7.6 cm 2 - 3M Quick Headlight Clear Coat Wipes 1 - Foam Pad with 3M Hookit Attachment, 3 in/7.6 cm 1- Disposable Glove

KIT CONTENTS - Each headlight restoration kit includes (8) Step 1 Oxidation Removing Wipes, (1) Step 2 Sanding Kit, and (2) Step 3 Ceramic Coating Wipes.
Measuring the Safety Benefits: Light Output and Beam Pattern Quality
When evaluating restoration effectiveness, you’ll need lux meter readings to quantify actual light transmission improvements rather than relying on visual assessment alone. Baseline measurements above 36 lux indicate acceptable headlight quality, with control values averaging 42.0 lux. Your light measurement protocol should document pre-restoration output—oxidized lenses typically limit visibility to 145 feet—then reassess after progressive wet sanding (1000/2000/3000 grit), polishing, and clear coat application. Post-restoration readings should demonstrate visibility extension to 363 feet or greater, directly improving safety outcomes. The 24-hour cure period precedes final testing to guarantee coating stability. Beam pattern analysis confirms oxidation removal eliminates light scatter and distortion, restoring proper focus. These diagnostic metrics validate restoration efficacy beyond cosmetic improvement, quantifying enhanced road illumination and reduced accident risk from optimized headlight performance. To maintain long-term results, applying a UV sealant protects the headlights from future oxidation and yellowing. Different kit options ranging from basic hand-application systems to advanced solutions allow you to select the restoration method that matches your skill level and headlight condition. Quality restoration kits achieve these results through a two-step process that eliminates the need for complex power tools or abrasive materials.
When Restoration Works Best and When It Falls Short
Restoration kits deliver ideal results on headlights exhibiting mild oxidation—characterized by light cloudiness from early-stage UV degradation rather than deep yellowing or structural damage. You’ll achieve prime kit effectiveness when addressing surface haze on polycarbonate lenses, where sanding removes the thin deteriorated coating and visibility improves from 145 ft to 363 ft or more. Consumer preferences lean toward light-duty formulations ($10-$25) that complete in 7 minutes, handle minor scratches, and require minimal tools. However, kits fall short on severely oxidized lenses demanding aggressive abrasives and advanced technique. Deep yellowing, extensive scratching, and structural deterioration exceed DIY capabilities. Applying protective coatings after restoration helps seal the finish and prevents oxidation from returning quickly in vehicles frequently exposed to sunlight. Without UV-protective topcoats, degradation returns prematurely—particularly in high sun exposure climates affecting LED/HID housings. For severely compromised housings, upgrading to high-quality LED or HID bulb technologies can improve overall headlight performance despite surface damage. Professional intervention becomes necessary when damage surpasses surface-level oxidation. The global market for these restoration solutions is estimated to reach $250 million by 2025, reflecting widespread consumer adoption for maintaining headlight clarity.
Common Mistakes That Compromise Results
Even minor procedural errors during headlight restoration cascade into compromised optical clarity and accelerated re-oxidation. Common pitfalls include preparation oversights—failing to remove oxidation layers completely before applying restoration materials prevents proper adhesion. You’ll create deeper scratches through over-sanding with excessive pressure or skipping grit progressions (600→1000→2000). Household products like toothpaste or bug spray cause permanent lens damage rather than clarity improvement.
Environmental factors sabotage results: high humidity prevents clear coat curing, while dust contamination creates surface defects. Rushing through manufacturer protocols compromises sealant bonding. You’ll generate holograms and swirl marks from inconsistent sanding patterns or uneven pressure distribution. Masking surrounding areas protects trim and paint from accidental damage during the restoration process. Ensuring headlights are completely dry before application prevents moisture from interfering with restoration product effectiveness. Regular maintenance with gentle cleaning helps preserve the improvements achieved through the restoration process. Test products on inconspicuous areas first. Select automotive-specific kits containing graduated sandpaper and UV-protective sealants—never substitute with abrasive household alternatives that degrade polycarbonate lens integrity.

Sopami Headlight Cleaner Oxidized and Yellowed Finish: The headlamp restorationfluid is designed to provide a yellowed finish, helping to restore the original color and appearance of your headlamp

【PROFESSIONAL GRADE RESTORE】 This XPERTCHEMY Headlight Restoration Kit is a collection of professional-grade products assembled specifically for removing the heavy-duty yellowing, clouding and stains, even buffs out unsightly hairline scratches, smudges and flaws in easy steps by hand.
KIT CONTENTS - Each headlight restoration kit includesOne bottle of headlight yellowing removal solution (6.09OZ), one bottle of headlight crystal plating solution (0.34OZ), one towel, and one sponge
Risks of Improper Restoration and Re-Oxidation
If you execute restoration procedures without precision, you’ll inflict permanent damage that exceeds the original oxidation problem. Incorrect sanding techniques—skipping progressive grits from 400 to 2000 or neglecting cross-hatch motion—create deep scratches that accelerate haze formation. Over-sanding exposes bare plastic to immediate oxidation without UV protection barriers. Buffer burns emerge from high-speed polishing on dry surfaces, permanently scarring polycarbonate lenses. Inadequate taping allows sandpaper contact with surrounding paint, necessitating costly correction. Most kits provide temporary wax-based coatings rather than permanent UV sealants, causing re-yellowing within months. Without UV inhibitors, exposed acrylic oxidizes faster than original factory coatings. Professional-grade results require applying protective coating layers as specified in comprehensive restoration systems to seal the polished surface. Polycarbonate porosity accelerates degradation when protective layers wear off. Car wash chemicals attack unprotected surfaces, reversing restoration efforts and requiring repeated intervention. Failing to keep surfaces wet during sanding creates scratching and ineffective results that compromise the entire restoration process. Finishing with automotive plastic polish and protective coatings helps maintain clarity and prevents re-oxidation more effectively than basic wax treatments.
Signs It’s Time to Replace Rather Than Restore
While surface oxidation responds well to restoration techniques, specific damage indicators demand complete headlight assembly replacement. Deep cracks extending into the polycarbonate material allow moisture intrusion that compromises structural integrity. You’ll notice when to replace becomes necessary if water accumulates inside the assembly, causing internal fogging and electrical corrosion. Failed seals create problems restoration can’t address. Signs of damage requiring replacement include oxidized chrome reflectors, discolored internal housing, and severe yellowing penetrating deep into the plastic. These conditions prevent proper light projection even after lens polishing. If you’re experiencing malfunctioning wiring, deteriorated bulb sockets, or blind spots from out-of-focus headlights, restoration won’t solve these electrical and structural issues. Deep hazing indicates irreversible degradation unsuitable for surface treatment, as protective clear coats help prevent rapid re-oxidation but cannot reverse damage already penetrated into the plastic core. The factory-installed halogen bulbs commonly found in many vehicles may also show signs of diminishing performance over time. Additionally, outdated halogen-sealed beams represent an opportunity to upgrade to HID or LED technology, which offers superior illumination and longevity compared to older lighting systems.
COMPATIBLE FITMENT: Designed specifically for 1997-2004 Chevrolet Corvette C5 models to repair failed headlight motor mechanisms
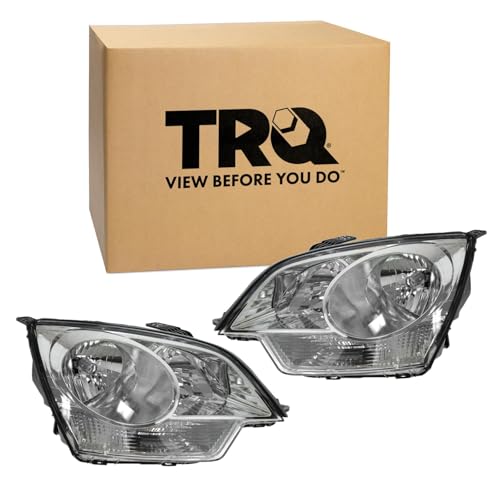
Kit Includes: 1 Driver Side Headlight Assembly; 1 Passenger Side Headlight Assembly

High Quality: This female adapter wiring harness sockets is made of high-quality materials, the nylon shell has good insulation, heat-resistant and flame-retardant, has good toughness, is not easy to deform or crack, the internal copper wire can stably conduct electricity, has high working efficiency, and can be used for a long time