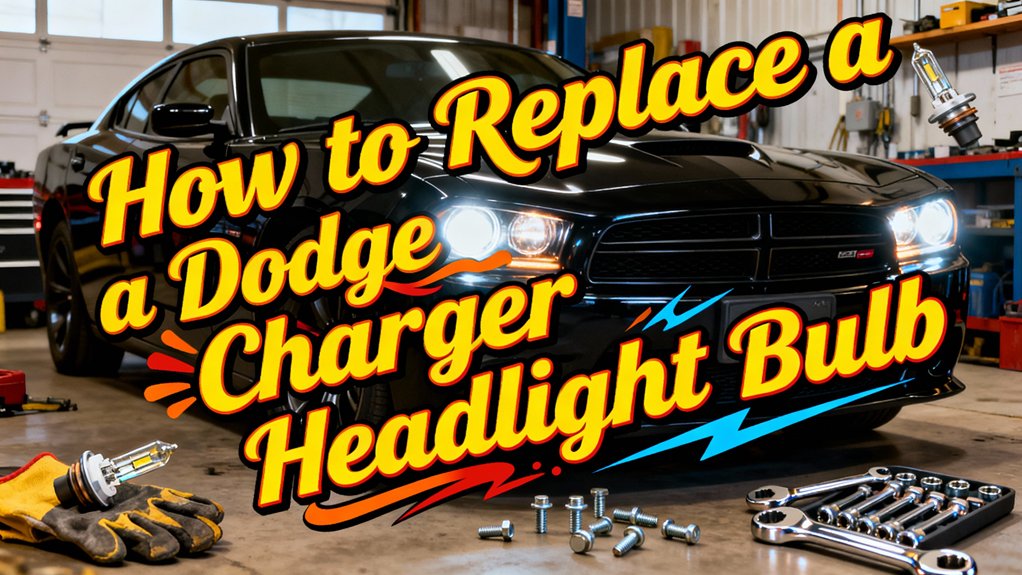
To replace your Dodge Charger headlight bulb, first disconnect the battery and allow the engine to cool completely. Access the passenger-side bulb by opening the rear housing panel, twisting the cap counterclockwise, and pulling the bulb straight out. The driver side requires removing the upper intake cover and resonator with a T30 Torx bit to access the housing. Always wear gloves and avoid touching the replacement bulb’s glass envelope with bare hands. Testing both low-beam and high-beam functions guarantees proper installation, while the guide below covers troubleshooting and alignment procedures.
Vehicle Preparation and Safety Precautions
Before attempting headlight bulb replacement on your Dodge Charger, you’ll need to establish a safe working environment. Park on a flat surface away from traffic and engage the parking brake. If you’re on an incline, use wheel chucks for stability. Turn off the engine completely, remove the ignition key, and allow adequate cooling time. For electrical work, disconnect the battery and verify the headlights have no power.
Proper vehicle maintenance requires strict adherence to safety protocols. Work in a well-lit area with the hood fully opened and secured. Clear obstacles from your workspace and position parts safely. Wear safety glasses and gloves when handling bulbs. Never touch the glass with bare hands, as oils can damage the bulb and reduce its lifespan. When selecting replacement bulbs, consider H11 bulb specifications to ensure compatibility with your vehicle. Most headlight bulb replacements require minimal tools and can be completed through simple hand operations. Gather necessary tools including a head flashlight for visibility when working in the engine compartment.
Tools and Materials You’ll Need
Having established proper safety measures, you’ll need to gather the correct tools before accessing your Dodge Charger’s headlight assembly. Proper tool organization guarantees efficient workflow and prevents component damage during the replacement procedure.
Essential materials include metric sockets (7mm, 8mm, 10mm) with a 1/4-inch ratchet and extensions for confined spaces. You’ll require a T30 Torx bit for trim fasteners and plastic pry tools for retainer removal without damaging clips. Safety glasses and gloves protect against debris and oil contamination from bulb handling.
For visibility in tight engine compartments, position a headlamp or work light strategically. Keep replacement headlight bulbs and spare retainer clips accessible, as factory plastic components may become brittle. A pocket screwdriver assists with small lever manipulation during assembly access. When selecting replacement bulbs, consider halogen, LED, and HID options based on your desired brightness levels and longevity preferences. Additionally, have a red tab release tool available for unlocking HID connectors, as these connections can be challenging to disconnect in confined spaces.

Multi-size Coverage – This 16-piece set covers all your needs, including 1/4" drive (2mm, 2.5mm, 3mm, 4mm, 5mm, 5.5mm, 6mm), 3/8" drive (7mm, 8mm, 9mm, 10mm, 12mm), and 1/2" drive (14mm), plus 3 socket adapters. Each socket features a detent pin hole for added stability and precision.
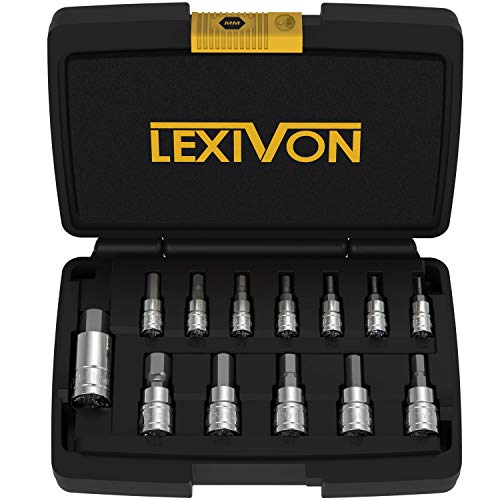
PREMIUM - 13-Piece set, Featured a wide range of Metric Bit Socket. Crafted and Designed with superior materials for increased torque and unmatched hardness.
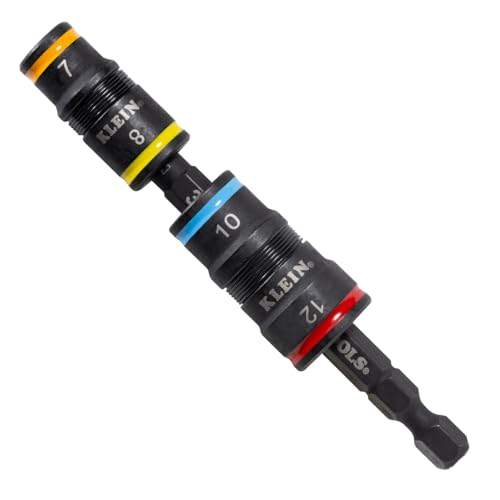
4-in-1 FLIP SOCKET SET: Includes 2 flip sockets
Identifying the Correct Replacement Bulb for Your Charger
Successful bulb replacement begins with identifying the precise OEM specification for your Charger’s model year and trim level. Consult your owner’s manual or perform a VIN-based parts lookup to determine whether your vehicle uses halogen (H11 low beam, 9005/HB3 high beam), HID (D3S/D3R), or factory LED assemblies. Pre-2015 models typically employ H11/9005 halogen bulb types, while 2015–2021 variants may feature 9012 or D-series HID systems depending on optional packages. Verify electrical specifications—nominal voltage 12–14.4 V, wattage limits (65 W typical for 9005), and connector pin configuration. Physically inspect the headlight housing to confirm projector versus reflector design and check for existing ballasts if HID-equipped. The 2006-2015 Charger generation maintains consistent bulb sizes across all model years for license plate and interior applications, using the standardized T10/194/168 specification. When selecting replacements, consider the trade-offs between standard bulbs and premium aftermarket options regarding brightness levels, color temperatures, and longevity. Understanding color temperature and lumens output will help you select the most appropriate replacement for your driving conditions and safety needs. Aftermarket LED retrofits require CAN-bus compatibility checks to prevent flicker errors.

【900% Brighter - S1 Pro Bulbs】The SEALIGHT 9005 H11 bulbs combo feature 16pcs high-performance chips, delivering up to 8 times the brightness than stock bulbs. Upgrade your nighttime driving experience by replacing dim, narrow stock bulbs with SEALIGHT 9005/HB3 H11/H9/H8/H16 LED Bulbs Combo. Enjoy crystal-clear 6500K cool white light that cuts through the dark, giving you way better visibility for safer night drives


⭐【Super Bright H11 Bulbs】Our H11 headlight bulbs deliver over 1000LM brightness and a 3800K color temperature, ensuring optimal visibility in foggy and rainy conditions. Upgrade your automotive headlight bulbs for safer nighttime driving.
Replacing the Passenger-Side Headlight Bulb
With the correct bulb specification confirmed, you can begin the replacement procedure on the passenger side—the more accessible of the two headlight assemblies. Locate the access door on the passenger-side headlight housing and press the tab down to open it. Twist the top cap counterclockwise and move the panel aside. Reach into the housing, twist the bulb counterclockwise toward the driver’s side, then pull it straight out. Lift the retention tab on the connector pigtail and disconnect the electrical plug. Connect your new bulb type to the pigtail connector, insert it at an angle into the housing socket, and twist clockwise to lock. Secure any retention clips, close the passenger access panel, and test functionality. This procedure requires 10-15 minutes with basic tools. Regular checks on headlight functionality help identify burnt bulbs early and maintain safe driving conditions.

**OEM-Quality Assurance**: 𝐎𝐄𝐌# 4806165AJ, 4806164AJ, 4806219AD, 4806218AD. PARTSLINK: CH2502163, CH2503163. Meticulously tested for 100% compatibility, precisely modeled to fit your original car model: Compatible with 𝟐𝟎𝟎𝟔-𝟐𝟎𝟏𝟎 𝐃𝐨𝐝𝐠𝐞 𝐂𝐡𝐚𝐫𝐠𝐞𝐫 𝟒-𝐃𝐨𝐨𝐫 𝐒𝐞𝐝𝐚𝐧 𝐌𝐨𝐝𝐞𝐥𝐬. Kindly note, Only include Low/High beam bulbs.

COMPATIBILITY: Compatible with 2011 2012 2013 2014 Dodge Charger. NOT fits for HID/LED models. Part Number# 57010411AE, 57010410AE, CH2502232, CH2503232

COMPATIBILITY: Compatible with 2011 2012 2013 2014 Dodge Charger. NOT fits for HID/LED models. Part Number# 57010411AE, 57010410AE, 57010410AD, 57010410AF, 57010411AD, 57010411AF, CH2502232, CH2503232
Replacing the Driver-Side Headlight Bulb (Intake Removal Required)
Accessing the driver-side headlight bulb on 2011–2023 Dodge Chargers requires partial intake assembly removal due to the air intake assembly blocking direct access to the headlight housing. Begin by unscrewing the upper intake cover and resonator using T30 or Phillips fasteners. Detach the intake tube from the throttle body by loosening hose clamps, then remove any 8 mm or 10 mm bracket bolts securing the assembly to the fender. Carefully move the intake aside without straining sensor wires. With clearance achieved, remove the headlight’s rubber dust cap and disconnect the bulb’s electrical connector by depressing the locking tab. Release the bulb retainer—either twist counterclockwise or unclip the metal spring—then withdraw the old bulb. Install the new bulb by aligning tabs, locking securely, and reconnecting the plug before testing function and reassembling intake components. When handling the new bulb, wear gloves to protect the bulb glass from oils and dirt that can cause premature damage, as oils accelerate UV exposure and oxidation of the lens over time. This procedure applies to both driver and passenger side headlights, though the passenger side typically offers easier access.
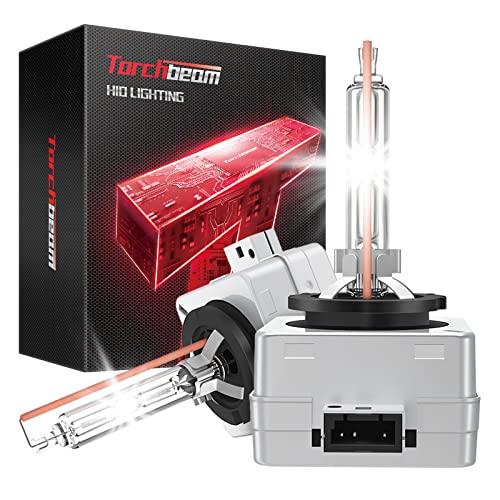
Safer Night Driving: Torchbeam d3s bulbs made with German xenon gas. Replacement OEM Part Number: 42302C1, 42302(WX/XV), 42403(C1), 66340, 66340CBH, 66340CBI, ect.
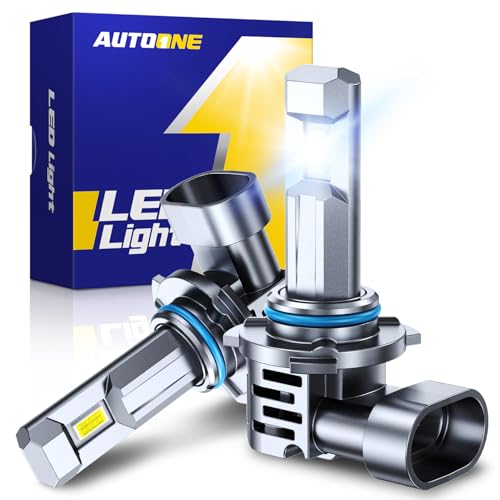
Great Brightness - 36000 Lumens

110,000LM High Output 6500K White: Each bulb delivers 96,000LM of 6500K Cool White light. The focused beam pattern enhances road visibility without creating excessive glare for oncoming traffic, ensuring safer night driving conditions
Proper Bulb Handling Techniques
Before handling any headlight bulb, don glove to prevent skin oils from contacting the glass envelope. Oil contamination from bare hands creates hot spots on the bulb surface, leading to premature failure and drastically shortened service life. Use clean gloves or a lint-free cloth during all bulb handling procedures.
Prior to removal, turn off the headlights and allow complete cooling to prevent thermal burns or stress fractures. Inspect the bulb and fixture for damaged components or broken glass before proceeding. Apply minimal force during extraction—excessive pressure can damage mounting hardware or shatter the envelope. For optimal results, consider replacing bulbs in pairs to maintain consistent brightness and safety across both headlights. Choosing bulbs with higher lumens and color temperature will provide superior visibility during nighttime driving conditions.
Avoid touching the glass portion of replacement bulbs. Handle new units exclusively by their base to maintain lamp integrity and guarantee peak performance throughout the rated service interval. When selecting replacement bulbs, consider checking headlight performance ratings to ensure optimal visibility and safety for your vehicle.
Installing and Sealing the New Bulb
After preparing the bulb and donning protective gloves, confirm the replacement unit matches your Dodge Charger’s headlamp specifications by cross-referencing the part number stamped on the old bulb’s base. Align the bulb’s positioning tabs with the housing notches, then insert until the seating flange contacts the socket. Rotate a quarter turn clockwise to lock proper bulb fitment. Push the electrical connector firmly onto the bulb terminals until you hear a click, then apply dielectric grease to inhibit corrosion. Inspect the rubber grommet and dust cap for cracks or deformation—replace if compromised. Press the dust cap fully into the housing opening to establish moisture sealing and prevent water infiltration. Verify retention clips engage securely and that the cap remains seated when the harness is manipulated, simulating road vibration conditions. Avoid touching the glass portion of the bulb with your fingers, as skin oils can create hot spots that reduce bulb lifespan and cause premature failure.
Testing Headlight Function and Beam Alignment
Once the new bulb is sealed and the dust cap is secured, activate the headlight switch and cycle through low-beam and high-beam settings to confirm both functions illuminate properly. Check for dashboard bulb-out warnings and verify consistent headlight brightness between both assemblies. If beam adjustments are necessary, park on level ground 25 feet from a flat wall. Mark the vehicle centerline and each headlight center on the wall using tape. Measure headlight height from ground and transfer that measurement to the wall with horizontal tape positioned 2 inches below center for low-beam cutoff reference. Locate adjustment screws on the headlight assembly and turn the vertical adjuster until the beam cutoff aligns at or slightly below the horizontal mark, preventing glare for oncoming traffic. When upgrading to aftermarket bulbs, consider the lumens output and color temperature to ensure optimal visibility without exceeding legal compliance standards. To prevent damage during adjustment, avoid direct contact with the bulb glass when making any final positioning checks. Have a driver sit in the vehicle during the alignment process to simulate normal load conditions and ensure accurate beam positioning.
Troubleshooting Common Issues and Error Codes
Even with proper installation and alignment verification, headlight failures can occur due to electrical system faults rather than bulb defects. Headlight flickering often indicates loose connections at the lens housing or melted fuse contacts creating intermittent power delivery. Check Fuse 15 and Fuse 16 in the primary fuse box, plus Fuse 6 and Fuse 7 in the secondary box—melted plastic on contacts blocks ballast power without visible filament damage. When flickering persists, a failing alternator or weak battery may not be providing steady voltage output to your headlights. Relay testing involves swapping Relay 46 and Relay 65 between positions to identify defective units preventing headlight operation. For HID systems, perform sequential polarity checks: bulb-to-vehicle, decoder-to-bulb, decoder-to-ballast. Swap ignitors and bulbs between sides—if problems reverse, you’ve identified the faulty component. To ensure proper headlight functionality after component repairs, perform necessary software resets through your vehicle’s diagnostic system. If issues persist after component testing, contact support via live chat or email for additional troubleshooting assistance. Replace damaged fuses with 20-amp units after cleaning contacts.
Cost Breakdown and Maintenance Tips
Understanding replacement costs helps you budget effectively and identify opportunities for considerable savings through DIY installation. Professional service typically runs $371-$396, with labor consuming $55-$140 of total expenses. Parts alone cost approximately $316, though you’ll find options ranging from $9.99 budget halogen bulbs to $1,257 premium assemblies. A cost comparison reveals YourMechanic’s $155 average considerably undercuts dealer rates.
Year-specific variations matter: 2021 models cost $244-$267, while 2023 variants reach $461-$490. HID D3S bulbs deliver 3200 lumens per bulb but experience diminished bulb lifespan after extended use—always replace pairs simultaneously. To avoid damage during installation, avoid touching halogen bulbs with bare fingers as oils from your skin can cause premature failure. Verify SAE/DOT compliance and confirm compatibility with your specific year and trim. DIY replacement eliminates labor charges entirely, maximizing your savings while maintaining ideal visibility and safety standards. Modern Chargers feature aerodynamic headlamp designs with replaceable halogen or HID bulbs that project light through reflectors and lenses.
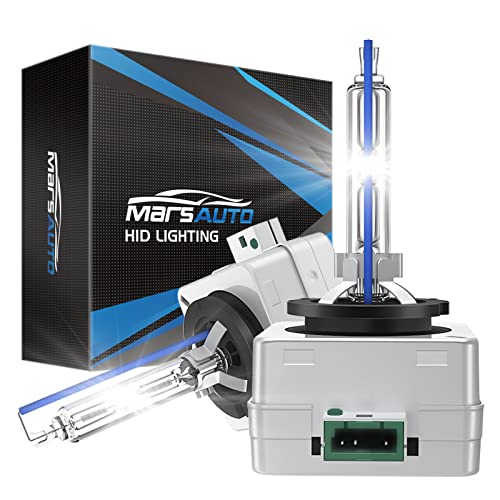
Replace Only HID Bulbs: Fit for stock D3S HID Xenon bulbs only, NOT ADAPT if your auto has stock Halogen/LED lights
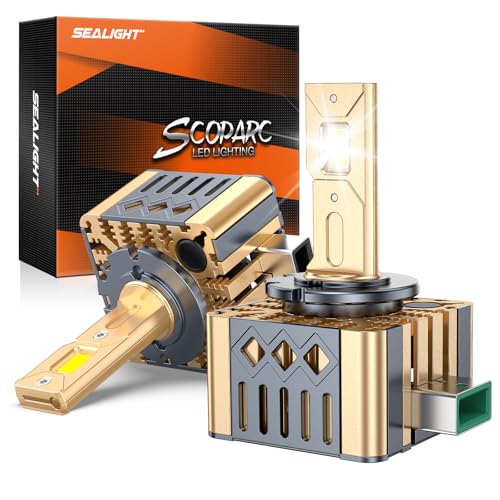
High-Output Lighting: Equipped with 30 high-performance chips, SEALIGHT D3S bulbs produce bright 6000K cool white illumination with a wide and uniform range. Designed to provide clear road visibility in various driving conditions, including nighttime, rain, and fog.

10X More Light - See Everything on the Road: Tired of dark, blurry roads at night? AUXITO M3S bulbs shine 10 times brighter than your old halogen bulbs. The crisp 6500K white light makes everything clearer, so you can spot animals, signs, and curves way before you get to them