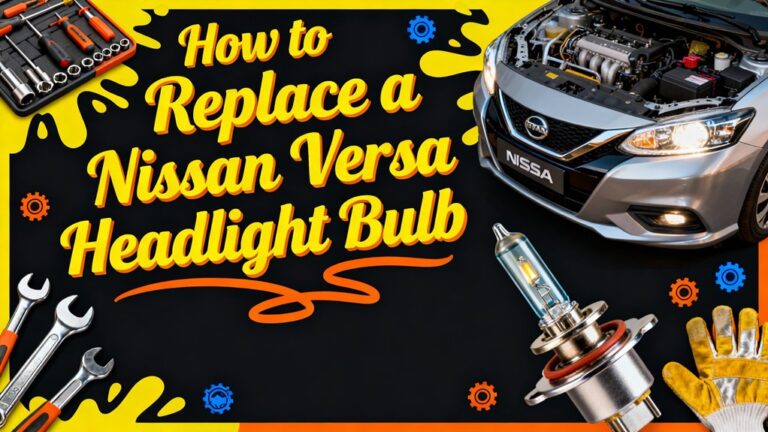
To replace your car’s headlight glass, you’ll first need to disconnect the battery and remove the headlight assembly from your vehicle. Apply controlled heat with a heat gun to soften the adhesive, then carefully pry the old lens from the housing using plastic tools. Clean and sand the surfaces thoroughly, apply automotive-grade sealant around the edge, and press the new glass firmly into place. Allow proper curing time before reassembly. This guide covers the complete process, including critical safety measures and professional restoration techniques.
Determining What Needs to Be Replaced
Before attempting any headlight repair, examine the damage carefully to determine whether you need to replace just the lens, the entire housing assembly, or simply restore the existing components. Conduct a thorough lens inspection by checking for cracks, chips, or breaks in the surface—these typically require replacement since they distort beam patterns. During damage assessment, evaluate lens clarity and test for yellowing or haze that impairs light output. Check inside for moisture or condensation, which indicates seal failure. Determine if your headlight uses a separate lens or sealed unit; modern LED and HID assemblies often can’t be disassembled. Inspect reflectors, bulb sockets, and internal components for corrosion or damage. Test beam focus and distribution to confirm if replacement is necessary. If you notice cloudiness or oxidation without structural damage, household cleaning techniques may restore clarity to most cloudy or hazy headlights, potentially eliminating the need for complete replacement. Consider that polishing can restore clarity to most cloudy or hazy headlights, potentially eliminating the need for complete replacement.

KIT CONTENTS - Each headlight restoration kit includes (8) Step 1 Oxidation Removing Wipes, (1) Step 2 Sanding Kit, and (2) Step 3 Ceramic Coating Wipes.

RESTORES FOGGY HEADLIGHTS: Quickly restore and eliminate oxidized and yellowed lenses for a crystal clear, like-new appearance

KIT INCLUDES: 1 - 3M Trizact Refining Disc 1000 grit, 3 in/7.6 cm 1 - 3M Trizact Refining Disc 3000 grit, 3 in/7.6 cm 2 - 3M Quick Headlight Clear Coat Wipes 1 - Foam Pad with 3M Hookit Attachment, 3 in/7.6 cm 1- Disposable Glove
Gaining Access to the Headlight Assembly
Accessing the headlight assembly requires methodical preparation to avoid damaging surrounding components and guarantee safe removal. Begin by opening the hood and removing any engine covers obstructing assembly access. Disconnect the battery to prevent electrical issues during the disassembly process. Apply painter’s tape to adjacent fenders for paint protection.
Remove the bumper cover if necessary, detaching clips and bolts connecting it to the radiator support. Pull back inner fender liners that obstruct headlight fasteners. Locate and remove mounting bolts—typically 10mm hex or T30 Torx—securing the assembly to the frame. Pop out plastic clips using trim tools. After removing fasteners and clips, carefully transfer essential components like sockets and gaskets to your new headlight assembly. Variations in the disassembly process depend on your specific vehicle model and its design configuration.
Disconnect wiring harness connectors by depressing locking tabs; never pull on wires directly. Once fasteners are removed and wiring is disconnected, firmly pull the assembly outward to release internal locking tabs. This headlight assembly replacement process is recommended for beginners and typically takes about 1 hour to complete.
Safely Removing the Glass From the Housing
With the headlight assembly removed from your vehicle, you can now separate the glass lens from the plastic housing using controlled heat application. Set your heat gun to 225-250°F or preheat your oven to 200-250°F, ensuring you’ve removed all bulbs and screws first. Heat the assembly for 10-14 minutes to soften different adhesive types uniformly around the perimeter.
When the sealant becomes pliable, use appropriate tools selection: two flat head screwdrivers working in tandem, or safer plastic pry tools to prevent surface damage. Insert one tool under the softened glue bead and gently lift while the second cuts through adhesive. Work incrementally around the edge, avoiding force that could crack the glass. Always wear heat-resistant gloves and safety goggles throughout this process. Once you’ve separated the glass, you may want to consider UV-resistant clear coat application if you’re restoring rather than replacing the lens.
For easier access to the adhesive seal, consider opening from the grill side of the headlight assembly. Use a razor blade to separate glass once heated. After successfully removing the glass, applying a UV sealant will protect the headlight from future oxidation and yellowing.
SAY GOODBYE TO BURNS! At 14” inches long, our BBQ gloves better protect fingers, hands and wrists from burns. And Our cooking gloves are heat resistant up to 932°F / 500°C .use this bbq accessories for your turkey fryer ,campfire,fireplace,charcoal,pit & barbecue gas grills as well

INTRODUCING THE GRAYWOLF : SpecxArmor presents the new series of the GrayWolf heavy duty gloves certified with the EN 11612 standards of flame , heat and molten metal splashes and would be a great choice if you need a heavy duty mig welding gloves

HEAT RESISTANT – Aramid fiber meets EN407 level 1 contact heat resistance for safety when working with high temperature materials
Preparing Surfaces for the New Glass
Proper surface preparation determines whether your new headlight glass will seal correctly and withstand years of road vibrations, temperature changes, and moisture exposure. Remove all dust, dirt, grease, and broken glass fragments using a microfiber cloth and mild soap solution. Sand the housing edges with 600-1200 grit sandpaper to create texture for ideal adhesion techniques. Wet sanding reduces dust while preventing deep scratches. Inspect for cracks, corrosion, or warping that could compromise the seal. Apply plastic filler to repair minor imperfections if needed. Wipe down with isopropyl alcohol to eliminate residual oils. Apply OEM-recommended primer to guarantee surface compatibility between the housing and new glass. Let the primer cure completely according to manufacturer specifications before proceeding with installation. A properly sealed headlight prevents moisture intrusion that can cause condensation and interior fogging over time. Consider upgrading to projector-style designs for optimal light distribution after completing your glass replacement. Since headlights are made of polycarbonate, a porous material, ensure the housing surface is completely smooth to prevent future moisture infiltration.
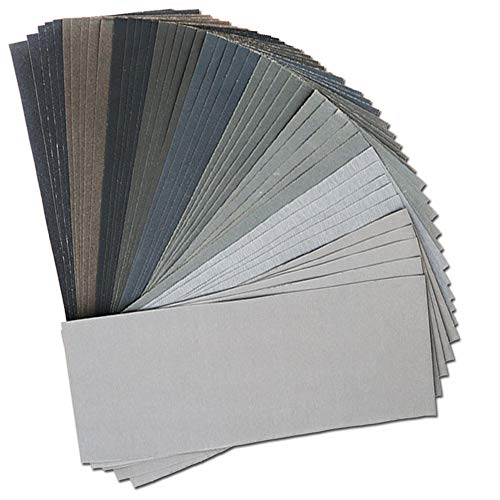
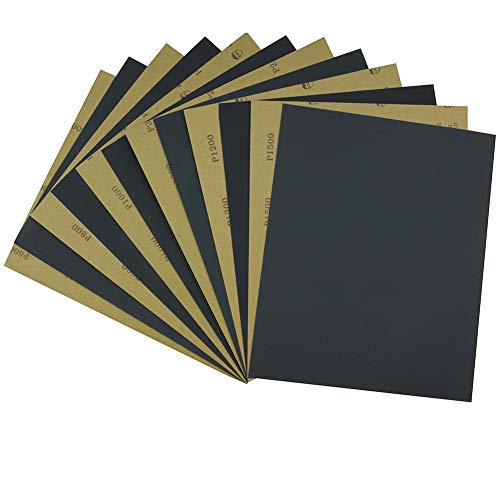
Wide Variety of Grit - Perfect selection of different grits, Including 5 sheets of each grit: 400/ 600/ 800/ 1000/ 1200/ 1500/ 2000/ 2500/ 3000, total 45 sheets.
【Fine to Ultra-Fine Grit Set for Finishing & Polishing 】– Includes 600, 800, 1000, 1200, 1500 and 2000 grit sandpaper, 5 sheets per grit. Designed for smoothing, refining and final surface preparation

Installing the Replacement Headlight Glass
Once you’ve completed the surface preparation and primer curing, begin the installation by gathering your replacement glass, sealant materials, and assembly tools in a clean workspace. Select appropriate glass types compatible with your headlight housing—OEM or aftermarket polycarbonate options. Choose between adhesive options: black butyl rubber sealant or OEM replacement seals for waterproof bonding. Apply a continuous, even bead around the lens edge and housing groove. Carefully align the replacement glass with the groove, pressing firmly to guarantee full contact without excessive force that could crack the glass. Secure temporarily with clamps or tape to maintain pressure during curing. For optimal results, use professional heating techniques to ensure proper adhesion and create a watertight and long-lasting repair. Inspect all edges for uniform adhesion and gaps. Before beginning installation, protect surrounding surfaces with masking tape to prevent damage to adjacent body panels and paint. Wear safety glasses and heat-resistant gloves throughout installation to prevent injury.

Seals Windshields, Headlights, and Lenses Without a Visible Line: Our quick gasket maker cures clear at room temperature, so there’s no ugly bead showing through glass or plastic. Use it on windshields, headlights, indicators, and brake lights where appearance matters as much as the seal.

1.[Vertical & Overhead? No Drip, No Sag] Tired of runny adhesives that ruin your paint job? Our non-sag urethane formula stays exactly where you apply—even on windshields, roof seams, and vertical panels. The high-thixotropic viscosity ensures zero dripping during overhead work, giving you clean, stress-free installations every time.

OEM-GRADE AND RACE-SPEC Automotive Butyl Headlamp Sealant Tape that sports a waterproof rubber sealant that can deliver airtight and watertight sealing for headlights, windshield, windows, and pool lights. Rated to last well for years even under constant exposure with high humidity, high heat, and elevated temperature, rainfall or UV.
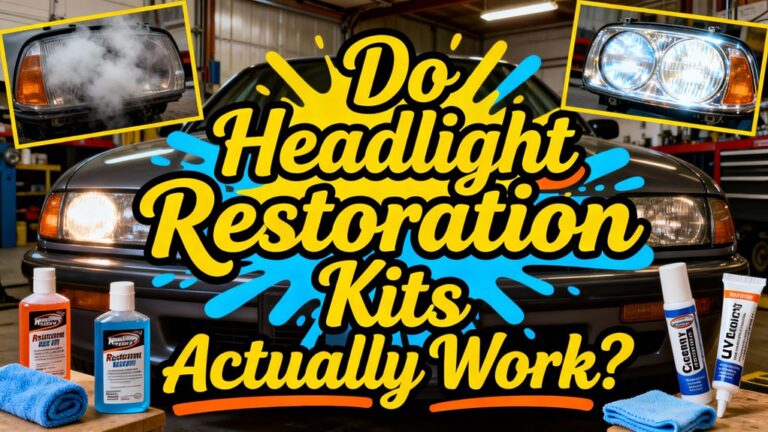
Restoring Clarity to Foggy Lenses
When headlight lenses develop a foggy or yellowed appearance, you’re observing UV-induced oxidation that has degraded the polycarbonate surface layer. Begin lens restoration techniques by wet-sanding with 400-grit sandpaper to remove heavy oxidation, then progress through 600, 1000, and 2000-grit for smoothness. Use water as lubricant during sanding to prevent damage. After sanding, apply headlight-specific polishing compound with a buffing pad to eliminate fine scratches. Clean thoroughly with alcohol to remove residues. Apply UV-resistant clear coat immediately—this critical step prevents re-oxidation. Proper masking protects surrounding paint during application. For maintenance between professional treatments, regular cleaning with abrasive cleansers like baking soda paste can help maintain optical clarity between full restoration cycles. These headlight maintenance tips guarantee long-lasting clarity, though you’ll need to reapply sealant every 6–12 months. Restoring headlights improves down-road lighting and enhances your ability to react quickly to hazards. Commercial restoration kits provide all necessary materials in sequence, with protective coating durability varying between products based on their sealant formulations and UV protection technology.

UV Headlight Coating Kit: The Sylvania UV Block Clear Coat Kit is a premium headlight clear coat designed to protect and restore dull or cloudy lenses to like-new condition

Easy Headlight Restoration Kit: The Sylvania Headlight Restoration Kit is easy to use and includes everything needed to repair two headlight lenses and restore light output with no tools needed

HEADLIGHT RESTORE MADE EASY: Professional-grade 2K clear coat spray with a build in adhesion promoter to restore clarity to yellowed, foggy, or scratched headlights for improved visibility and appearance.
Reassembling and Testing Your Headlight
After restoring or replacing the headlight lens, you must now reassemble the components and verify proper operation before returning your vehicle to service.
Begin by reconnecting all electrical connections, ensuring each connector clicks securely into place for low beam, high beam, and turn signals. Inspect wiring harnesses for damage before connection to prevent electrical shorts. Most modern vehicles use dual filament bulbs that power both low and high beams through a single bulb. Align the assembly with original mounting points and insert fasteners, tightening sequentially to manufacturer specifications—avoid overtightening to prevent housing cracks. Verify all seals and gaskets are properly positioned to maintain moisture protection and prevent UV-related fogging of the lens over time.
Reconnect the battery’s negative terminal and test all lighting functions in accessory mode. Check headlight alignment using a flat surface and wall, adjusting beam aim as needed. Inspect for gaps, misalignment, or moisture intrusion before final approval. Wear work gloves and protective eyewear throughout the reassembly process to ensure your safety while handling components.
Essential Safety Precautions to Follow
Replacing headlight glass involves working with fragile materials, electrical components, and automotive systems that demand strict safety protocols. You’ll need proper safety gear including goggles to protect against glass debris and nitrile gloves to prevent skin oils from transferring to bulbs, which causes uneven heating and premature failure.
Essential electrical precautions require powering down your vehicle completely and disconnecting the battery to eliminate short circuit risks. Never work on live components or force bulbs during installation—handle connectors gently and align tabs accurately before locking.
Park on level ground with the parking brake engaged, working in well-lit conditions away from wind and debris. Hold replacement bulbs by their base only, inspect housing for damage, and verify proper alignment post-installation to guarantee ideal visibility and safety. Ensure your replacement bulbs meet DOT regulations for legal road use and optimal beam pattern quality. Keep your workspace organized to avoid losing small screws, clips, and tools during the replacement process. When selecting LED replacements, verify that any aftermarket bulbs are DOT-approved replacements to ensure compliance with federal safety standards and avoid non-compliant options that may cause excessive glare.