To replace your Dodge Durango’s headlight bulb, you’ll need a 10mm socket and flathead screwdriver. Start by disconnecting the battery and turning the front wheel inward to access the wheel liner panel on the passenger side, or remove the airbox assembly on the driver side. Turn the bulb cover counterclockwise, disconnect the electrical connector, and release the wire retaining clip. Install the new H11 or 9005 bulb by handling only the plastic base, ensuring proper tab alignment before securing the retaining ring. Further details on beam adjustment and troubleshooting follow below.
Gathering Tools and Safety Precautions
Before replacing your Dodge Durango headlight bulb, you’ll need specific tools based on which side you’re working on. For passenger-side access, gather a 10 mm socket for bolt removal. Driver-side work requires a flathead screwdriver or 5/16 to 8 mm socket for airbox clamps. Proper tool organization guarantees efficient workflow throughout the procedure.
Essential safety gear includes rubber gloves to prevent oil transfer to bulb glass and avoid contact with dirty components. Eye protection is recommended when working in tight engine compartments. Work gloves prove valuable when handling winter-exposed, salty parts. Keep rubbing alcohol and a soft cloth ready for cleaning any fingerprints from bulb surfaces. A kneeling pad provides comfort during the process.
Before beginning, turn off your engine and allow the headlight assembly to cool completely. Park on level ground and disconnect the battery if working near electrical components.

Ideal replacement - this headlight socket matches the fit and terminal count of the original equipment socket
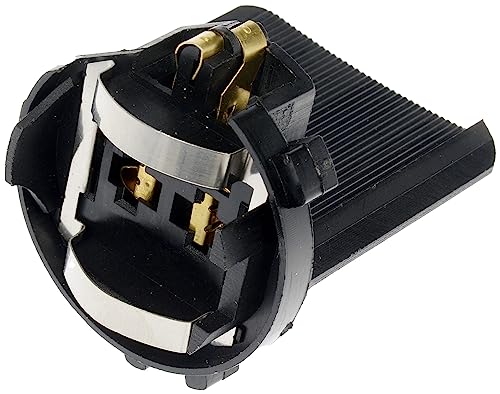
Ideal replacement - this headlight socket matches the fit and terminal count of the original equipment socket
Accessing the Headlight Assembly
Accessing the headlight assembly varies greatly between the passenger and driver sides of your Dodge Durango. For passenger-side fender well access, turn the wheel inward and locate the access panel or cap in the wheel liner. Pull or rotate the panel from its notches to reach the rubber boot and wiring harness. On the driver’s side, you’ll need to remove the airbox assembly using a flathead screwdriver or 5/16 or 8mm socket for clamps. Grip the beige plastic trim ring from both sides and turn it counterclockwise—it’s tight, so combine reaches from the engine bay and fender well for better leverage. Proper assembly alignment guarantees smooth reassembly after bulb replacement. For the passenger side, you can also access the bulb from the top by sliding the hood lever to the passenger side and optionally removing the coolant reservoir with a 10 mm socket for better clearance.
Removing the Old Headlight Bulb
Start by locating the round black plastic bulb cover at the rear of the headlight assembly. Turn it counterclockwise approximately one-quarter turn until it releases—expect a tight fit. Once removed, disconnect the electrical connector by gently prying it with a flat screwdriver, then twist slightly to separate it from the bulb terminals. Next, release the retaining clip by lifting the small wire lever circled on the bulb housing. The bulb should wiggle free easily once the clip disengages. Note the bulb’s orientation before extraction to confirm proper reinstallation. Different bulb types (H11, 9005, 9006) require specific replacement frequency based on manufacturer specifications. Maneuver the bulb forward slightly, then pull horizontally to clear the housing without damaging surrounding components. You may need to steer the wheel to one side to improve access to the headlight assembly area. Careful handling of the electrical connectors and clips will prevent damage during the removal process and ensure proper alignment of new bulbs when reinstalling.

Lights Dim Over Time, Replace In Pairs: Your lights are a pair, one is never turned on without the other. If one bulb burns out, the other isn't far behind. Replace your 9007 XtraVision Halogen bulbs in pairs for optimum performance.
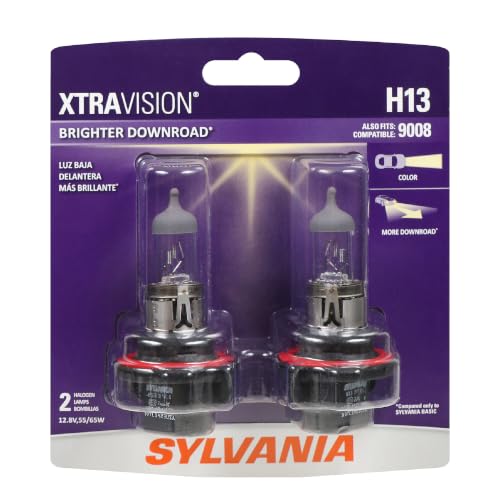
Lights Dim Over Time, Replace In Pairs: Your lights are a pair, one is never turned on without the other. If one bulb burns out, the other isn't far behind. Replace your H11 XtraVision Halogen bulbs in pairs for optimum performance.
Installing the New Headlight Bulb
Handle the new headlight bulb exclusively by its plastic base or protective coating—never touch the glass envelope with bare fingers. Skin oils cause premature failure. If contact occurs, clean the bulb with rubbing alcohol and a soft cloth. Note the bulb orientation from your removal process. Align the three tabs on the bulb base with corresponding socket slots, matching the smallest tab to the smallest slot first. Insert the bulb straight into the socket hole, ensuring proper forward-facing orientation. Push firmly until fully seated without forcing. The connector notch must align exactly with the bulb base. Rotate the retaining ring clockwise until it stops, typically reaching the 1:00 position. Wiggle the bulb to confirm secure socket alignment and verify proper installation. For most vehicles, common replacement bulb types include the 7528 or 2357 which are frequently used across different models. Different trim levels may require different bulb sizes for low beams, high beams, and fog lights. Ensure the safety tabs are engaged when reconnecting the bulb to the harness connector.

300% HIGH BRIGHTNESS: The light bulbs have brighter output and beam pattern, replace your dim light bulbs, clearer vision while driving at night, safe and reliable. 1:1 beam pattern provides wider and farther ranges with no glare to oncoming traffic, no dark spots or shadow areas.

Step-by-step procedures written from a complete teardown and rebuild, giving you the confidence to tackle repairs at any skill level.
Testing and Adjusting the Headlight Beam
Proper headlight alignment guarantees ideal road visibility while preventing glare that blinds oncoming drivers. After bulb installation, park your Durango on level ground 25 feet from a wall with correct tire pressure and a half-full fuel tank. Turn on the low beams and measure the beam height on the wall. The brightest part’s top edge should fall 2 inches below your marked center point for proper beam alignment. Locate the vertical adjustment screw on the headlight housing—turn clockwise to raise or counterclockwise to lower the beam using a Phillips head screwdriver. For horizontal visibility adjustments, use the side screw to shift left or right. Before making adjustments on your 2016 Dodge Durango, use a diagnostic scan tool to disable the automatic leveling feature, as the system may attempt to correct any manual changes you make. Test incrementally, verifying even illumination patterns without dim spots. Confirm your adjustments don’t create excessive glare for oncoming traffic. If your headlight lens appears yellowed or hazy, consider restoring clarity before alignment testing to ensure accurate beam measurements. For long-term protection of your restored headlights, applying a clear coat or UV sealant will prevent future oxidation and maintain optimal visibility performance.

STRENGTH AND DURABILITY: Made of heat-treated alloy steel
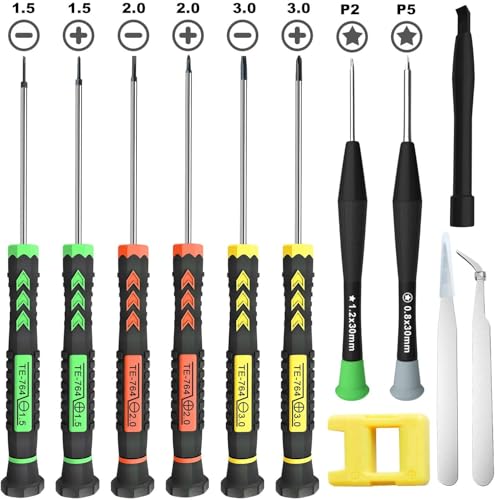
[Package Includes] – 1 x 3.0 Flathead Screwdriver, 1 x 2.0 Flathead Screwdriver, 1 x 1.5 Flathead Screwdriver, 1 x 3.0 Phillips Screwdriver, 1 x 2.0 Phillips Screwdriver, 1 x 1.5 Phillips Screwdriver, 1 x Pentalobe 2 Screwdriver, 1 x Pentalobe 5 Screwdriver, 1 x Helper Stick, 2 x Tweezers, 1 x Magnetizer & Demagnetizer Tool

STRENGTH AND DURABILITY: Made of heat-treated alloy steel
Troubleshooting Common Problems
Even with properly aligned headlights, you may encounter operational failures that require systematic diagnosis. Begin by checking for blown fuses caused by bulb overloads or short circuits. Test the headlight relay and switch functionality using a multimeter to verify proper voltage delivery. Wiring issues manifest through burnt connections, melted sockets, or burning odors during operation. Use a test light to trace power through the circuit from fuse box to bulb connector. Inspect the passenger-side headlight assembly particularly, as this location commonly experiences wiring harness failures. Verify bulb connector orientation matches assembly slots, especially with polarity-sensitive LED replacements. If you’ve confirmed bulb integrity but still experience fuse problems, inspect the entire wiring harness for damaged insulation or corroded terminals requiring replacement. Persistent flickering or dimming despite these checks may indicate alternator charging issues affecting stable voltage delivery to your headlight system. When replacing the bulb, wear gloves to avoid contamination of the bulb’s glass surface, as skin oils can damage the component and reduce its lifespan. When persistent headlight failures occur despite replacing bulbs and fuses, schedule a professional inspection to identify potential harness defects that may require manufacturer-level diagnostics.

【Precise Fit For 2014+ Dodge Durango with HID Headlight】This headlight conversion harness is specifically designed for the 2014+ Dodge Durango that came factory-equipped with HID headlights.It allows you to install 2021+ style headlight assemblies with halogen turn bulbs.

High Quality: This female adapter wiring harness sockets is made of high-quality materials, the nylon shell has good insulation, heat-resistant and flame-retardant, has good toughness, is not easy to deform or crack, the internal copper wire can stably conduct electricity, has high working efficiency, and can be used for a long time
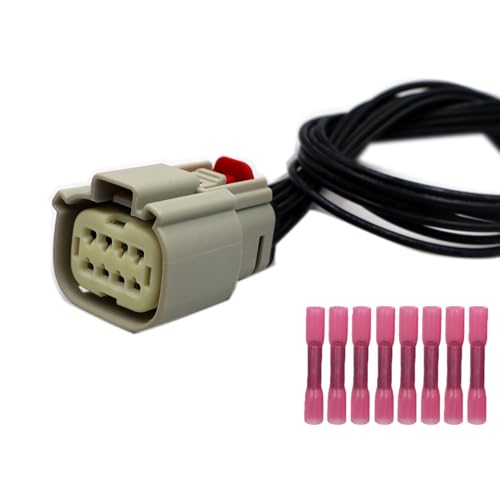
Fitment: Selling a 8-wire brand new OE quality headlight Connector Compatible with 2021-2022 Dodge Durango. Found on headlights as the main chassis harness connector to headlight. Includes copper insulated wires measuring 11.8 inches (30 cm) in length