To replace your Toyota RAV4 headlight, you’ll first open the hood and locate the headlight assembly behind the housing. Disconnect the electrical plug by rotating it counterclockwise and pressing the locking tab. Release the spring clip securing the bulb, then remove the old bulb by its base. Install your replacement bulb—typically H11/9005 for 2013-2015 models—ensuring tabs align with socket notches until you hear a click. Reconnect the electrical plug and test functionality. Model-year variations affect access procedures, which we’ll explore further below.
Gather Your Tools and Materials
Before beginning the headlight replacement procedure, assemble the complete toolset to avoid interruptions during disassembly. You’ll need both flat blade and Phillips head screwdrivers in multiple sizes for panel removal and fastener compatibility. Include a 10mm socket with 1/4″ ratchet and extensions to access tight engine bay areas and under-bumper bolts. Plastic fastener removers and metal panel poppers prevent damage to painted surfaces while removing grille clips and push pins. Safety precautions require protective gloves to prevent skin oils from contaminating replacement bulbs—whether halogen, HID, or LED types. Safety glasses shield against debris during tool use. Verify your specific bulb type through the owner’s manual; 2024 RAV4 models typically use 9006 bulbs, which are common headlight sizes designed for specific base types and applications. If you encounter difficulties during any step or do not fully understand the procedure, professional assistance is recommended to ensure proper installation and avoid potential damage. Proper tool organization streamlines the replacement process and protects components.
Open and Secure the Hood
Five distinct steps guarantee proper RAV4 hood access for headlight replacement across all 2013-2025 model years. First, open your driver’s side door and locate the interior hood release lever underneath the steering column. Pull it outward until you hear the primary latch pop. Second, move to the vehicle’s front and locate the secondary lever centered above the Toyota logo. Press this lever left to disengage the safety hook. Third, lift the hood upward and remove the support bar from its storage clip. Insert the bar into the designated oval-shaped hole for hood safety. These maintenance tips secure stable working conditions. Testing your lights after replacement ensures proper function and correct headlight alignment. Understanding the correct bulb types for your specific model year will help you prepare for the replacement process. If your hood latch mechanism fails to engage properly, genuine Toyota hood lock assemblies are available with up to 30% savings and ship within 1-3 business days. When finished, lift the hood fully, remove the support bar, lower to waist height, then push down firmly from center for complete latch engagement.
Access the Headlight Assembly
Once the hood stands securely supported, RAV4 headlight assembly access diverges into three distinct procedural paths determined by model year. For 2019-2024 models, you’ll directly pull the assembly after releasing fasteners—no bumper removal required. The 2013-2018 generation demands partial or complete bumper cover disassembly; remove two 10mm screws along the bumper line, extract center push pins with a trim tool, then pull the bumper from center outward. Understanding headlight types specific to your year prevents incompatible installations. Consider whether you need standard halogen bulbs or if you’re interested in LED and HID conversions for improved visibility and longevity. The 2006-2012 models require wheel removal and accessing under-bumper fasteners, including 10mm bolts and pop rivets. Proper assembly alignment during reinstallation guarantees correct beam projection. Use a 10-inch socket extension for hidden retaining screws on all generations. Position yourself with the vehicle raised from underneath to access the driver side fender well and identify the necessary screws.

Perfect Fit for 2016-2018 Toyota Rav4: These Headlight Assemblies are meticulously designed to provide a perfect fit for the 2016, 2017, and 2018 Toyota Rav4 models. With precise engineering, these headlights seamlessly integrate into your vehicle's front end, enhancing both its appearance and functionality. Elevate your Rav4 with headlights that are specifically tailored to fit flawlessly.

💡【VEHICLE COMPATIBILITY】Headlights Assembly Compatible With 2013 2014 2015 Toyota Rav4. Bulbs is not included. High/low beam bulb type: 9005, signal light:WY21/5W*1

Fitment- Replacement for Toyota RAV4 2013 2014 2015 headlights
Remove the Old Headlight Bulb
With the headlight assembly exposed, you’ll disconnect and extract the failed bulb using a two-stage release process that protects both the electrical connector and retention hardware. First, locate the electrical plug behind the housing and rotate it counterclockwise an eighth turn to open, then press the locking tab while pulling straight back to disconnect the harness. Next, identify the spring clip securing the bulb—depress or lift it according to your model’s geometry. Handle only the bulb base, never the glass envelope, to prevent contamination and breakage. Confirm bulb compatibility by checking the part number stamped on the base (H11, 9005, etc.). These installation tips guarantee clean removal: support connectors to prevent pin damage, work slowly in confined spaces, and inspect the socket for corrosion before proceeding. Ensure DOT compliance by verifying that your replacement bulb meets federal headlight standards. For maximum brightness and efficiency, consider upgrading to LED technology which dominates the market in 2025 for providing the brightest, most efficient, and safest headlights available. Once removed, carefully wipe with a cloth if you’ve accidentally touched the glass portion to remove any grease that could cause premature burnout.

Exceptional 600% Brightness: h16 led fog light bulb illuminate the road with 12,000 lumens of bright white light (6500K), providing 600% more brightness than standard bulbs. Ideal for challenging weather conditions like fog, rain, and snow

Superior Visibility in Bad Weather: Equipped with 54 cutting-edge LED chips and enhanced top convex lens, the F1 Series H11 LED Fog Light Bulb provides 360° illumination, projecting 400% upgraded light over greater distances with precision. H11 fog light bulb led focused lights ensures safe and comfortable visibility during driving in rainy and foggy conditions
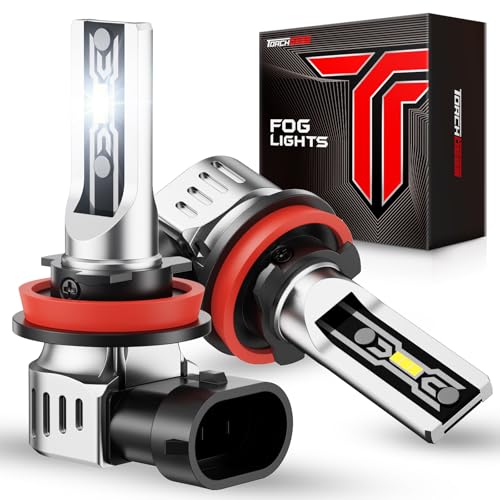
12,000 Lumens Ultra-Bright for All Weather Driving: Cut through dense fog, heavy rain, and snowy roads with 12,000LM of brilliant output—600% brighter than original fog lights. The TF2 Series H11 LED bulb deliver crystal-clear visibility for cars, trucks, and SUVs, keeping you safe in even the toughest driving conditions.
Install the New Headlight Bulb
Prepare the replacement bulb by verifying its part number matches your RAV4’s model year specification—2013-2015 models typically use H11 for low beams and 9005 for high beams, while 2016-2018 variants may differ. When handling bulb types, wear rubber gloves to prevent oil transfer to the glass surface, which shortens lifespan. Inspect for defects before proceeding.
Align the bulb tabs precisely with socket notches—they’ll fit only one orientation. Push firmly until you hear a click confirming secure seating. Test by gently wiggling; it shouldn’t move.
Reconnect the electrical plug by pushing until fully engaged, then rotate clockwise to lock. Push down on the clip while pulling to ensure complete attachment of the connection. Reinstall the dust cover by aligning tabs and rotating one-eighth turn clockwise until seated. These installation tips guarantee proper function without requiring tools.

【Visual Enhancement】: The OKOENIEO H11 headlight bulb are 200% brighter than other halogen bulbs, providing drivers with a wider and farther field of vision. Offering a greater visibility, they allow drivers to spot deer, wildlife, falling rocks, or obstacles ahead of time, ensuring safer nighttime driving.
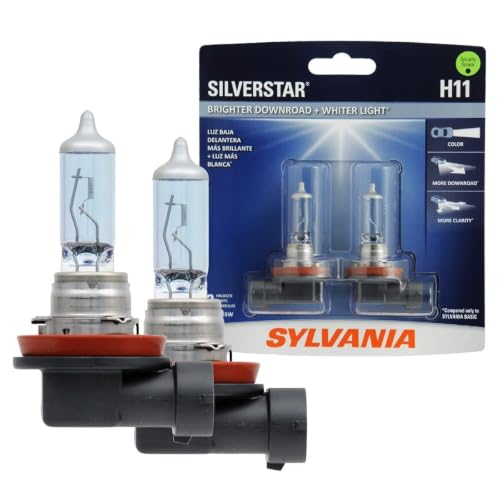
Lights Dim Over Time, Replace In Pairs: Your lights are a pair, one is never turned on without the other. If one bulb burns out, the other isn't far behind. Replace your H11 SilverStar Halogen bulbs in pairs for optimum performance.

Lights Dim Over Time, Replace In Pairs: Your lights are a pair, one is never turned on without the other. If one bulb burns out, the other isn't far behind. Replace your H11 XtraVision Halogen bulbs in pairs for optimum performance.
Model-Specific Considerations
Different RAV4 generations require distinct approaches based on your model year and trim level. For 2013-2018 models with halogen headlights, you’ll access bulbs through dust covers near the battery, rotating counterclockwise without removing components. The 2019-2024 generation requires verification of bulb types before purchase, as specifications vary by trim. Access involves rotating the housing counterclockwise directly behind the assembly. Always wear gloves to prevent skin oils from contaminating halogen bulbs.
2025 RAV4s introduce LED options alongside traditional halogen and HID configurations. Procedures differ by bulb type—consult your owner’s manual for trim-specific instructions. You may need to remove the battery or air intake for adequate workspace. When selecting replacement bulbs, consider light output measured in lumens to ensure optimal visibility for your driving conditions. After installing the new bulb, check the functionality of the headlight to confirm proper operation before driving. Complete assembly replacement on 2019-2024 models demands bumper loosening and specialized tools including socket wrenches and panel poppers. Secure the hood in an open position using the hood prop before beginning any headlight replacement work.