You can restore cloudy, yellowed headlights using a DIY restoration kit that includes progressive-grit sandpaper (400-4000), polishing compounds, and UV-protective sealants. Start by wet sanding with coarser grits, progress to finer grits, then apply polishing compound with a buffer to eliminate haze. Finish with multiple thin layers of UV-resistant clear coat for protection. Results typically last 6 months to several years depending on coating quality—ceramic-based sealants maintain clarity for 3-5 years. The techniques below will maximize your restoration’s longevity and optical performance.
What Causes Headlight Lenses to Turn Cloudy and Yellow
When ultraviolet radiation from sunlight penetrates your vehicle’s polycarbonate headlight lenses, it systematically breaks down the molecular bonds within the plastic’s structure. This degradation compromises the protective coating, triggering oxidation that manifests as yellowing and haziness. You’ll notice accelerated deterioration if you park outdoors without shade protection.
Road debris compounds this damage through micro-abrasions that scatter light output, while temperature fluctuations create expansion-contraction cycles causing micro-cracks. These imperfections allow moisture infiltration, intensifying oxidation processes. Chemical exposure from road salts and environmental pollutants further erodes lens clarity. Using harsh cleaning products can strip away remaining protective layers, leaving your headlights even more susceptible to damage.
Without proper headlight maintenance and regular lens cleaning, these combined factors progressively reduce light transmission efficiency. The oxidation process accelerates as protective layers deteriorate, creating a self-reinforcing degradation cycle that compromises both optical performance and nighttime visibility. Applying protective coating or wax after cleaning helps maintain clarity and prevents re-yellowing of the lens surface. For additional protection beyond cleaning, consider applying heat shrink tubing over headlight connections to prevent moisture infiltration that can worsen internal lens degradation.
Essential Components Found in Most Restoration Kits
Most professional-grade headlight restoration kits contain five distinct component categories that work synergistically to reverse oxidation damage and restore optical clarity. You’ll find cleaning solutions that remove contaminants and prep lens surfaces, typically containing solvents or mild abrasives. Progressive-grit sandpaper systems (400-4000 grit) systematically eliminate oxidation layers through wet sanding techniques. Polishing compounds restore transparency by smoothing microscopic surface irregularities, requiring buffing with microfiber pads or drill attachments. UV-protective sealants prevent future degradation by blocking ultraviolet radiation that causes yellowing. Application tools—including masking tape, gloves, applicator pads, and drill attachments—ensure proper execution. Each component serves a specific restoration phase: surface preparation, abrasive correction, optical refinement, and long-term protection. This systematic approach delivers measurable improvements in light transmission and beam pattern performance, which directly enhances nighttime visibility and safety on the road. When comparing restoration methods, headlight restoration products offer a more accessible alternative to professional services while delivering professional-quality outcomes. Kits that combine effectiveness with ease of use provide the most practical solutions for both novice and experienced restorers.

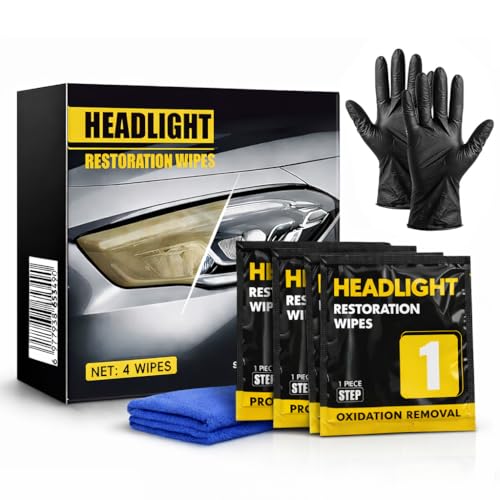
KIT CONTENTS - Each headlight restoration kit includes (8) Step 1 Oxidation Removing Wipes, (1) Step 2 Sanding Kit, and (2) Step 3 Ceramic Coating Wipes.
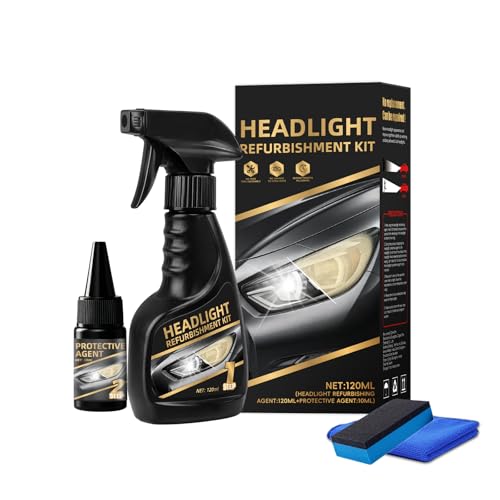
Make Your Vision Brighter:This 2026 New Automotive Headlight Restoration Kits effectively clears up yellowing and cloudiness, shine your car headlamp in just minutes, instantly improving brightness and visibility

RESTORES FOGGY HEADLIGHTS: Quickly restore and eliminate oxidized and yellowed lenses for a crystal clear, like-new appearance
Step-by-Step Process to Restore Your Headlights
Understanding component functions enables effective application—restoration success depends on executing each procedural step with technical precision. Begin by cleaning headlights thoroughly, then mask surrounding areas to protect paintwork. Start wet sanding with 600-grit sandpaper, progressing through 1500, 2000, and 3000 grits using consistent directional strokes. These sanding techniques systematically remove oxidation layers while minimizing surface irregularities. Apply polishing compound using a rotary buffer at variable speeds, working systematically across the lens to eliminate haze. Clean residual compound with isopropyl alcohol wipes, guaranteeing complete surface preparation. Apply UV-resistant clear coat in thin, even layers using controlled applicator techniques. These headlight maintenance tips guarantee ideal clarity restoration and long-term protection against future degradation. While toothpaste and home remedies offer quick fixes, professional-grade sanding and sealing techniques provide significantly more durable and lasting results. Allow 30-45 minutes curing time before removing masking materials. For optimal longevity, the clear coat should be inspected regularly and may require reapplication after approximately eighteen months. Sylvania’s UV block clear coat technology provides enhanced protection against future oxidation and yellowing of restored lenses.

Full-Cycle Sanding Support - The car drill polishing kit featuring 3 inch sanding discs range 60/80/120/240/400/800/1000/1500/2000/3000/5000/10000 grit sandpaper for dry and wet use, with orbital sander pads, imitation wool buffing pad, and upgraded backing pads for 1/4 and 1/8 inch shank. Seamlessly transition from sanding to polishing.

KIT INCLUDES: 1 - Disc Pad Holder, 3.25 in (8,2 cm) 6 - 3M Gold Sanding Discs 500 Grit, 3 in (7,6 cm) each 4 - 3M White Finishing Discs 800 Grit, 3 in (7,6 cm) each 1 - 3M Trizact Refining Disc 3000 Grit, 3 in (7,6 cm) 2 - 3M Quick Headlight Clear Co

Complete Sanding & Polishing Kit: This 3 inch hook and loop sanding disc set master every project stage with 12 included grits (80/120/180/240/400/800/1000/1500/2000/3000/5000/10000 grit). Effortlessly tackle scratches and imperfections on cars, metal, wood, epoxy resin, and shower glass—from coarse grinding to mirror polishing. Ideal for auto shops, furniture makers, and DIYers
How Long Will Your Restored Headlights Stay Clear
After investing time and effort into headlight restoration, you’ll naturally want to know how long your results will last. Restoration duration typically ranges from 6 months to several years, heavily dependent on UV protection quality and application thoroughness. Kits featuring ceramic coatings or UV sealants greatly outperform basic restoration products, with some maintaining clarity for 3-5 years.
Environmental factors play a critical role in longevity. UV radiation remains the primary degradation catalyst, while road chemicals, debris, and weather accelerate deterioration. Vehicles garaged or parked in shaded areas experience extended clarity compared to those under constant sun exposure. Different restoration methods, including abrasive polishing systems and protective coatings, offer varying levels of protection against these environmental stressors. After applying the UV coating, keeping headlights away from sunlight and dust for at least 3 hours ensures proper curing and optimal protection.
Without UV protection, expect fogging to reoccur within 5-6 months. To maximize durability, apply UV sealants annually and monitor for early yellowing signs requiring touch-up treatments. Reputable brands like 3M and Mothers have demonstrated longer-lasting results in maintaining headlight clarity over extended periods.
Extending Results With Additional Protection Methods
Your restoration work will degrade prematurely without proper protection strategies implemented immediately after completion. Apply UV protective coatings in multiple thin layers after polishing—these chemically block photodegradation and cure within 30-60 minutes under sunlight. Ceramic coatings provide superior durability, bonding chemically to plastic and forming hydrophobic barriers that last months. Adhesive protective films add physical shielding against road debris while blocking UV rays; install them wet to prevent bubbles. For maintenance tips, wash headlights frequently with mild soap and microfiber cloths—never abrasive materials. Quick vinegar-water rinses (1:2 ratio) chelate mineral deposits effectively. Reapply headlight waxes or sealants regularly to prevent oxidation buildup. Professional UV hardcoat applications require a spray gun and compressor but deliver protection lasting approximately five years. Combining multiple methods—UV coat plus film plus regular cleaning—maximizes lens clarity and lifespan greatly.

UV Headlight Coating Kit: The Sylvania UV Block Clear Coat Kit is a premium headlight clear coat designed to protect and restore dull or cloudy lenses to like-new condition
2-Step Headlight Restoration Kit - Includes 2 headlight cleaning wipes to remove oxidation and yellowing on the headlight surface, plus 2 ceramic coating wipes to seal and protect the lens surface for long-lasting clarity.
Please watch the operation video carefully before use