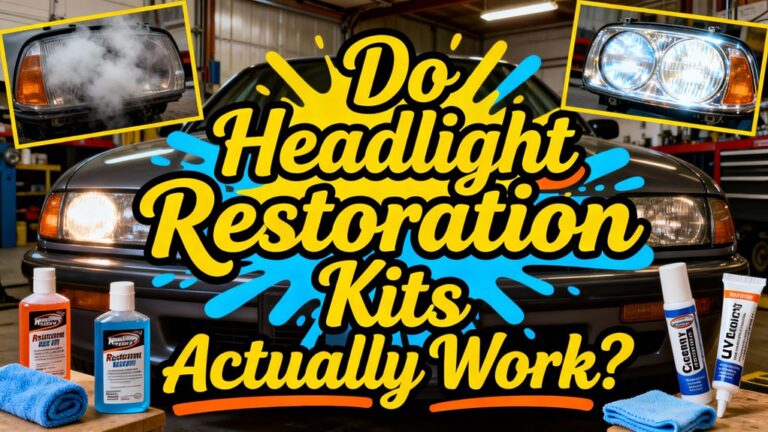
Lemon and baking soda can effectively clean mildly oxidized headlights through a dual-action process. The citric acid chemically etches away surface oxidation while baking soda provides gentle abrasive scrubbing power. You’ll mix both into a paste, apply it in circular motions, and rinse thoroughly for immediate clarity improvements. However, this method only addresses minor to moderate cloudiness and typically lasts just weeks before re-oxidation occurs. Severely degraded lenses won’t respond well to this approach. Below, you’ll find detailed application techniques, expected results, and when professional restoration becomes necessary.
How Lemon and Baking Soda Work Together to Clean Headlights
When lemon juice and baking soda combine on your headlight’s surface, they create a dual-action cleaning system that addresses oxidation through both chemical and mechanical means. The citric acid in lemon juice etches away grime and oxidation while baking soda’s gritty texture provides abrasive scrubbing power. This chemical reaction produces a slight foaming effect that lifts dirt particles during application. The acid softens environmental deposits while simultaneously lubricating the surface, allowing the abrasive particles to generate shear forces that weaken the yellowed outer layer. Your scrubbing motion mechanically removes the oxidized plastic, revealing clearer material beneath. After applying the paste, let it sit on the headlight to allow the acidic properties to work on breaking down stubborn residue. The cleaning effectiveness depends on your headlight’s condition—moderately oxidized lenses show noticeable improvement, while heavily pitted surfaces require professional polishing for ideal restoration.
Step-by-Step Guide to Applying the Lemon and Baking Soda Method
Before starting the cleaning process, gather your essential materials: fresh lemons (2-3 for one vehicle), baking soda (approximately 3-4 tablespoons), a mixing bowl, a clean cloth or sponge, and water. Cut the lemons in half, squeeze the juice into your bowl, and remove any seeds. Gradually add baking soda while stirring to achieve a thick, uniform mixture consistency without lumps.
Ensure your headlights are cool, then rinse away loose debris. Working in shade, apply the paste using a cloth, sponge, or lemon half. Spread it evenly across all foggy areas with circular scrubbing motions, applying moderate pressure. The acidic properties of lemon combined with baking soda’s mild abrasiveness work together to break down the oxidized layer on the headlight surface. While household methods like this can provide temporary improvements, more durable results typically require wet sanding with progressively finer grit sandpapers followed by professional polishing techniques. For optimal results, consider following this method with a protective clear coat to prevent rapid re-oxidation. After several minutes of scrubbing, rinse thoroughly with clean water to eliminate all residue. Dry with a microfiber cloth using gentle application techniques to prevent scratches and achieve a streak-free finish.
What Results Can You Expect From This DIY Cleaning Solution?
After applying the lemon and baking soda mixture to your headlights, you’ll observe immediate improvements in surface cleanliness and transparency. The citric acid dissolves oxidation while the mild abrasive action removes yellowed layers, delivering visual improvements that enhance both aesthetics and light output. Expected outcomes include noticeably brighter, clearer headlight surfaces with reduced haziness and improved beam focus.
However, results vary based on oxidation severity. Minor to moderate cloudiness responds effectively, while deep damage requires repeated treatments or professional intervention. The cleaning effect typically lasts several weeks to two months before oxidation returns. You’ll need frequent reapplication to maintain clarity, as this method provides temporary restoration rather than permanent protection, unlike UV sealants found in professional restoration kits that offer longer-lasting protection. Fresh lemon juice produces superior results compared to bottled alternatives, maximizing the solution’s cleaning potential. Apply the paste using clean microfiber cloths to ensure you don’t introduce new scratches during the cleaning process.
When This Method May Not Be Enough for Your Headlights
While lemon and baking soda deliver noticeable improvements for light oxidation, this DIY approach has clear limitations that you’ll encounter with more challenging headlight conditions. Severely yellowed lenses from UV damage won’t respond effectively to this surface-level treatment. You can’t repair structural damage like cracks, chips, or pitting—these require sanding, polishing, or replacement. The method’s long term effects prove disappointing since no UV sealant protects your work. Headlights re-oxidize within weeks, demanding frequent reapplication. You’ll also risk damaging coated lenses, as citric acid and abrasives may degrade protective layers on LED or HID assemblies. The initial clarity improvement fades rapidly as the headlights dry, often within just ten minutes of application. For extensively degraded headlights, professional restoration with proper sealing compounds delivers durable results that simple cleaning solutions can’t match.
Cost Comparison: DIY vs. Professional Headlight Restoration
Understanding the financial implications of headlight restoration helps you make informed decisions about lens maintenance. DIY kits range from $10-$30, offering cost effectiveness for minor oxidation without labor expenses. Professional services charge $50-$150 for both headlights, delivering superior restoration longevity through industrial-grade materials and UV sealants. Full replacement costs $300-$700+ per unit, making restoration financially prudent when lenses aren’t severely damaged.
Your choice hinges on severity and desired durability. DIY methods suit light cloudiness but may require frequent reapplication, adding indirect costs. Professional restoration provides warranties and typically lasts longer due to advanced polishing compounds and protective coatings. For stubborn cases, professional technicians can employ fine sandpaper and specialized techniques to remove heavy oxidation that household methods cannot address. LED headlight upgrades offer a permanent solution by eliminating the oxidation problem entirely while providing superior brightness and visibility that surpasses traditional restoration methods. Geographic location, vehicle make, and oxidation severity influence pricing. While DIY eliminates labor costs, professional services guarantee the best results and prevent potential damage from improper technique. Specialized tools enable professionals to achieve precision that household restoration methods cannot replicate.
Safety Tips and Proper Aftercare for Best Results
Regardless of which restoration method you select, proper safety protocols and aftercare determine both the quality of your results and the longevity of your headlight restoration. Essential cleaning precautions include wearing gloves to protect against lemon’s acidity, using safety glasses to prevent eye contact, and testing solutions on inconspicuous areas first. Always work on cool headlights in well-ventilated spaces, and protect surrounding paintwork with masking tape.
For ideal maintenance tips, rinse thoroughly after scrubbing to eliminate residue, then dry with microfiber cloths to prevent scratching. Apply UV-resistant sealant post-cleaning to guard against oxidation. Dispose of mixtures responsibly, avoid combining with incompatible chemicals, and maintain regular cleaning intervals. Regular maintenance can help prolong the clarity of your headlights and prevent the buildup that leads to more severe fogging over time. These protocols guarantee sustained clarity while preventing damage to both headlights and vehicle surfaces.