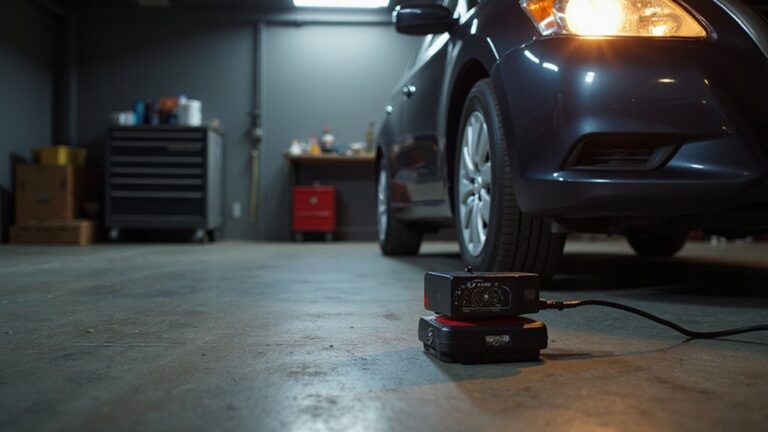
To adjust projector headlights, park on level ground 25 feet from a wall and mark the headlight center heights. Locate the vertical and horizontal adjustment screws behind each housing in your engine bay. Turn on low beams and use the vertical screw to align the sharp cutoff line with your horizontal reference mark, ensuring it doesn’t exceed the marked height. Adjust the horizontal screw to center the beam. Test-drive at night to verify proper alignment and road illumination. Understanding these fundamentals will help you master the complete adjustment process.
Preparing Your Vehicle and Workspace for Headlight Adjustment
Before adjusting your projector headlights, you must establish a controlled baseline that eliminates variables affecting beam alignment. Park your vehicle on flat, level ground 25 feet from a vertical wall or garage door. This vehicle maintenance step requires proper preparation: fill your gas tank completely, inflate tires to manufacturer-specified PSI, and ascertain all fluids reach designated levels. Remove unnecessary cargo while retaining typical loads if you regularly carry heavy equipment. Bounce each corner to settle the suspension at normal ride height. Place approximately 55 kg in the driver’s seat to simulate operating weight. These safety precautions create consistent conditions for accurate adjustment. Inspect headlight housings for damage and verify your workspace has adequate lighting and remains free from obstructions.
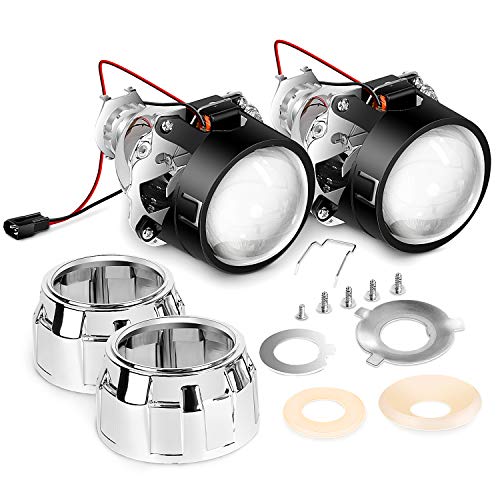
H1 mini projector kits (low/high beams), fit in tight spaces for quad retrofits or fog lamp upgrade

【Unique Angel Eyes Shrouds】3.0 Inch angel eyes switchback Shrouds comes with turn signal feature,unique appearance makes your car look more attractive.

Compatible with 1969-1973 Blazer, Compatible with 1970-1973 Camaro, Compatible with 1969-1973 Jimmy, Compatible with 1962-1968 C10 C20 C30 K10 K20 K30, Compatible with 1969-1973 C15 C25 C35 C1500 C2500 C3500 K15 K25 K35 K1500 K2500 K3500, Compatible with 1969-1973 C10 C20 C30 K10 K20 K30
Marking the Wall and Establishing Reference Points
Accurate reference points form the foundation for proper headlight alignment, transforming your workspace wall into a calibration grid. Proper wall selection requires a flat, light-colored surface—white works best for beam visibility. Position your vehicle perpendicular to the wall on level ground, then measure exactly 25 feet from the wall to your headlights. Mark this accurate distance marking on the ground with masking tape.
Measure the height from ground to each headlight center (typically 40 inches), designating this measurement as ‘X’. Transfer this height to the wall as horizontal line ‘M1’ using tape. Create a second horizontal line 2-4 inches below ‘M1’ to establish the low beam target position. Create a vertical center line marked ‘YC’, aligning it with your vehicle’s centerline. Add vertical lines ‘YL’ and ‘YR’ directly in front of each headlight center, ensuring they’re equidistant from ‘YC’. Proper beam pattern alignment is essential because the beam pattern and housing design determines how effectively your headlight’s light output translates into usable road illumination. Ensuring your vehicle has proper tire inflation and adequate fuel load will help simulate normal operating conditions during your alignment assessment.
Locating and Using the Adjustment Screws on Projector Housings
With your reference marks complete, locate the adjustment screws that control your projector headlights’ aim. These screws are typically found at the rear of each housing, accessible from the engine bay. You may need to remove plastic dust caps or retainers to expose them. Understanding adjustment types is essential: the vertical screw raises or lowers beam height via a geared cam, while the horizontal screw shifts aim laterally—though not all housings include lateral adjustment. Proper beam alignment creates a clear cutoff line that prevents blinding oncoming drivers while maximizing road visibility.
Most adjusters accept a long Phillips screwdriver, but verify your screw head type first. Turn the wheel or remove fender liners if side-mounted adjusters are present. Apply silicone lubricant to protect the screw threads during adjustment and prevent future seizing. Ensure your truck is parked on a level surface during this process to maintain accurate alignment. As part of regular maintenance techniques, check that screws aren’t seized or broken; damaged adjusters cause beam drift and require replacement for safe, stable aim.

Unique Material Combination:This 4 - piece screwdriver set features a combination of plastic and ceramic materials. These materials make the screwdrivers non - conductive, ideal for high - frequency circuit adjustment where electrical insulation is crucial.

【Package List】You will receive a combination set containing four screwdrivers of varying sizes to meet diverse needs. Designed for precision work, it is perfectly suited for electronic device repair, watchmaking, and other precision instrument operations.

【High-quality materials】This insulated screwdriver kit frequency screwdriver is adopted precision zirconia ceramics bits, good quality and durable. Strong hardness, not easy to wear, good workmanship. No electromagnetic induction, electrically and thermally insulated. No eddy current loss in high frequency. Anti-static and insulation ceramic screwdrivers.
Aligning the Cutoff Line to the Horizontal Reference
After setting up your reference marks and positioning your vehicle, turn on the low beams to reveal each projector’s cutoff line—the sharp horizontal edge that defines where light ends and darkness begins. Observe the cutoff characteristics: projector headlights produce a distinct step or hotspot near the top center, with the left beam typically lower than the right to prevent blinding oncoming drivers.
Using the vertical adjustment screw, raise or lower each beam until the top edge of the cutoff aligns with your horizontal reference mark—positioned 2 inches below the projector’s center height at 25 feet. The cutoff shield creates this clear horizontal line, which is essential for preventing glare to oncoming traffic. Many modern vehicles include an auto setting that adjusts headlight beam patterns based on driving conditions, though manual adjustment ensures optimal alignment. To maintain long-term clarity and prevent headlight yellowing that could compromise beam performance, consider applying a protective coating or wax to your lenses periodically. Ascertain beam symmetry by checking that both cutoffs sit level and overlap centrally, forming a single visible step. Verify that neither beam exceeds the marked height, maintaining proper downward aim for safety compliance.

RLB-HILON Headlamp Adjuster Kits including 4pcs screws and 4pcs nuts and 2pcs springs

RLB-HILON Headlight Adjuster Kits including 8pcs Screws and 8pcs nuts and 4pcs Springs

Kit includes 1-6"x8" sheet of Clear Lamin-x film
Testing and Verifying Proper Beam Alignment on the Road
Completing your wall-based adjustments requires real-world validation to confirm your projector headlights perform safely under actual driving conditions. Take your vehicle on a night drive to verify beams illuminate evenly without causing glare to oncoming drivers. Observe the sharp cutoff pattern and ascertain the high-intensity portion remains below opposing traffic’s eye level for effective glare reduction. Verify both left and right beams align uniformly to eliminate dark spots on road surfaces. Test against approaching vehicles to confirm no white light dazzles their vision. If glare or uneven illumination appears, make final tweaks to your adjustment screws using a Phillips screwdriver or specialized adjustment key. This real-world testing guarantees excellent nighttime visibility while maintaining safety for all drivers. Regular checks are recommended after weather exposure or wear to detect any misalignment requiring correction, as consistent headlight performance depends on maintaining optimal alignment over time. For drivers who prefer professional assistance, professional headlight repairs typically range from $100 to $300 for connector or bulb-related issues. Recheck alignment after weather exposure or wear to detect any misalignment requiring correction.