To replace your Jeep Grand Cherokee headlight, first disconnect the battery and position the vehicle on level ground. Remove the four 10mm mounting bolts and bumper clips obstructing the headlight assembly, then disconnect the electrical connector at the bulb’s rear. Twist the bulb socket counterclockwise, extract the old bulb, and insert the new one—handling it with gloves to prevent oil contamination. Reconnect the wiring harness, secure all components, and test both beam settings to verify proper function. Following thorough procedures guarantees peak performance and longevity.
Gather Your Tools and Safety Equipment
Before beginning headlight replacement on your Jeep Grand Cherokee, assemble the core tools: a 10mm socket wrench with compatible ratchet, trim tool set or flat blade screwdriver, and gloves to prevent skin oils from contaminating halogen bulbs. Proper tool organization guarantees efficient workflow and prevents lost fasteners during disassembly.
Essential safety precautions include wearing safety glasses to shield against debris, positioning wheel chocks behind tires to prevent vehicle movement, and disconnecting the battery to eliminate electrical hazards. If undercarriage access is required, use floor jacks and jack stands for secure vehicle support. Additional tools—pick tools for releasing harness clips, replacement bulbs matching your model specifications, and brake parts cleaner—should be readily accessible. Guarantee adequate workspace lighting and verify all components are compatible with your specific Grand Cherokee year and trim level. Quality replacement parts are essential for ensuring proper fitment and longevity of your headlight assembly installation.

Waterproof female socket electric connector Compatible with Jeep Grand Cherokee 2011-2021 3.0L/3.6L/5.7L/6.4L low beam lamps (Headlights-Lower beam. Front). 2-PIN. Includes copper insulated wires measuring 11.8 inches (30 cm) in length.

[Fit For] - 17-22 Jeep Grand Cherokee; [NOT Fit For] - Factory Xenon HID bulb version
Prepare Your Jeep and Access the Engine Bay
With the necessary tools assembled, position your Jeep Grand Cherokee on level ground and engage the parking brake to prevent movement during the procedure. Confirm the engine is completely off and cool before beginning work. Locate the hood release lever near the driver’s side kick panel and pull to disengage the primary latch. Move to the front and release the secondary safety latch under the hood center. Lift the hood carefully, confirming gas struts or the prop rod secure it properly for hood safety. Establish adequate workspace lighting by directing a portable LED work light into the engine bay. Remove any protective covers obstructing headlight assembly access, including the front grill and retaining clips that may need to be disengaged for full headlight assembly visibility. Clear debris from the work area and organize tools nearby for efficient workflow. Ensure you have the correct headlight type replacement ready before proceeding to prevent compatibility issues during installation.
Remove Components Blocking the Headlight Assembly
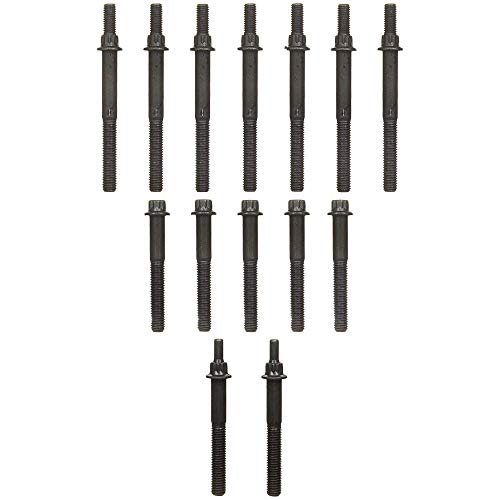
Accessing the Jeep Grand Cherokee headlight assembly requires systematic removal of several obstructing components secured by fasteners, clips, and electrical connections. Begin by removing the four 10 mm mounting bolts—two outer sidebolts and two front bolts—using a socket and ratchet. Note bolt length variations for proper reinstallation. Remove bumper clips by carefully prying up push fasteners along the bumper edge using trim removal tools to prevent breakage. Dismantle fender components by loosening panels and pulling back sections to expose mounting points. Disconnect electrical connectors by pressing release tabs or twisting counterclockwise; avoid pulling wires directly. For optimal access, consider turning the steering wheel to create additional working space similar to the technique used when accessing headlight components on other vehicles. Remove corner light screws and detach any plastic shrouds or grommets obstructing access. Support loosened panels during removal to prevent surface damage. Related components such as fog lights and bumpers may also require temporary removal to fully access the headlight assembly.

RLB-HILON Bolt is at Size M8 - 1.25 X 28mm as the photo showed

【Size】Hex Head Sems Body Bolt With Dog Point, M6-1.0 X 25mm,10mm Hex, 6mm Diameter,20mm Washer.Black Finish Carbon Steel.
COMPATIBILITY – Fits 1996-2001 Jeep Cherokee; 1996-2004 Jeep Grand Cherokee; 1997-2006 Jeep Wrangler; 1997-2006 Jeep TJ
Extract the Old Headlight Bulb
Removing the headlight bulb requires maneuvering past engine components that obstruct direct access to the bulb housing. Once you’ve cleared the intake components, locate the rubber boot covering the bulb socket at the rear of the headlight assembly. Twist or peel it off to expose the socket. Disconnect the electrical connector by gently unclipping it—confirm the engine is off for electrical safety. Twist the bulb socket counterclockwise; some models require pushing in slightly before turning to release. Pull the bulb straight out, though it may need wiggling. Handle only the base to prevent oil transfer and premature burnout. Inspect the socket for corrosion and verify bulb compatibility before proceeding. Ensure you have the correct bulb type such as H11 or 9012 for your specific model year. This efficient technique saves time and reduces frustration, completing the task in less than 10 minutes. Document the bulb’s orientation to guarantee correct installation of the replacement.

Lights Dim Over Time, Replace In Pairs: Your lights are a pair, one is never turned on without the other. If one bulb burns out, the other isn't far behind. Replace your H11 XtraVision Halogen bulbs in pairs for optimum performance.
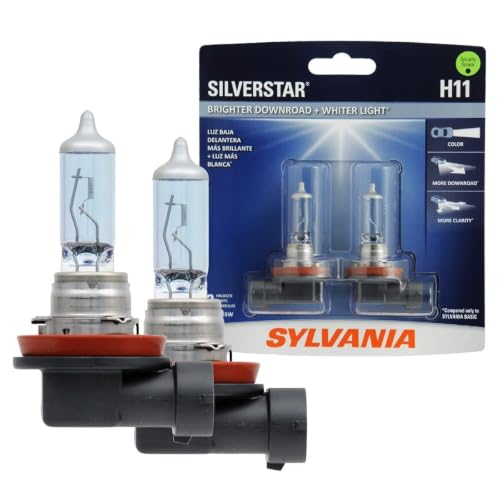
Lights Dim Over Time, Replace In Pairs: Your lights are a pair, one is never turned on without the other. If one bulb burns out, the other isn't far behind. Replace your H11 SilverStar Halogen bulbs in pairs for optimum performance.

【Compatibility Check Before Purchase】: Halogen Headlight Bulbs compatible with Jeep Grand Cherokee (2017 2018 2019 2020 2021 2022). The Halogen headlight bulb combo includes H9 high beam and H11 low beam and H11 Fog bulbs headlights totaling 6 in the package.
Install the New Headlight Bulb
Before inserting the replacement bulb, verify you’ve selected the correct type for your specific Jeep Grand Cherokee model year—common variants include H11 for low beams and 9005 for high beams. Handle the new bulb with gloves to prevent skin oils from contacting the glass surface, which degrades performance. Align the bulb’s base tabs with the socket pins and insert gently without forcing. Rotate clockwise until you hear or feel a definitive click, confirming the locking mechanism has engaged. Connect the wiring harness firmly, verifying the retaining tab snaps into position for secure electrical contact. Reinstall the rubber dust cover by aligning and twisting it into place, sealing the housing against moisture intrusion. To prevent damage to halogen bulbs, avoid touching the glass surface of new bulbs during installation. Different bulb technologies such as LED and HID options offer varying brightness levels and longevity compared to standard halogen bulbs. These installation tips confirm proper beam alignment and longevity of your replacement headlight bulb.

Product Fitment & Package Details:Fitment for 2017 2018 2019 2020 2021 Jeep Grand Cherokee;The Package Includes 6pcs light Bulbs:2pcs High Beam 2pcs Low Beam and 2pcs Fog Lights Bulbs.Adopting the new-generation CSP 3570 chip, this solution achieves significantly faster and more powerful operational efficiency
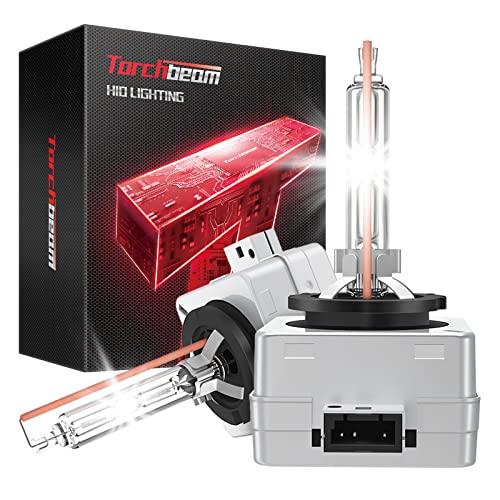
Safer Night Driving: Torchbeam d3s bulbs made with German xenon gas. Replacement OEM Part Number: 42302C1, 42302(WX/XV), 42403(C1), 66340, 66340CBH, 66340CBI, ect.

[Exact Fit for your car]: Our lights provide you with a perfect 1:15 Compatible for jeep grand cherokee 2017-2022. Enjoy bright and clear lighting with our lights to enhance your driving experience.
Reassemble All Removed Parts
With the replacement bulb securely installed and properly sealed, you’ll now restore the headlight assembly and surrounding components to their original configuration. Begin by carefully aligning the headlight housing with the mounting bolt holes, ensuring proper headlight positioning to prevent water ingress or vibration issues. Insert the 10 mm mounting bolts hand-tight first, noting that fastener types vary by location—longer bolts forward, shorter ones at the sides. Tighten evenly without overtorquing plastic components. Reinstall push clips along the bumper cover and fender liner, locking red tabs securely. Reattach any plastic trim pieces, ensuring flush fitment around the assembly. If you removed the bumper cover, reverse the removal sequence by securing all bolts and clips. To ensure your work lasts, avoid touching the bulb with bare fingers during installation as this can cause premature bulb failure. Consider your vehicle’s specific trim level and factory headlight type when selecting replacement components for future upgrades. Perform a final inspection of all fasteners and confirm proper clearance before testing headlight function.
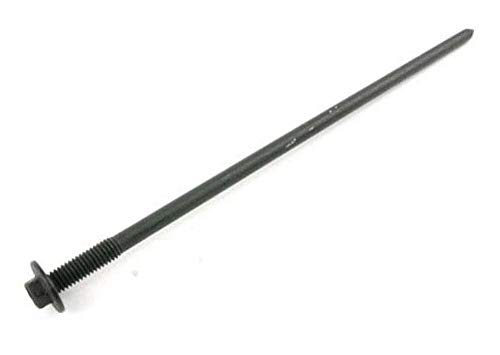

[Compatible With]: This Headlight Mounting Bracket Clip is compatible with Jeep Grand Cherokee WJ 2000 2001 2002 2003 2004 2005 2006.

Chrysler Jeep dodge Ram M6 Tapping Screws - Multipurpose
Test Your Headlights and Perform Final Checks
Once you’ve completed reassembly, systematically verify proper headlight operation by cycling the ignition to the “on” position and activating both low and high beam settings through the control stalk. Observe headlight brightness for consistent output without flickering or dimness across both driver and passenger units. Check the dashboard for any warning indicators relating to the headlight circuit. Perform a beam alignment assessment by parking 25 feet from a flat wall or garage door, ensuring the cutoff line meets manufacturer specifications to prevent glare for oncoming traffic. The brightest part of each beam should sit slightly below the horizontal reference line to maintain proper alignment and safety. Inspect wiring harnesses and connectors for secure fittings and absence of corrosion. Confirm ground connections are intact. Apply dielectric grease on connections to protect against oxidation and ensure reliable electrical contact. Conduct a final road test under nighttime conditions to evaluate real-world performance, illumination coverage, and low beam adjustment performance for overall driver visibility.