To replace your Subaru Outback’s headlight bulb, you’ll need to identify the correct type—typically H11 for low beams or 9005 for high beams in 2015-2022 models. Park on level ground, engage the parking brake, and access the engine bay. Disconnect the electrical connector, release the spring clip, and remove the old bulb. Install the new bulb by grasping only the plastic base, align the indexing tab, and secure it. Test the headlight before reassembling components to guarantee proper illumination and electrical connection.
Tools and Materials Needed
Replacing a Subaru Outback headlight bulb requires a specific set of tools and materials to complete the task efficiently and safely. Your screwdriver selection should include flat blade, Phillips head, and 3/32-inch flathead variants for accessing trim clips, wheel well screws, and plastic fasteners. Essential wrench types comprise a 10 mm socket with ratchet and combination wrench set for removing headlight assembly bolts across different model years.
You’ll need specialty removal tools including clip removers and trim tools for accessing wheel well components. Nitrile gloves are mandatory to prevent oil transfer from fingerprints, which shortens bulb lifespan. If you accidentally touch the glass surface, clean with rubbing alcohol using a soft cloth before installation. Additional items include a clean cloth for bulb handling, ratchet extension for confined spaces, and a kneeling pad for under-hood work. Understanding the light output measured in lumens of your replacement bulb will help ensure you select an option that improves visibility without compatibility issues. Consider evaluating bulbs based on brightness, longevity, and color temperature to match your driving needs and preferences. Allocate approximately thirty minutes for completion.

【Package Include】: This product includes a pair of 9005/HB3 High halogen light bulbs and a pair of H7 low halogen light bulbs. If you have any questions? TXBILMOO customer support team is at your service

🚗【Compatibility Check Before Purchase】: Halogen Headlight Bulbs compatible with Subaru Outback (2005-2014). The Halogen headlight bulb combo includes 9005 High Beam + H7 Low Beam bulbs headlights totaling 4 in the package.

Lights Dim Over Time, Replace In Pairs: Your lights are a pair, one is never turned on without the other. If one bulb burns out, the other isn't far behind. Replace your H7 XtraVision Halogen bulbs in pairs for optimum performance.
Identifying the Correct Bulb Type for Your Model Year
Before proceeding with bulb replacement, you must determine the exact specification for your Outback’s model year and trim level, as bulb types vary considerably across generations. For 2015-2022 models, halogen low beams use H11/H8/H9 bulbs, while high beams require 9005/HB3. HID-equipped trims specify D4S/D4R bulbs instead. Pre-2015 Outbacks have different designations that require model-specific verification.
Utilize bulb finder tools to guarantee bulb compatibility before purchasing. The Philips H11CVPS2 fits 2015-2019 halogen low beams, while Sylvania 9005LEDHPBX2 offers LED headlight upgrades for high beams. Note that aftermarket headlight assemblies may alter OEM bulb sizes. Always replace headlight bulbs in pairs to maintain uniform brightness and color temperature. LED and HID bulbs offer superior light output measured in lumens compared to halogen options, providing enhanced visibility during nighttime driving. When evaluating aftermarket brands, consider factors like brightness and longevity to ensure you select the best option for your needs. Verify specifications against factory charts to avoid compatibility issues with your specific trim configuration. License plate lights across all Outback generations from 2000-2022 consistently use T10/194/168 bulb sizes.

Lights Dim Over Time, Replace In Pairs: Your lights are a pair, one is never turned on without the other. If one bulb burns out, the other isn't far behind. Replace your H11 XtraVision Halogen bulbs in pairs for optimum performance.

Life time support, compatible with H11 socket (PGJ19-2), 2pcs packaged; (If there is any problem in the product, please contact us via Account Center, we will reply you within 24 hour)
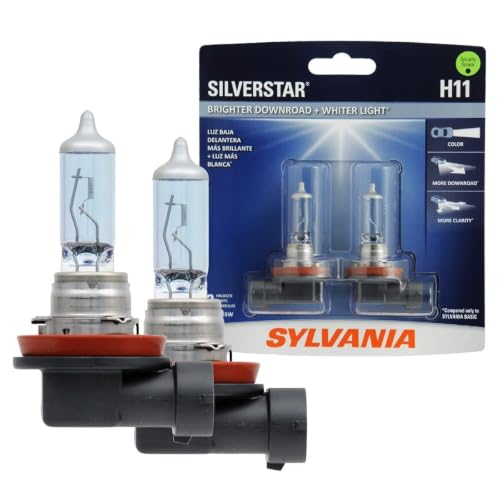
Lights Dim Over Time, Replace In Pairs: Your lights are a pair, one is never turned on without the other. If one bulb burns out, the other isn't far behind. Replace your H11 SilverStar Halogen bulbs in pairs for optimum performance.
Preparing Your Vehicle for Bulb Replacement
To guarantee safe and effective headlight bulb replacement, you’ll need to properly prepare your Outback before accessing the headlight assembly. Begin with proper vehicle parking on level ground in your driveway or garage, engaging the parking brake and using wheel chocks for stability. Execute complete engine shutdown, turning off all electrical systems including lights. Allow the engine bay to cool completely before proceeding.
Implement essential safety precautions by wearing protective gloves and eye protection throughout the procedure. Pull the hood release lever from the driver’s side, then locate and push the secondary safety latch leftward under the hood. Secure the hood fully open using the prop rod. Verify replacement bulbs match manufacturer specifications and gather necessary tools. Using gloves prevents oils from your skin transferring to the bulb glass, which can cause premature failure. Consider whether your Outback uses projector or reflector housings, as this affects beam pattern and lighting performance. Make your workspace clear and organized to ensure safety during the replacement process. Disconnect power connections from the headlight assembly before commencing removal procedures.
Accessing the Headlight Assembly
Successfully accessing your Outback’s headlight assembly requires methodical removal of multiple protective panels and fasteners that shield the engine bay and front-end components. Begin by securing the hood with its prop strut, then remove the upper radiator cover‘s push-clips to free the headlight’s top edge. Use a 10 mm socket to extract top-mounted bolts from the radiator support. For proper headlight maintenance, turn your front wheel fully outward and remove inner fender liner fasteners using a trim tool—this exposes side and lower mounting bolts. Partial bumper disassembly may be necessary; disconnect fog lamp connectors first to prevent wire damage. Before pulling the assembly forward, identify all electrical connectors at the housing’s rear. Access the area inside the wheel wells without removing the wheels to reach additional mounting hardware. Maintain assembly alignment by documenting fastener locations with photos during disassembly. Wearing safety glasses during this process will protect you from debris or accidental contact with sharp edges and fasteners. Ensure your replacement bulbs comply with DOT regulations to maintain legal road safety standards.

SUITABLE MODELS:Headlights Assembly Compatible 2015-2017 Subaru Outback. Bulb is not included. Not Fit for HID Models.High beam bulb type: HB3; Low beam bulb type: H11.
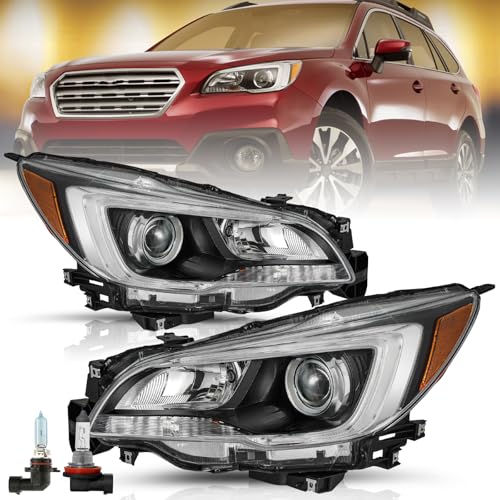
SUITABLE MODELS:Headlights Assembly Compatible 2015-2017 Subaru Outback. Bulb is included. Not Fit for HID Models.High beam bulb type: HB3; Low beam bulb type: H11.

💡【VEHICLE COMPATIBILITY】Headlight Assembly Compatible With 10 11 12 13 14 Subaru Outback / Legacy. Bulbs are not included. High beam bulb type: 9005; low beam bulb type: H7. OEM Part Number: SU2502141, SU2503141, SU2502143, SU2503143, SU2502136, SU2503136, 84001AJ01E, 84001AJ00E, 84001AJ23A, 84001AJ22A
Removing the Old Headlight Bulb
Once the headlight assembly is accessible, disconnect the electrical connector from the bulb socket by locating the release tab on the connector body and pressing it firmly while pulling the connector straight back. This wiring harness care step prevents terminal damage. Next, identify the spring clip or metal retainer securing the bulb—push or lift it from its hook to release. Rotate the bulb counterclockwise if it’s bayonet-style, or twist the plastic cover following your model’s specific orientation. Handle the replacement by its base only, never touching the glass envelope; skin oils create hot spots that reduce bulb life. Wearing nitrile gloves is essential bulb maintenance tips protocol. Inspect the socket for corrosion or melted plastic before installation, replacing damaged components immediately. Gently pull down on the socket to complete the removal process. Use a Phillips screwdriver if your model requires removal of screws or covers to fully access the headlight housing. When selecting a replacement bulb, consider DOT compliance requirements to ensure proper fitment and safe operation in your vehicle’s headlight housing.

Fit for 99% of vehicles - SYJIIP Halogen headlamp are close to the wattage of the stock halogen headlamp bulb, which can reduce the occurrence of CANBUS problems, avoid erroneous and flickering. As long as your stock light bulb model is the same as ours, then SYJIIP's light bulb will be suitable for your car.

Get the best lighting performance and an increased visibility and comfort on the road compared to basic bulbs
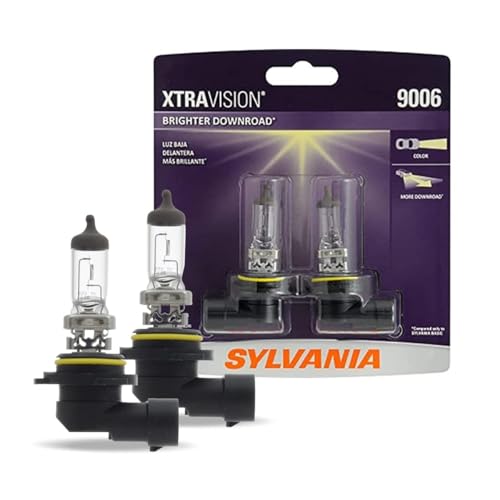
Lights Dim Over Time, Replace In Pairs: Your lights are a pair, one is never turned on without the other. If one bulb burns out, the other isn't far behind. Replace your 9006 XtraVision Halogen bulbs in pairs for optimum performance
Installing and Testing the New Bulb
With the old bulb removed and socket inspected, grasp the replacement H11 bulb (or your model’s specified type) by its plastic base only—never touch the glass envelope. Oil from your skin degrades halogen performance. Wearing gloves, align the bulb’s metal indexing tab to the bottom-left position and insert the prongs into the socket. Rotate clockwise until the bulb locks vertically in position. Engage the spring retainer by pressing the left side down and swinging it over the bulb base—you’ll feel it clamp securely. Push the electrical connector onto the prongs until it clicks. This installing technique guarantees proper contact. For optimal results, consider the color temperature options available for your headlight bulbs to match your visibility preferences. LED and HID upgrade options offer longer lifespan and improved energy efficiency compared to standard halogen bulbs. Test the bulb by activating low beams with the engine running. Verify bright, uniform output matching the opposite headlight for successful bulb testing completion.

【200% Brighter】Our H11 headlight bulb delivers a brightness of more than 2000LM, 200% brighter than OEM headlight bulb, up to 4300K color temperature, providing the best visibility in foggy and rainy weather, Our halogen headlight bulb filled with more than 45% Xenon gas to be more brighter and whiter.

⭐【Super Bright H11 Bulbs】Our H11 headlight bulbs deliver over 1000LM brightness and a 3800K color temperature, ensuring optimal visibility in foggy and rainy conditions. Upgrade your automotive headlight bulbs for safer nighttime driving.

【Visual Enhancement】: The OKOENIEO H11 headlight bulb are 200% brighter than other halogen bulbs, providing drivers with a wider and farther field of vision. Offering a greater visibility, they allow drivers to spot deer, wildlife, falling rocks, or obstacles ahead of time, ensuring safer nighttime driving.