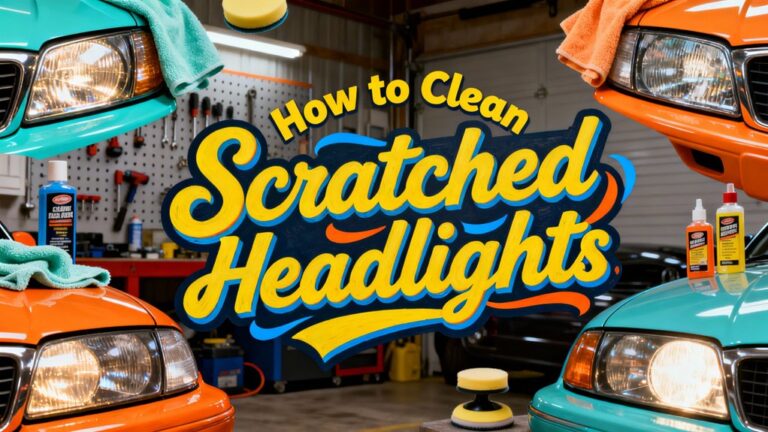
To clean headlights from the inside, you’ll need to carefully disassemble the housing by heating the sealant with a heat gun and prying the lens from the assembly. Once opened, use a microfiber cloth with mild soapy water to clean internal surfaces, avoiding direct contact with reflectors. After cleaning, dry thoroughly with gentle heat and desiccant packs, then reseal using UV-resistant headlight sealant following the manufacturer’s 24-hour cure time. This guide covers the complete restoration process, including moisture prevention techniques and professional-grade sealing methods.
Understanding Why Headlight Condensation and Dirt Accumulate
When your headlight bulb operates, it creates a natural heating and cooling cycle that draws moisture into the assembly. As the bulb heats up, air expands and exits through ventilation ports. When you turn off the light, cooling air contracts and pulls in external moisture through these same vents. This represents one of the primary headlight fogging causes.
Your headlight’s ventilation system must remain unobstructed to function properly. Blocked vents from debris, dust, or spider webs trap moisture inside, preventing proper air circulation. Additionally, degraded seals around the assembly, worn bulb gaskets, or loose connections create direct pathways for water ingress.
Implementing moisture prevention tips starts with inspecting vent caps and checking seal integrity. LED bulbs compound this issue by producing insufficient heat to evaporate condensation naturally. Over time, sealant degradation compromises the protective barrier, making older headlights increasingly susceptible to moisture penetration.
Gathering the Right Tools and Materials
Before you disassemble your headlight assembly, organize your workspace with five essential tool categories: cleaning solutions, specialty sealants, power equipment, heat and air tools, and fasteners. Your tool selection must include a Dremel with plastic cutting blade for accessing internal components, while a heat gun prepares surfaces for resealing. Material considerations dictate using chrome stripping degreaser for oil residues and household vinegar for dirt buildup. You’ll need RetroRubber Headlight Sealant to prevent moisture re-entry and heat shrink tubing to seal access points. Don’t overlook compressed air for expelling water, 800-grit sandpaper for smoothing interiors, and chamois strips for absorbing debris. Wire strippers and proper electrical connectors guarantee safe reassembly of lighting circuits. For basic cleaning, stock blue Dawn dish soap as your primary lens cleaner, which effectively removes smudges without damaging the internal protective film. Understanding how oxidation and UV exposure degrade headlight clarity over time will help you appreciate the importance of these preventative measures. After internal cleaning is complete, applying UV headlight sealant helps maintain clarity and prevent future yellowing or hazing of the headlight assembly.

KIT CONTENTS: Each headlight restoration kit includes (8) Step 1 Oxidation Removing Wipes, (1) Step 2 Sanding Kit, and (2) Step 3 Ceramic Coating Wipes

KIT INCLUDES: 1 - Disc Pad Holder, 3.25 in (8,2 cm) 6 - 3M Gold Sanding Discs 500 Grit, 3 in (7,6 cm) each 4 - 3M White Finishing Discs 800 Grit, 3 in (7,6 cm) each 1 - 3M Trizact Refining Disc 3000 Grit, 3 in (7,6 cm) 2 - 3M Quick Headlight Clear Co

KIT INCLUDES: 1 - 3M Trizact Refining Disc 1000 grit, 3 in/7.6 cm 1 - 3M Trizact Refining Disc 3000 grit, 3 in/7.6 cm 2 - 3M Quick Headlight Clear Coat Wipes 1 - Foam Pad with 3M Hookit Attachment, 3 in/7.6 cm 1- Disposable Glove
Removing Moisture From Headlight Housing
Moisture accumulation inside headlight housings creates visibility hazards and accelerates internal component degradation, requiring immediate remediation through proven extraction methods. For effective moisture removal, remove the bulb assembly to establish ventilation access. Apply a hair dryer on low heat through the lens while simultaneously inserting vacuum tubing through the bulb hole, securing connections with duct tape. Maintain this dual-action process for 15 minutes, monitoring evaporation progress as thinner moisture areas clear first.
Alternatively, position a heat lamp over the exterior on low settings, ensuring lens temperatures don’t cause warping. Strategic placement of silica gel packets inside the housing provides condensation prevention in humid environments. For persistent condensation issues, applying silicone sealant to compromised seals can restore the headlight’s moisture barrier. After addressing internal moisture, you may also need to restore clarity to the lens exterior by using progressive wet sanding to remove any oxidation or cloudiness that affects visibility. This moisture problem affects various headlight types, including halogen, LED, and HID systems. However, these techniques offer temporary solutions—persistent moisture indicates compromised seals requiring professional assessment or complete assembly replacement for long-term reliability.
Accessing the Inside of Your Headlights
Although moisture removal addresses immediate visibility concerns, persistent condensation necessitates direct access to the headlight’s internal components for thorough cleaning and seal restoration. Begin by removing screws around the headlight’s outside edge using a Phillips head screwdriver. Place the assembly on a soft surface to protect lens materials from scratching. Heat the unit in an oven for less than 5 minutes to soften the Butyl Rubber sealant—this step varies by headlight design. Insert a flat-blade screwdriver between the lens and housing, prying gently with both hands. The sealant will become stringy as halves separate. Work in a dust-free environment to prevent contamination. Once opened, you’ll access the reflector and internal surfaces requiring cleaning before resealing, and applying automotive plastic polish will restore clarity to internal lens surfaces. For long-lasting results, finish the internal surfaces with a UV-protective sealant to prevent future oxidation and yellowing. Use silicone gloves to protect your hands when handling the heated headlight assembly.
Cleaning With Soapy Water and Microfiber Cloth
Once you’ve accessed the headlight’s interior, prepare your soapy water solution by adding a few drops of mild dish soap to a spray bottle filled with water—this mixture provides necessary lubrication while minimizing residue buildup. Pour the solution directly into the headlight and agitate to loosen internal contaminants. The soapy solution benefits include enhanced dirt dissolution without harsh chemicals that could damage lens coatings. For targeted cleaning, spray the mixture onto a microfiber cloth before inserting it to wipe curved interior surfaces. Microfiber cloth effectiveness stems from its lint-free properties and superior absorption capabilities. Before proceeding, ensure the surface is dry and free from contaminants to prevent streaking or trapped moisture. Rinse thoroughly with warm running water for several minutes, ensuring complete soap removal. Wipe the interior during rinsing to eliminate loosened debris, then air dry briefly before reassembly.

10x GRIP-ROOT WEAVE - TRAP MORE, WORK LESS: Ultra-absorbent microfiber towels for car Grip Root weave works like PLANT ROOT FOLLICLES, sucking up & LOCKING AWAY 8x to 10x its weight in liquid, particulates, moisture, grime and dirt in far LESS TIME than traditional ‘Heavy Duty’ Cleaning Rags. Each towel features a 2.5mm thick design, providing enhanced durability and better grip during use.

Glasses cleaner - Sourced from the highest quality microfiber that absorbs and removes dust, oil, smudges, fingerprints, dirt, and more. Leaves no scratches, streaks, marks, or lint behind. The perfect eyeglass cleaner for reading glasses, women, men, adults, him, her, teens, and more.
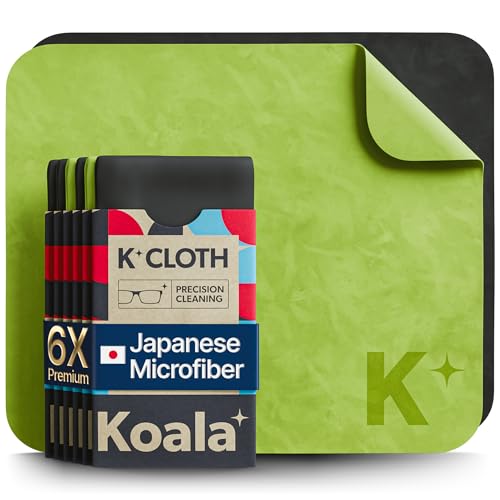
UNPARALLELED CRYSTAL-CLEAR PERFORMANCE: The only obsessively engineered, best-in-class microfiber cleaning cloth, meticulously crafted from proprietary, ultra-dense, super-absorbent Japanese woven fabric, effortlessly absorbing the toughest dirt, grime, and oils - leaving your lenses spotless - every time.
Using the Magnet Cleaning Tool Method
For headlights with inaccessible interiors, the magnet cleaning tool method offers a non-invasive alternative that circumvents full housing disassembly. You’ll position one neodymium magnet wrapped in microfiber or soft sponge inside the lens cavity via the bulb port, then use an external magnet to control its movement across interior surfaces. This approach delivers magnet benefits including reduced contact pressure and lower cracking risk compared to rigid swabs. Execute cleaning techniques by moving the external magnet in controlled strokes while monitoring resistance and alignment. Apply minimal cleaning agent if needed, ensuring fluid won’t reach reflectors. Testing any cleaning agent on an inconspicuous area of the headlight is advised prior to use. Test magnet strength beforehand—excessive force can snag internal metal brackets. This method effectively removes loose dust and grime but won’t address UV-induced polymer oxidation requiring restoration treatments.
Applying Polishing Solutions for Cloudiness
However, polishing provides temporary results. Without professional-grade UV sealant, headlights revert to fogginess within months as stripped surfaces remain vulnerable to UV damage and mineral deposits. DIY sealants typically fail prematurely, while professional products maintain clarity beyond one year. Repeated polishing accelerates oxidation return, creating residue buildup that compounds future restoration difficulty. Most restoration kits cost between $15 and $30, making them an affordable option for immediate improvements. For longer-lasting results, two-step restoration kits that combine polishing with protective coatings can prevent yellowing and maintain headlight clarity more effectively than polishing alone. The mild abrasiveness found in common household items like toothpaste can provide quick results for light cloudiness before investing in professional-grade solutions.
Working With Headlight Restoration Kits
Restoration kits streamline the headlight cleaning process by bundling specialized materials that address multiple stages of lens rehabilitation. You’ll find Sylvania kits include waterproof sandpaper in 400, 1000, and 2000 grit, plus Surface Activator, Clarifying Compound, and UV Block Clear Coat. The 3M option provides Trizact sanding discs and requires a random orbital sander for proper application. GT Tools kits feature Lens Restorer and Stay Clear UV Coating with isopropyl wipes.
Begin with clean, dry lenses above 32°F, protecting surrounding paint with masking tape. Wet-sand progressively through grits using circular motions, maintaining constant water application. Apply compound with the provided towel, working it across the entire lens surface. Professional-grade kits may include both a 3M Random Orbital Sander and buffer for comprehensive restoration results. These restoration kits effectively eliminate oxidation, yellowing, and scratches while restoring lens clarity. After completing the restoration process, applying dielectric grease to headlight connections helps prevent moisture infiltration and corrosion in the bulb assembly. The protective coating applied after oxidation removal helps shield your headlights from future damage and extends the longevity of your restoration results.

Full-Cycle Sanding Support - The car drill polishing kit featuring 3 inch sanding discs range 60/80/120/240/400/800/1000/1500/2000/3000/5000/10000 grit sandpaper for dry and wet use, with orbital sander pads, imitation wool buffing pad, and upgraded backing pads for 1/4 and 1/8 inch shank. Seamlessly transition from sanding to polishing.

Instructions for Use: The first yellow drill attachment installed on the drill, cushion pad white surface and drill attachment black surface paste, use the first in the lamps on the spray water and then use the cleaning pad to dry in a circle, and then according to the grain size from small to large in order to use the waterproof abrasive disc on the lamps for polishing, and finally use the sponge polishing pad for polishing
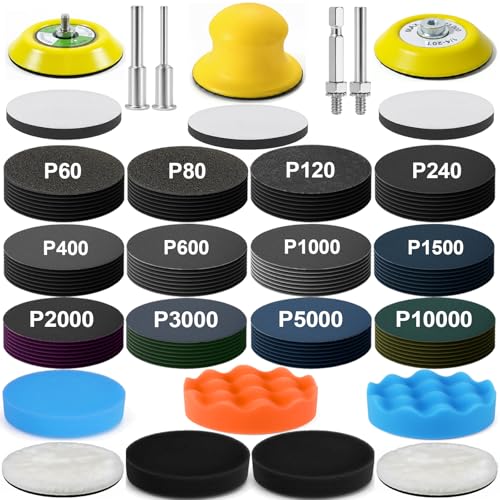
Complete 137PCS Sanding Kit: This all-in-one sanding and polishing kit includes 120pcs 3-inch sandpapers (60–10000 grit), 1 handheld sanding pad, 3 buffer pads, 2 wool pads, 5 sponge pads, 2 backing plates (inner & outer thread), and multiple adapter rods (6.35mm, 5.8mm, 3mm). Ideal for both professionals and DIY users who need precision from coarse sanding to fine polishing.
Drying and Sealing After Cleaning
Proper drying and sealing prevents the immediate return of cloudiness and condensation that undermines your restoration work. Use gentle heat from a hair dryer or heat gun on low to evaporate interior moisture, warming evenly to avoid warping the lens. Place desiccant packs inside the housing through access points for moisture prevention until no condensation appears. Clean all mating surfaces with isopropyl alcohol, removing old sealant with a plastic-safe scraper. Apply automotive-grade, UV-resistant sealant in a thin, continuous bead using proper sealing techniques—smooth with an alcohol-wetted tool to eliminate air pockets. When selecting your sealant, consider products with strong adhesion strength and temperature resistance to ensure long-lasting protection. For optimal results, choose sealants that maintain their integrity across different driving conditions and temperature ranges. Follow the manufacturer’s cure schedule, typically 24 hours for full bonding strength. Keep the assembly dry and protected from temperature extremes during curing to guarantee maximum durability and moisture resistance. A well-applied seal acts as a barrier against moisture, dirt, and oxidation, helping to enhance longevity.

Sensor-Safe, General Purpose Black Rtv Indoor/Outdoor Sealant
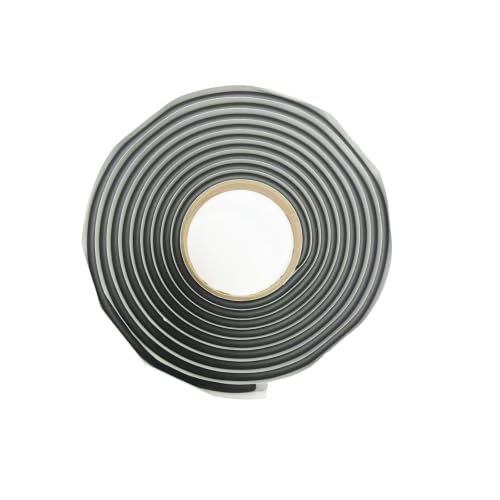
Headlight & Tail Light Sealing Specialist – Engineered precisely for automotive headlight resealing after retrofit or replacement. 8mm diameter is the industry-standard size for headlight lens-to-housing seals – the right thickness means no gaps, no leaks, no fogging.
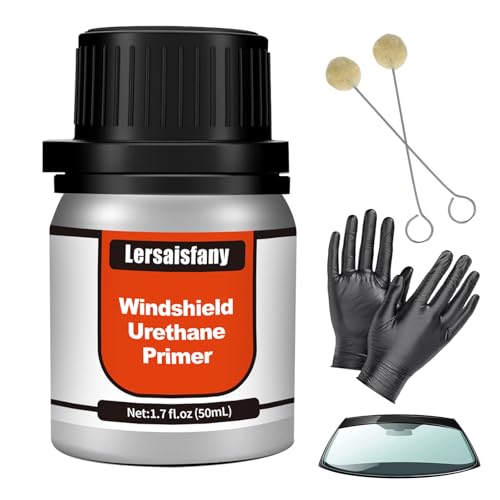
Superior Urethane Adhesion Promoter: Enhances bonding strength on glass, metal, and PVC surfaces for windshield replacements. Ideal for automotive glass, pinchwelds, and encapsulated parts—no activator required.
Safety Precautions and Common Mistakes to Avoid
Before attempting any headlight restoration, you’ll need to establish critical safety protocols that protect both you and your vehicle from damage. Essential protective gear includes chemical-resistant gloves, eye protection, and respiratory equipment when working in confined spaces. Facilitate proper ventilation to prevent fume accumulation during interior lens cleaning procedures.
Critical cleaning errors compromise both safety and results. Never dry-wipe dirty lenses, as grit creates permanent scratches on plastic surfaces. Avoid ammonia-based cleaners and household chemicals like bleach that etch lens material. For stubborn cloudiness, consider applying baking soda and vinegar as gentle abrasives before attempting more aggressive restoration methods. When proceeding with sanding techniques, use progressively finer grit sandpapers starting with coarser grits to effectively remove oxidation and haziness. Don’t proceed if you detect cracks, which allow chemical leakage into electrical components. Use soft, microfiber cloths to prevent scratching delicate headlight surfaces during cleaning. Park on level ground with the engine off and parking brake engaged. Disconnect the battery before accessing internal electrical connections to prevent short circuits or airbag deployment.