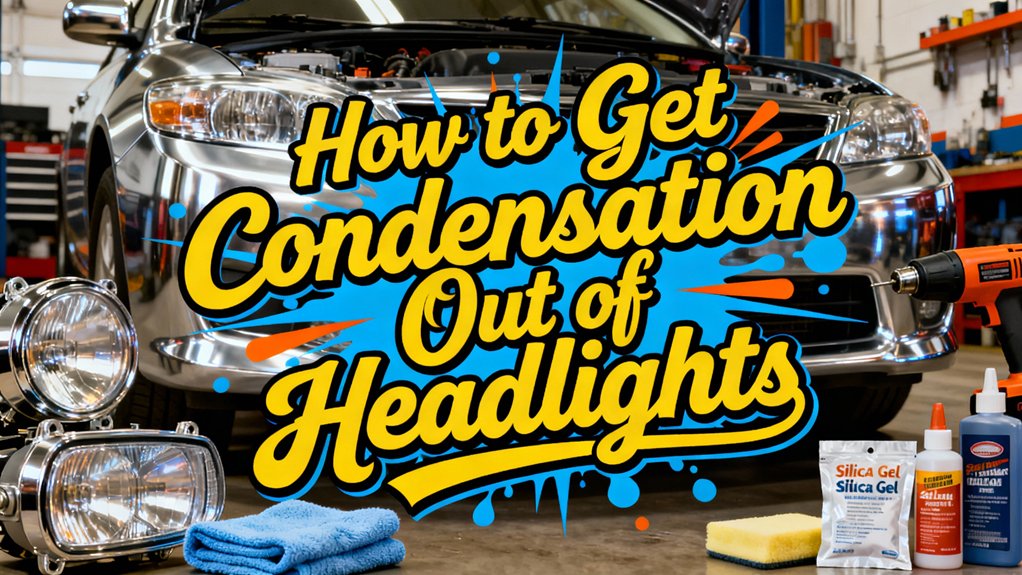
To remove condensation from your headlights, start by removing the high beam bulb to create airflow, then use a shop vac or air blower for 20 minutes while applying gentle heat from a hairdryer to the exterior lens. For heavy buildup, disconnect the battery and remove the entire assembly to wipe interior surfaces with microfiber cloths and insert silica gel packs. Inspect all seals and vent openings for damage, applying automotive-grade silicone to compromised areas. This guide covers advanced diagnostic techniques and preventive maintenance strategies.
Understanding Why Moisture Forms in Your Headlights
When water vapor inside your headlight assembly contacts the cooler interior lens surface, it undergoes a phase change from gas to liquid, creating the visible condensation you observe. This phenomenon intensifies when temperature differentials exist between your headlight’s warm interior and cold exterior surfaces. Thermal convection patterns compound the issue—warm air rises while cooler air descends, depositing moisture on contact points if ventilation proves inadequate.
Several condensation causes warrant your attention: compromised seals permitting external moisture intrusion, obstructed ventilation ports preventing vapor escape, and thermal cycling from repeated on-off operation. Humidity levels fluctuate with weather conditions, making condensation more pronounced during colder months or after precipitation events. You’ll notice that restricted airflow within the housing exacerbates moisture accumulation, preventing natural evaporation that typically occurs during normal headlight operation. Persistent condensation can also indicate issues with your vehicle electrical system health, which may affect the headlight’s ability to generate sufficient heat for proper evaporation. Hairline cracks in your headlight assembly can allow additional moisture to enter beyond what normal thermal convection would introduce. If condensation persists despite proper ventilation, applying a UV sealant can provide additional protection against moisture intrusion.
Quick Fixes for Light Condensation
If you’ve identified light condensation without significant pooling, airflow-based evaporation provides the fastest resolution without disassembly. Remove the high beam bulb to create an air passage, then direct a shop vac or air blower (reverse mode) into the bulb hole. Run continuous air circulation for 20 minutes to eliminate moisture. For persistent fogging, combine heat application using a hairdryer on the exterior surface while maintaining airflow through the interior. Insert clear plastic tubing connected to your vacuum or compressor to reach complex reflector areas. After drying completes, implement quick sealing by inspecting bulb seals and vent openings for gaps. Apply temporary tape over identified leaks and guarantee bulbs reseat tightly. This prevents immediate moisture re-entry until permanent resealing occurs. For factory LED headlights, consider professional service rather than attempting disassembly of sealed LED bulb assemblies. Place silica gel packs inside the headlight housing before resealing to absorb any residual moisture and prevent future condensation buildup. Once moisture is fully eliminated, apply a protective clear coat to the interior surfaces to create a moisture barrier and extend the life of your headlight assembly.

Nonwoven Paper Packaging Material-The silica gel desiccant packets are three-side sealing constructed with high quality Verna non-woven fabric material. This packaging material has good breath-ability, dust-proof functionality, strong strength and seal strength;

GOOD ADSORPTION CAPACITY: Silica gel desiccant is a highly active adsorption material, has good thermal properties and chemical stability, and does not react with other substances.

Premium Quality & Reliable Performance Proudly produced with high-grade materials and strict quality standards, these silica gel packets deliver dependable moisture control in various environments. Perfect for home, vehicle, pantry, and filament storage bags, helping maintain a dry and clean space.
Step-by-Step Guide to Removing Heavy Moisture Buildup
Heavy moisture buildup requires complete headlight assembly removal to access water pooled inside the housing. Disconnect the battery, then use appropriate tools—screwdrivers, ratchets, and pliers—to detach mounting clips and fasteners securing the headlight assembly. Remove bulbs carefully, placing them on lint-free cloths without touching glass surfaces. Clear vent openings using low-pressure compressed air or by removing vent caps. Direct a heat gun or hairdryer through vents and bulb openings for 15 minutes, monitoring temperature to prevent lens warping. Insert tubing through bulb sockets to circulate warm air internally. If assembly permits seal separation, physically wipe accumulated water and mildew with microfiber cloths. Place silica gel packs inside the assembly to absorb any remaining moisture before sealing. For persistent cloudiness or oxidation damage that may have been worsened by moisture exposure, consider using headlight restoration kits to restore clarity alongside your moisture removal efforts. Inspect seals for damage; apply automotive-grade silicone sealant to compromised areas. Verify complete dryness before reinstalling bulbs and mounting the assembly.

KIT CONTENTS: Each headlight restoration kit includes (8) Step 1 Oxidation Removing Wipes, (1) Step 2 Sanding Kit, and (2) Step 3 Ceramic Coating Wipes

KIT INCLUDES: 1 - Disc Pad Holder, 3.25 in (8,2 cm) 6 - 3M Gold Sanding Discs 500 Grit, 3 in (7,6 cm) each 4 - 3M White Finishing Discs 800 Grit, 3 in (7,6 cm) each 1 - 3M Trizact Refining Disc 3000 Grit, 3 in (7,6 cm) 2 - 3M Quick Headlight Clear Co

KIT INCLUDES: 1 - 3M Trizact Refining Disc 1000 grit, 3 in/7.6 cm 1 - 3M Trizact Refining Disc 3000 grit, 3 in/7.6 cm 2 - 3M Quick Headlight Clear Coat Wipes 1 - Foam Pad with 3M Hookit Attachment, 3 in/7.6 cm 1- Disposable Glove
Essential Tools and Supplies You’ll Need
Before attempting moisture removal from your headlights, you’ll need to assemble the proper diagnostic and repair tools. Start with basic removal equipment: screwdrivers, ratchet sets, and socket wrenches for headlight assembly extraction. You’ll require a hairdryer or heat gun for controlled evaporation, plus lint-free microfiber cloths and compressed air canisters for thorough drying.
For resealing, gather automotive-grade silicone adhesive, caulking guns, and cleaning solvents to prepare bonding surfaces. Include replacement rubber gaskets and O-rings to restore factory-spec sealing integrity.
Moisture prevention requires silica gel packets or automotive desiccant pouches placed inside the housing. Stock UV-protective clear coat, sanding pads, and restoration compounds for lens surface treatment.
Safety essentials include disposable gloves, protective eyewear, and masking tape. Use inspection flashlights to identify cracks or compromised seals requiring attention. For more advanced diagnosis, consider adding a moisture meter to accurately detect trapped humidity levels within the headlight assembly.
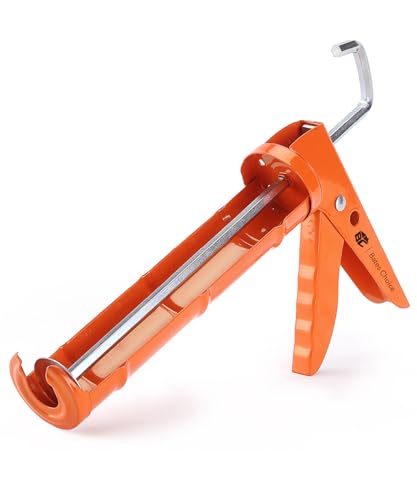
Introducing the Bates caulking gun, your versatile companion designed to seamlessly dispense a variety of materials – from acrylic and adhesives to asphalt, butyl, and cement – with utmost precision.

This latest elastomeric rubber gasket technology is blowout resistant and outperforms pre-cut gaskets
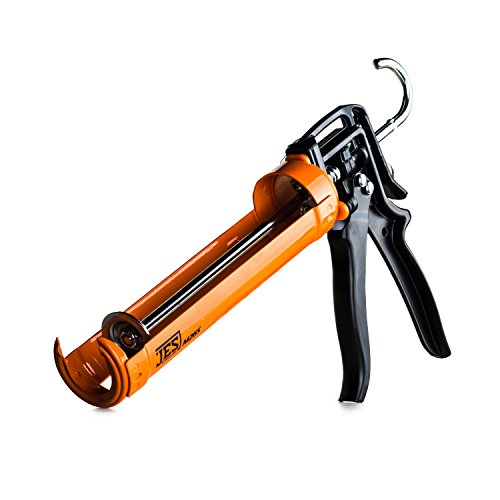
Professional caulk gun with 26:1 high thrust ratio, perfect for applying thicker materials, adhesives, or when working in low temperature environments
Simple Household Methods That Work
With your tools assembled, you can address minor to moderate condensation using proven household techniques that don’t require complete headlight disassembly. Remove bulbs to create access points, then insert a vacuum hose in blow mode while applying a hair dryer externally. This dual-airflow method evaporates moisture in 20-30 minutes. For lighter condensation, direct heat alone at low-to-medium settings will suffice. After initial drying, place silica gel packets inside through bulb openings to control residual humidity and target moisture sources. Enhance internal air circulation using fans or continuous airflow to reach reflector cavities. Inspect the housing’s inner side for impact damage that could allow ongoing water entry. Finally, verify that ventilation holes aren’t blocked and bulb seals fit properly—these prevention tips minimize recurrence while allowing natural humidity escape without compromising weather resistance.

Excellent Moisture Absorption: Our silica gel packets has transparent silica gel beads inside, decassant packs has high moisture absorption, which can effectively absorb the humidity in the air, keep the items in a dry state, and prevent the moisture from damaging the items

FAMILY-FRIENDLY MOISTURE CONTROL: Keep your snacks crispy and medications potent by keeping ambient moisture at bay; Crafted with premium, odorless silica gel and non-toxic fabric, Vbeijll Desiccants offer gentle yet effective protection for your home [Note: Packs ≤ 5g feature food safe wrapping for direct contact with food & medicine; Packs > 5g are recommended for placement alongside items rather than direct mixing, without affecting absorption]
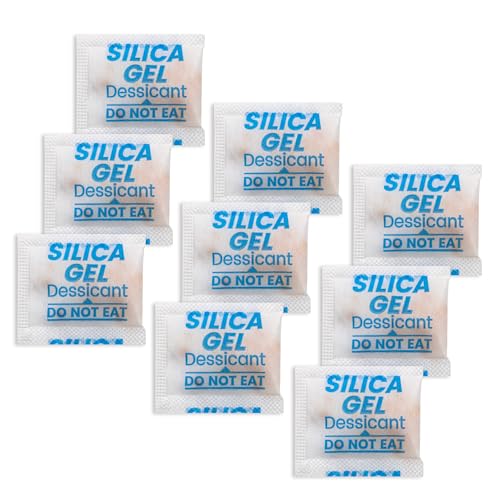
🇺🇸 Premium Quality & Reliable Performance Proudly produced with high-grade materials and strict quality standards, these silica gel packets deliver dependable moisture control in various environments. Perfect for home, vehicle, pantry, and filament storage bags, helping maintain a dry and clean space.
Keeping Your Headlights Moisture-Free Long-Term
Long-term moisture prevention requires systematic maintenance protocols that address both immediate vulnerabilities and gradual seal degradation. You’ll need to inspect gaskets and dust covers quarterly, replacing deteriorated components before they compromise housing integrity. Monitor vent functionality religiously—blocked passages create pressure differentials that draw moisture inward. Apply automotive-grade sealants to emerging cracks immediately, and verify bulb socket gaskets maintain compression. For headlight maintenance in humid climates, install desiccant packs during assembly procedures. UV-protective films preserve lens structural integrity while serving as secondary moisture barriers. Avoid high-pressure washing techniques that force water past sealing surfaces. Document inspection findings to track degradation patterns, enabling predictive replacement of vulnerable seals. Temperature fluctuations naturally cause air contraction inside headlights, pulling exterior moisture through compromised seals. Consider applying a UV headlight sealant after cleaning to help maintain clarity and prevent future moisture intrusion. If upgrading to LED bulb installations, ensure proper heat management and gasket integrity to prevent moisture accumulation around the new components. Effective moisture prevention demands proactive intervention rather than reactive troubleshooting.

Butyl Sealing Rope Purpose: Butyl rubber 13Ft/4M suitable for sealing car doors, windshield, waterproof film, hood, lights, body plate joints and other parts of the shock seal

PROFESSIONAL GRADE BUTYL SEALANT TAPE: With a length of 4M/13FT and a diameter of 8mm, Taglly butyl tape is an effective sealing, sound deadening and water proofing solution commonly used in construction, car, RVs, marine, headlights, windshield and more.

Sensor-Safe, General Purpose Black Rtv Indoor/Outdoor Sealant