To replace your Ford E350’s headlight bulb, you’ll need to remove four housing fasteners—two top and two bottom—using appropriate hand tools. Once the fasteners are out, tilt the aluminum frame forward to access the assembly, then disconnect the electrical connector and twist out the old H13 dual-filament bulb. Install the new bulb without touching the glass envelope, reconnect the wiring, and secure the housing back in place. The following sections cover proper beam alignment procedures and essential maintenance techniques.
Understanding Ford E350 Bulb Specifications
Understanding bulb types guarantees proper beam patterns and electrical compatibility. The H13 designation indicates a dual-filament design providing both high and low beams through a single bulb. Always match the OEM specification to maintain correct light distribution. Installing incorrect bulb types compromises visibility and may violate safety regulations. Check your owner’s manual or existing bulb markings to confirm the exact specification required. Ford E-350 models spanning from 1996 to 2022 have specific OEM bulb requirements that vary by year and configuration. When upgrading your headlights, consider brightness levels, color temperature and lifespan to balance performance with legal compliance for street use.
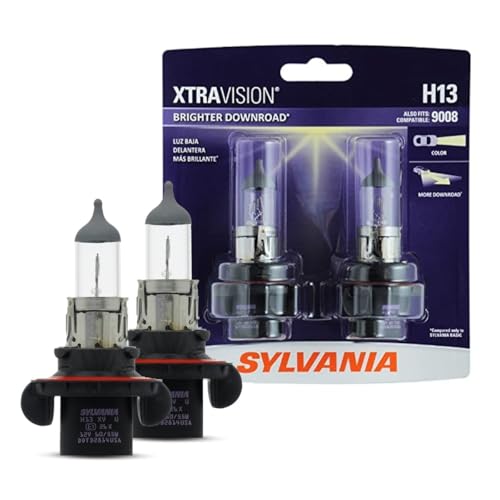
Lights Dim Over Time, Replace In Pairs: Your lights are a pair, one is never turned on without the other. If one bulb burns out, the other isn't far behind. Replace your H11 XtraVision Halogen bulbs in pairs for optimum performance.

【Experience a 10X Brighter Night】 Transform your drive with our advanced 9008/H13 light bulbs. Each 9008 light bulbs combo, equipped with 12 high-performance chips, delivers a blinding 50,000 lumens per set. Powered by latest upgraded Z10 technology which provide unparalleled road illumination—turning night into day for a safer, more confident, and utterly superior driving journey.

【1000% Brighter Than Halogen】Engineered with 32 high-power LED chips, the AUXITO H13 bulb delivers 50,000 lumens per set – 1000% brighter than stock halogens. Drive with daytime clarity, even in total darkness
Gathering Necessary Tools and Supplies
Before starting your Ford E350 headlight bulb replacement, assemble three essential categories of supplies: replacement bulbs, basic hand tools, and protective equipment. For bulb varieties, you’ll find halogen options like the 9007 SilverStar Ultra starting at $16.49, or LED alternatives such as Beamtech direct plug-and-play units. Essential tool types include screwdrivers for releasing retaining tabs, plastic trim removal tools to prevent interior damage, and magnetic retrievers for dropped bolts. You’ll need wrenches or sockets to secure headlight housing bolts during reassembly. A telescoping magnetic tool helps retrieve bottom bolts that are difficult to access during headlight assembly removal. To avoid reducing bulb lifespan and creating hot spots, always wear clean gloves when handling bulbs since skin oils can damage halogen bulbs. Purchase supplies from Advance Auto Parts, O’Reilly, or AutoZone with convenient pickup options. Review 63,236 customer ratings to select quality components confidently.

Lights Dim Over Time, Replace In Pairs: Your lights are a pair, one is never turned on without the other. If one bulb burns out, the other isn't far behind. Replace your H11 XtraVision Halogen bulbs in pairs for optimum performance.


for OEM NO.: F4DZ-13N019-A F4DZ13N019A
Safety Precautions and Preparation
When replacing your Ford E350 headlight bulbs, you must prioritize safety to prevent injury and secure successful installation. Begin by parking on a level surface and allowing the engine to cool completely—hot bulbs cause severe burns upon contact. Always verify bulb temperature before handling.
Disconnect the battery or headlight connector to prevent electrical shock. Unscrew and pull the E-350’s connector, checking for corrosion. This secures safe bulb insertion without sparks.
Wear safety glasses and gloves for proper headlight safety. Gloves prevent skin oils from contaminating the glass surface, which creates hot spots leading to premature failure. For bulb handling, grip only the base or use clean gloves. If you touch the glass, wipe immediately with glass cleaner to prevent burnout. Proper headlight beam alignment should be verified after bulb replacement to ensure safe nighttime driving and prevent glare for oncoming traffic. After bulb replacement, consider applying a UV sealant to protect your headlights from future oxidation and yellowing. Review the vehicle manual for specific instructions tailored to your Ford E350 model before beginning the replacement process.
Removing the Headlight Assembly
Accessing the Ford E350 headlight assembly requires removing four fasteners—two at the top and two at the bottom of the housing. Open the hood to access the top bolts, which are typically 10 mm (some models use 7 mm). Use a socket wrench or nut driver for efficient removal. The bottom fasteners are usually Phillips head screws requiring a quality screwdriver or power drill on low torque. Apply WD-40 to corroded fasteners before attempting removal techniques.
Once you’ve removed all four fasteners, the aluminum frame tilts forward. Gently pull the headlight assembly backward while supporting it with your other hand. Disconnect the electrical pigtail connectors before fully extracting the housing. Twist bulb sockets counterclockwise to detach them from the assembly. Handle carefully if bulbs were recently illuminated.

【PREMIUM QUALITY】These 2PCS Car Radio Removal Pry Tools are made of durable steel which will not bend or break during using.


【Compact Design】:The car light bulb removal tool is slim in volume and light in weight and can be directly extended into the narrowest space to grab and remove small car light bulbs without damaging the light bulb. In addition, its compact shape is very convenient to carry and can be stored directly in the toolbox for easy storage.
Disconnecting and Extracting the Old Bulb
Turn off the headlights and allow at least 10 minutes for the bulbs to cool completely—halogen bulbs reach temperatures exceeding 450°F during operation and will cause severe burns if handled prematurely. Locate the electrical connector at the rear of the bulb socket. Press the release tab and wiggle gently to disconnect, avoiding wire strain. Understanding connector types guarantees proper handling—most E350s use twist-lock configurations. Identify the retaining clip on the bulb holder and push down to disengage, or perform a quarter-turn counterclockwise depending on your model year. Twist the bulb socket counterclockwise to unfasten from the housing, checking alignment keys before extraction. Pull the bulb straight out. Using the proper socket wrenches and tools can ease this procedure and prevent damage to surrounding components. Wear gloves throughout to prevent oil transfer, which reduces bulb lifespan. Avoid touching the glass surface with bare hands, as oil contamination significantly shortens the operational life of halogen bulbs. Verify bulb compatibility specifications before installation.

Lights Dim Over Time, Replace In Pairs: Your lights are a pair, one is never turned on without the other. If one bulb burns out, the other isn't far behind. Replace your 9007 XtraVision Halogen bulbs in pairs for optimum performance.

Lights Dim Over Time, Replace In Pairs: Your lights are a pair, one is never turned on without the other. If one bulb burns out, the other isn't far behind. Replace your H7 XtraVision Halogen bulbs in pairs for optimum performance.

Get the best lighting performance and an increased visibility and comfort on the road compared to basic bulbs
Installing the New Headlight Bulb
With the old bulb removed, prepare the replacement by inspecting it for defects without touching the glass envelope. Handle only the base to prevent oil transfer that causes premature failure. Align the key on the socket with the headlight housing notch for proper bulb orientation. Insert the new bulb and twist clockwise until you hear a distinct click, confirming secure lock-in. Verify the connector plugs in correctly—it fits only one way. Check for corrosion before connecting. Test the bulb’s functionality before reassembling the housing. These installation tips prevent common mistakes: verify the beveled edge faces correctly, confirm the retaining clip drops securely without falling, and make sure both headlights match in brightness when replacing in pairs for best visibility and appearance.

Lights Dim Over Time, Replace In Pairs: Be sure to replace both 9007 headlights at the same time for optimum performance. If one bulb burns out, the other isn't far behind. Replacing in pairs allows for premium visibility
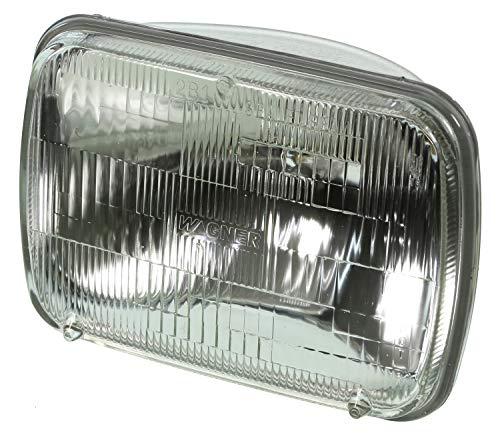
COMPATIBILITY – Fits 1995-1996 Buell S2 Thunderbolt; 1996-1996 Buell S2T Thunderbolt; 1985-1988 Suzuki Forsa; 1985-1985 Suzuki SA310; 2006-2007 Kalmar YT30; 2006-2007 Kalmar YT50; 2006-2007 Kalmar YT60T; 2007-2016 Kalmar Ottawa 4 X 2; 2007-2016 Kalmar Ott
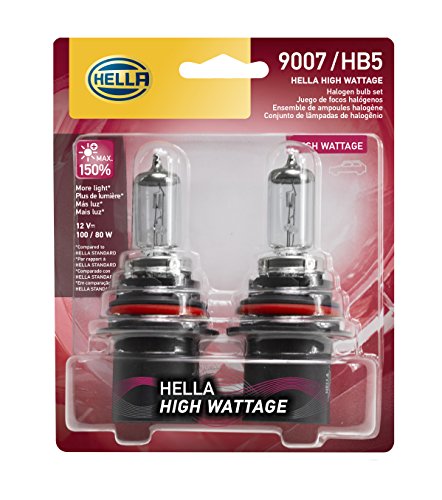
High Wattage bulbs provide a longer service life compared to standard HELLA bulbs. These bulbs are Off-road use only.
Reassembling the Headlight Housing
After confirming the new bulb functions properly, position the headlight housing by aligning it with the mounting points on the vehicle frame. Insert the top pin into its designated slot first, then match the bottom tabs to lower receptacles. Leave initial bolts loose for housing alignment adjustments.
Thread the top 10mm bolts by hand before securing bottom fasteners. For proper headlight maintenance, tighten trim screws at opposite corners using even torque to prevent over-tightening. Drop the metal retaining clip over the housing assembly, engaging the plastic locator on the lower right. To ensure optimal light output and longevity, consider replacing bulbs in pairs for balanced illumination on both sides of your vehicle. Ensure the rubber boot seals properly to prevent moisture from compromising the new bulb installation.
Reinstall the bezel with brackets facing correctly, securing it with two 7mm screws. Verify housing alignment by checking for gaps or misalignment. Confirm all fasteners are snug, completing your assembly.
Testing and Adjusting Beam Alignment
Proper headlight alignment guarantees maximum road visibility while preventing glare that endangers oncoming drivers. Park your E350 25 feet from a flat wall on level surface. Measure from ground to headlamp center, then mark tape on the wall at identical height. Turn headlights on with engine running. For beam testing, observe where the beam’s top edge hits relative to your tape mark. Halogen VOR lamps should align exactly on tape, while HID VOL lamps position 2 inches below. Check horizontal alignment by ensuring both beams remain parallel. If alignment adjustments are needed, locate the vertical adjuster behind the headlight housing. Use a Phillips screwdriver, making half-turn increments. Counterclockwise typically raises the beam. Maintain consistent pressure while turning the screwdriver to prevent slipping during adjustments. Recheck after each adjustment to verify proper positioning. For optimal results, consider changing both headlight bulbs at the same time to ensure even brightness and consistent beam alignment. Night driving is the best way to confirm even illumination and ensure you are not creating glare for other drivers on the road.
Maintenance Tips for Extended Bulb Life
Since headlight bulbs represent one of your E350’s most frequently replaced components, understanding proper maintenance practices will considerably extend their operational lifespan and reduce replacement frequency. Critical installation tips include handling bulbs exclusively by their base or plastic coating—skin oils contaminate glass surfaces, reducing lifespan by 500 hours. Wipe new bulbs with alcohol if packaging residue exists. Always replace both bulbs simultaneously for even illumination and consistent bulb longevity. Inspect electrical connectors for corrosion, cleaning pins with contact cleaner before reconnection. Apply dielectric grease to prevent moisture ingress. Use only OEM-spec wattage bulbs to avoid overheating your wiring harness. Clean housing sockets thoroughly, removing dust and debris that cause premature failure. Check the connector for corrosion before plugging it in to ensure reliable electrical contact. Understanding color temperature specifications helps you select bulbs that provide optimal visibility and comply with legal requirements for your vehicle. Proper beam pattern alignment after installation ensures optimal visibility without blinding oncoming drivers. LED upgrades require proper cooling fans for heat dissipation and correct polarity to maximize service life.