
To replace your Dodge Challenger’s headlight bulbs, first disconnect the battery and access the assembly by opening the hood. Remove the weather cap by rotating it counterclockwise, then disconnect the electrical connector by lifting its locking tab. Rotate the bulb holder counterclockwise to release it, remove the old bulb by its base only, and install the new bulb using the alignment tabs. Reconnect everything in reverse order and test functionality. The following sections provide detailed specifications and troubleshooting guidance.
Preparation and Safety Precautions
Before replacing headlight bulbs on your Dodge Challenger, you must establish a safe working environment and gather the proper equipment. This preventative maintenance procedure requires clean, lint-free nitrile or latex gloves to prevent skin oils from contacting the halogen bulb glass, which reduces lifespan. Wear safety goggles to protect against debris or breakage. Disconnect your vehicle’s battery to prevent electrical shock or short circuits—common issues during improper bulb replacement. Work in a well-lit, dry area with adequate ventilation. Consult your owner’s manual for specific bulb specifications and compatibility. Arrange necessary tools including Phillips and flathead screwdrivers, socket wrenches, and rubbing alcohol with lint-free cloths. Most headlight replacements can be completed in approximately 10-15 minutes with proper preparation and the correct tools on hand. Verify headlight fuse integrity and inspect electrical connectors for corrosion before proceeding with replacement procedures. After replacing your bulbs, proper headlight beam alignment ensures optimal road visibility and safety for all drivers. Consider replacing both headlights simultaneously to ensure balanced brightness and consistent illumination for safer nighttime driving conditions.
Accessing the Headlight Assembly
With your safety equipment in place and workspace prepared, you’ll now gain access to the headlight assembly by removing several protective panels and fasteners. Open the hood fully and remove the radiator shroud components using a panel removal tool to pry off four push pin clips. Peel back the wheel well liner and remove 10-millimeter bolts securing the fender to the bumper. Extract 3-4 push pins along the inner wheel well, then carefully pull the bumper away from the fender to create clearance. Locate and remove the headlight mounting bolts—typically two or three 10-millimeter fasteners. Disconnect electrical connectors by lifting locking tabs, then gently extract the assembly. Proper removal guarantees headlight alignment remains undisturbed during reinstallation. Before reconnecting the assembly, ensure you have safely handled the new bulbs by avoiding contact with the glass surfaces to prevent premature failure. After bulb replacement, you may want to consider wet sanding and polishing compounds to restore clarity if your existing headlights show signs of oxidation or yellowing.

Compatible with Dodge Challenger 2008-2020, Magnum 2005-2008.

[High Quality] Headlight retaining clip of high-quality nylon material, with long service life and delicate and compact.

Dodge Challenger Headlights Bulb Kit: Suitable for Dodge Challenger headlights from 2015 to 2020 (NOT Compatible with Factory HID Headlight). Update your vehicle appearance while enhancing your visibility; assists to reduce traffic accidents caused by bad weather or adverse road conditions. Ensuring driver's security
Removing the Old Bulb
Grasp the weather cap covering the rear of the headlight bulb and rotate it counterclockwise approximately one quarter turn until it detaches from the housing. Store it in a clean location to prevent contamination. Locate the electrical connector and gently release the locking tab, pulling straight back without tugging on wires. Rotate the bulb holder counterclockwise within the headlight assembly until it disengages, then withdraw it using steady pressure. Release the securing clips on the bulb holder and remove the old bulb. Practice proper bulb handling by gripping only the base—never the glass envelope—as skin oils cause premature failure. Inspect the socket for corrosion or debris before proceeding. When replacing the bulb, ensure you have the correct replacement bulb type for your vehicle model to guarantee proper fit and functionality. Follow local disposal methods for the old bulb according to electronic recycling guidelines. Use a small screwdriver to release the tab on the bulb holder if it proves difficult to disengage manually.

900% Brighter Visibility – Each OXILAM 9012 light bulb features 16 high-power chips with a compact spacing design, delivering a concentrated beam that extends further. See obstacles more clearly with 900% improved visibility

10X Exceptional Brightness: 9012 bulb featuring 16 advanced chips per bulb and an incredible 45,000LM brightness per set. Powered by the latest technology, these headlights efficient illumination, ensuring optimal visibility and safety during nighttime drives
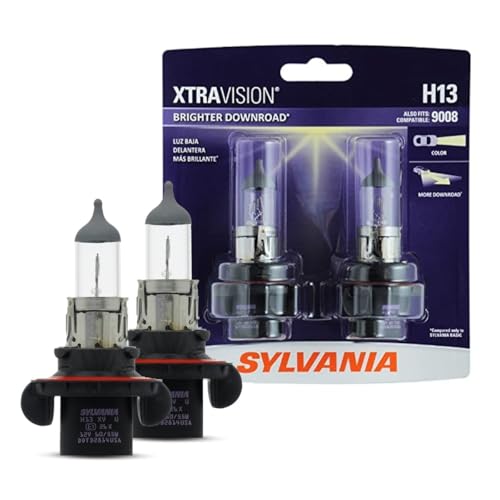
Lights Dim Over Time, Replace In Pairs: Your lights are a pair, one is never turned on without the other. If one bulb burns out, the other isn't far behind. Replace your H11 XtraVision Halogen bulbs in pairs for optimum performance.
Installing the New Bulb
After removing the old bulb, examine the new replacement to identify the alignment tabs molded into its base. Match these tabs with the corresponding slots in the headlight housing, ensuring proper orientation before insertion. Avoid touching the glass surface, as skin oils compromise bulb longevity and performance. If installing Xenon HID bulbs, remove the plastic cover that protects the bulbs during shipping before proceeding. Push the bulb straight into the socket until it seats flush, then rotate clockwise until it locks securely. Confirm the bulb doesn’t move loosely within the socket. When selecting your replacement bulb, consider LED and HID options for improved brightness and visibility compared to standard halogen bulbs. Wearing gloves during installation prevents oils from transferring to the bulb glass and ensures optimal performance.
Reconnect the electrical connector to the bulb’s terminals, listening for an audible click indicating full engagement. These installation techniques prevent flickering and electrical failures. Reinstall the weather cap by aligning and twisting it clockwise a quarter turn. Verify the cap sits flush against the housing, maintaining moisture protection and headlight integrity.

Ideal Pattern: The 9012 led bulbs adopt the same halogen emitting position design. Perfectly match the halogens’ beam pattern. Ensure optimal light shape and focused light so you won't blind others

900% Brighter Visibility – Each OXILAM H13 light bulb features 16 high-power chips with a compact spacing design, delivering a concentrated beam that extends further. See obstacles more clearly with 900% improved visibility

【Experience a 10X Brighter Night】 Transform your drive with our advanced 9008/H13 light bulbs. Each 9008 light bulbs combo, equipped with 12 high-performance chips, delivers a blinding 50,000 lumens per set. Powered by latest upgraded Z10 technology which provide unparalleled road illumination—turning night into day for a safer, more confident, and utterly superior driving journey.
Reassembly and Final Steps
Complete the bulb installation by verifying the electrical connector seats fully against the bulb’s terminals with an audible click, then reinstall the dust cover by twisting it clockwise until it locks flush against the housing. For driver’s side replacements, reposition the air intake assembly, confirming component alignment with all mounting grommets. Hand-tighten bolts first, then torque with a 5/16-inch socket. Reattach any disconnected clamps and tubes securely.
Conduct a final inspection of all fasteners, connectors, and seals. Remove tools from the engine bay and close the hood. Start the vehicle and activate the headlights to verify proper illumination on both sides. Check for flickering or dimming, which indicates connection issues. If you experience persistent issues, consider disabling daytime running lights to isolate electrical problems. Inspect beam alignment to confirm compliance with safety standards and ideal road visibility. Ensure the parking brake engaged before testing to maintain vehicle stability during the headlight function check. After verifying proper function, apply a UV sealant to the headlight housing to protect against oxidation and maintain long-term clarity.

Precision Computer Pre-Cut Vinyl Film

🌀Quality Butyl Rubber Material - Our butyl tape is made of quality butyl rubber material, which is strong in adhesion, durable and flexible, and has reliable weather and shock resistance, not easy to aging and deformation, which can provide you with long-lasting performance. This sealant can be reused for a long time, which is convenient for you to modify your lights for many times.

Compatible with Dodge Challenger 2015-2023.
Bulb Specifications and Compatibility
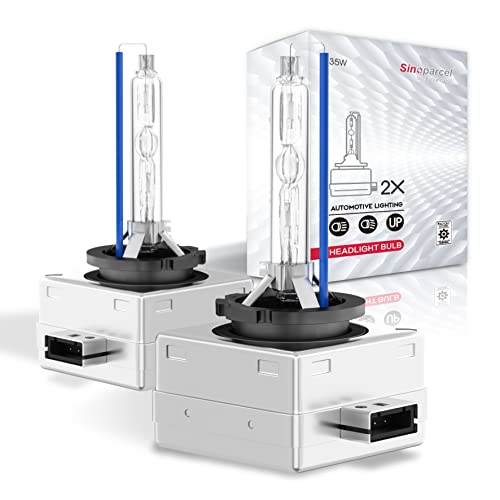
Selecting the correct replacement bulb requires matching both the bulb type and size to your specific Challenger model year and headlight system configuration. For 2008-2014 models with factory HID systems, you’ll need D1S bulbs (35W, 3200 lumens). The 2015-2020 Challengers typically use 9012/HIR2 bulbs for halogen setups or D3S/D3R for HID-equipped variants. Note that HID and halogen bulb types aren’t interchangeable—verify your existing headlight system before purchasing replacements.
Installation tips: Check bulb base compatibility (P32d for D1S) and operating voltage range (9-16V for HIRs). Color temperature options include 4300K (warm white), 5000K (pure white), and 6000K (ice white). LED conversions offer improved efficiency but must match your original bulb socket configuration for proper fit. When comparing bulbs, consider factors like brightness levels, longevity, and beam pattern quality to ensure optimal headlight visibility. Across all model years from 2008 to 2017, Challengers use H11 fog light bulbs as standard equipment.
Life time support,2pcs packaged; Replacement part number: 66144 66140 85140 85415 (If there is any problem in the product, please contact us via Account Center,we will reply you within 24 hours)
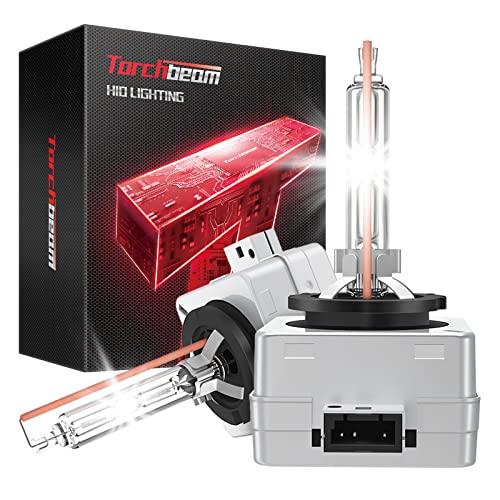
Safer Night Driving: Torchbeam d3s bulbs made with German xenon gas. Replacement OEM Part Number: 42302C1, 42302(WX/XV), 42403(C1), 66340, 66340CBH, 66340CBI, ect.

Perfect Beam Quality:D1S Xenon HID Bulbs ultra-bright light with 99.99% pure xenon gas and APL capsules—no glare, no dark spots. Higher efficiency and pure color for crisp visibility.