To replace HID headlight bulbs, first disconnect your vehicle’s battery and locate the bulb assembly behind the headlight housing. Remove the dust cover, then disconnect the wiring harness by releasing its locking clips. Disengage the bulb’s retaining mechanism and pull it straight out without twisting. Handle the new bulb only by its base to avoid oil contamination, align the tabs, and twist to lock it securely. Reconnect the harness, test for proper brightness and beam pattern, and make adjustments to prevent blinding oncoming drivers—though specific vehicle configurations may require additional steps.
Gathering the Right Tools and Safety Equipment
Before replacing your HID headlight bulbs, you’ll need to identify the exact bulb type installed in your vehicle. Verify the OEM bulb labeling—such as D1S or D3S—and cross-reference your vehicle’s manual to confirm specifications. These bulbs aren’t interchangeable, so accurate identification prevents costly mistakes.
For tool selection, gather a small flathead screwdriver, Torx or Philips screwdrivers, and a specialized bulb removal tool like the LumaWerx Bulb Puller. Include a flashlight for illuminating tight workspaces. You may also want to have trim removal tools available for accessing the headlight area, similar to those used when removing the front grille on many vehicles. Understanding HID bulb technology will help you appreciate why proper handling during replacement is critical.
Safety protocols require protective gloves to prevent skin oil contamination, which degrades bulb lifespan. Wear safety glasses to guard against debris. Always disconnect your vehicle’s battery before starting work to eliminate electrical shock risks. Work in a well-ventilated area and handle bulbs gently—they’re fragile and expensive to replace. You can apply this replacement method to D3S and other HID bulbs beyond just the D1S size.
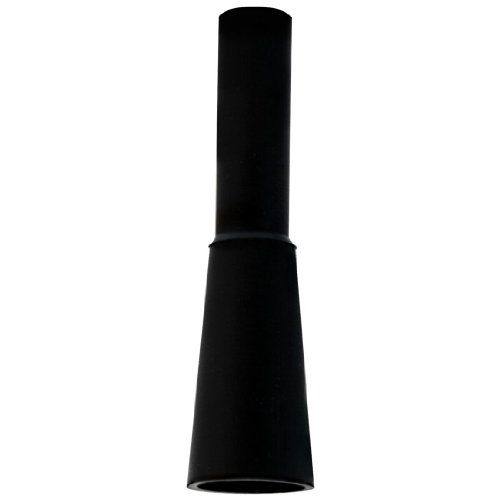

Gently and firmly grips glass shell of bulb

COMPATIBILITY: Universal socket removal tool designed for H8, H9, H10, H11, H12, H13, 9005, 9006, and 9012 headlight and fog light bulbs
Accessing the HID Bulb Assembly
With your tools assembled and safety equipment in place, you’re ready to locate and expose the HID bulb assembly. The HID bulb location is typically inside the engine bay, directly behind the headlight housing. Open and secure your hood, then identify the bulb assembly shielded by a plastic or rubber dust cover.
Access methods vary by vehicle. Most models allow access through the engine bay panel, while others require entering through the fender liner or bumper. Some vehicles, particularly certain models with tight engine bays, may necessitate bumper or headlight housing removal for adequate maneuverability. When access is particularly limited, battery disconnection can provide additional workspace and safety during the removal process.
Once you’ve determined the appropriate access method, carefully remove the dust cover to expose the bulb assembly. The cover protects the internal components and must be handled gently to prevent damage during removal and subsequent reinstallation. For headlights that have become cloudy or oxidized, consider UV sealant protection after bulb replacement to maintain long-term clarity. Remove the plastic cover prior to installation to ensure proper access to the HID bulb.
Removing the Old HID Bulb
Once you’ve exposed the bulb assembly, your first task is to disconnect the wiring harness from the HID bulb. Release any locking clips or tabs before unplugging the connector. Use small tools to gently separate friction-fit connectors without damaging pins—proper connector care prevents electrical issues later. Next, disengage the bulb retaining mechanism, typically a clip or quarter-turn lock rotated counterclockwise. Don’t force these components, as excessive pressure can break delicate parts. Gently pull the bulb straight out without twisting. Never touch the glass surface with bare hands; oils compromise bulb maintenance and longevity. Wear clean gloves or use a lint-free cloth. If the bulb proves difficult to remove, allow time for recently used bulbs to cool before attempting extraction. If removal proves difficult, recheck all retaining clips and connections. Ensure your replacement bulb meets DOT and ECE regulations to maintain proper lighting performance and road safety. In cramped spaces, remove adjacent components for better access. Handle the components delicately to prevent damage during the entire removal process.
Installing the New HID Bulb
Handle the new HID bulb exclusively by its base to prevent skin oils from contaminating the glass envelope, which causes premature failure and uneven light distribution. If you’ve touched the glass, clean it immediately with alcohol and a lint-free cloth. Verify the bulb type matches your vehicle’s specification (D1S, D3S, etc.) and check that pin configurations align properly.
Insert the bulb into the headlight housing, aligning the tabs—it’ll fit only one way. Twist clockwise approximately quarter to half turn until locked securely. Apply gentle pressure to avoid damaging fragile electrodes. Confirm the bulb sits firmly to prevent flickering. When selecting your HID bulb, consider the color temperature of the light output, as this affects both visibility and the aesthetic appearance of your headlights.
Connect the wiring harness to the ballast, matching labeled wires for correct polarity. The ballast converts your vehicle’s DC power into AC power required for the HID bulb to operate efficiently. Route wiring away from sharp edges and moving parts. Ensure all wiring plugs are securely snapped into place to prevent connection issues during operation. These bulb handling and installation tips guarantee reliable operation and longevity.
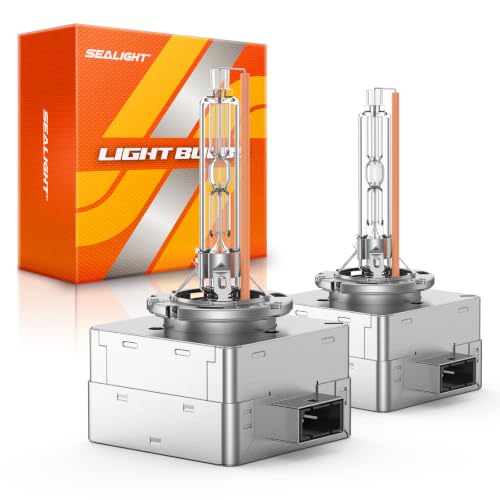
Vehicle Compatibility: Only compatible with factory installed D1S HID xenon bulbs. NOT fit stock Halogen bulb even system say "fits". Please verify your bulb size before purchase.

400% Brightness: The innovative diamond-shaped bulb cavity significantly increases the refractive index of light, 400% brighter than ordinary halogen bulbs. It provides an additional 1200FT exposure distance to help you see distant obstacles 3S in advance and avoid danger in time.
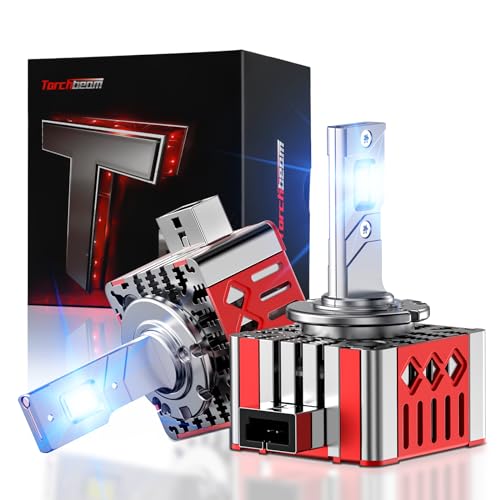
8X Brighter, 30000LM Clear Vision: Equipped with 30 upgraded chips, our D1S HID Bulb delivers 30000LM, 8000K ice blue (8X brighter than stock). Daylight-like light reduces eye fatigue, enabling clear night driving.
Testing Your New Headlights
After installing the new HID bulb, you’ll need to verify proper operation through systematic testing before reassembling the headlight housing. Turn on the headlights and allow a 1-2 minute warm-up period, as HID bulbs require time to reach full brightness and stable color temperature. Observe for consistent light output without flickering or dimming, which may indicate electrical issues with the ballast or wiring connections. Use a multimeter to confirm appropriate voltage delivery to the assembly. Assess beam pattern and brightness in a dark environment to verify adequate light spread, ensuring optimal beam pattern quality for nighttime driving safety. For accurate performance verification, HID bulbs should be powered for 12 hours to ensure proper burn-in and stable output values. Monitor the bulb during initial operation for any unusual sounds from the ballast, such as buzzing or humming, which signal potential failures that could compromise bulb longevity and system reliability.

Each bundle contain 2 bulbs, 2 ballast, and installation accessories
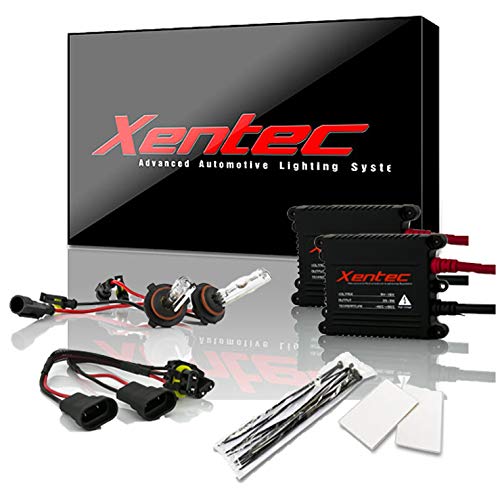
Each bundle contain 2 bulbs, 2 ballast, and installation accessories

【KDLT003 Ballast replacement】Also known as Headlight Control Unit, a crucial part of HID lighting system, provides the voltage needed to start the lamp and regulates the electrical current of the light once it is lit. A failed ballast will cause your bulb to burn. It is a perfect solution for 2004 2005 2006 2007 2008 2009 2010 2011 2012 2013 2014 Lexus SC430 ES350 ES350h LS460 LS460L LS600h RX350 RX450h GX460 GS300 GS350 GS430 GS450h Gs460 IS250 IS350 IS350F IS250C
Adjusting Headlight Beam Alignment
Proper headlight beam alignment directly affects visibility and road safety. After replacing HID bulbs, you’ll need to adjust both vertical and horizontal alignment using the screws located near each headlight assembly. Park on a level surface 25 feet from a flat wall, marking the centerline and beam height with masking tape.
For vertical adjustment, turn the screws until the brightest part of the beam sits about 2 inches below your marked height. This prevents blinding oncoming drivers while maximizing road illumination. For horizontal alignment, adjust screws so beams point straight ahead, with the bright spot just right of center to illuminate roadside hazards.
Test one headlight at a time, making small incremental adjustments. To prevent damage during this process, avoid applying excessive force to the adjustment screws. Verify proper alignment by driving in darkness to confirm adequate visibility without glare. Professional headlight aiming tools can provide greater accuracy than DIY methods if you’re uncertain about your technique. If you’ve recently installed a lift kit or lowering kit, you may need to revisit the adjustment process since these modifications can significantly disrupt headlight aim.

1 unit of front headlight adjustment screw driver tool ONLY for 2018-2022 JL.

【Precise 4mm Hex Ratchet Wrench】The 14540 Headlight Adjusting Ratchet with a 4mm hex head is specifically designed for Ford aerodynamic headlights featuring rear-mounted adjusters. This tool serves as a perfect professional replacement for OE Part #14540 / LIS14540

Fitment: Headlight Adjusters Kit is compatible with Chevy Impala, Biscayne & Belair 1962 Impala,1963 Impala, 1964 Impala ,1965 Impala,1966 Impala ,1967 Impala.
Vehicle-Specific Tips and Common Challenges
While HID bulb replacement follows standard principles, each vehicle presents unique access challenges that require specific approaches. Some models allow direct engine bay access, while others require removing fender liners, bumpers, or entire headlight assemblies. You’ll need vehicle-specific repair manuals or instructional videos to navigate these variations safely.
Vehicle compatibility extends beyond physical access—you must use the exact bulb type (D1S, D3S, etc.) specified for your model. Incorrect bulbs compromise fit, function, and bulb lifespan while potentially triggering dashboard warnings. For vehicles like the 2012 Honda Civic, it’s important to note that factory LED lights cannot be modified without dealer service.
Limited workspace frequently complicates installation. Handle fragile plastic clips and connectors carefully during disassembly. Apply dielectric grease to electrical connections for added protection against moisture and corrosion. Most HID headlight replacements can be completed with basic tools like screwdrivers and sockets, though some vehicles may require additional equipment depending on assembly design. If you encounter persistent electrical issues after replacement, suspect ballast failure rather than bulb problems—swapping ballasts between sides helps diagnose this common challenge.

Each bundle contain 2 bulbs, 2 ballast, and accessories, this bulb is not dual xenon, high beam is halogen (for dual xenon, please select bixenon option)

FIT THE FOLLOWING VEHICLE - W3T19371 ballast replacement for 2006-2014 Acura TL TL-S | 2006-2014 Acura TSX | 2012-2014 Acura ILX | 2010-2013 Acura ZDX | 2013-2014 Acura RDX | 2010-2013 Acura MDX | 2009-2011 Acura CSX | 2011-2013 Honda CR-Z | 2004-2014 Honda Odyssey | 2012-2014 Mazda CX-5 | 2007-2012 Mazda CX-9 | 2007-2009 Mazda 3 | 2009-2012 Mazda 5 | 2007-2009 Mitsubishi Out lander | 2008-2012 Mitsubishi Lancer Evolution

8X Brighter Like Daylight: Marsauto D4S HID bulb equipped with the latest 2025-generation 30-CSP chip technology, delivers up to 30,000 LM of 6500K pure white light. The D4S HID Bulbs outperforms original HID bulbs by 8x brightness, ensuring you can clearly see and anticipate potential hazards on the road ahead and react in a timely manne.