To replace your Kia Sportage headlight bulb, first disconnect the battery’s negative terminal and allow the old bulb to cool. Identify your model year’s bulb type—9003/H4 for 1997-2002, H7 for 2003-2005, or 9005 for 2020-2022 models. Access the headlight assembly from the engine bay or, on newer models, remove the front bumper cover. Disconnect the electrical connector, release the retention clip, and install the new bulb without touching the glass. Reconnect everything and test both beams. For detailed troubleshooting and upgrade options, explore the extensive guide below.
Safety and Preparation Before You Begin
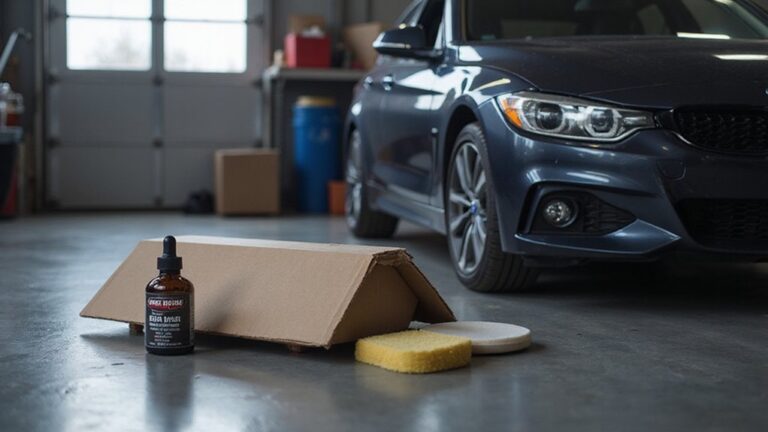
Before replacing your Kia Sportage headlight bulb, you must secure the vehicle properly to prevent accidents and injury. Park on a level, stable surface and turn off the engine at a safe location. Set the ignition switch to LOCK position and firmly apply the parking brake to prevent movement. Turn off all lights to avoid electrical burns or shock hazards.
Essential safety measures include disconnecting the battery negative (-) terminal before beginning work. Wear eye protection during the entire procedure. Allow the existing bulb to cool completely before handling, as bulbs reach extremely high temperatures during operation. Ensure your hands are dry before touching any electrical components to reduce the risk of electric shock. When installing the new bulb, avoid touching the bulb glass directly to prevent premature wear and ensure optimal performance. Verify that your replacement bulb matches the vehicle’s electrical requirements to avoid damage or improper lighting. These preparation steps protect you from electric shock and thermal injuries while ensuring the vehicle remains stationary throughout the replacement process.
Identifying the Correct Bulb Type for Your Model Year
Which bulb type does your Kia Sportage require? You’ll need to identify your model year first. For 1997-2002 models, use 9003/H4 bulbs. The 2003-2005 generation requires H7 bulbs. If you own a 2006-2015 model, low beams take H11B (halogen) or D3S (HID), while high beams use H7. The 2016-2019 models utilize H11/H8/H9 for low beams and 9005/HB3 for high beams. Later 2020-2022 versions standardized both high and low beams to 9005. For 2023-2024 models, expect D3S/D3R HID low beams with 9005/HB3 high beams. Always verify your specific configuration—halogen, HID, or LED—as bulb types vary between trim levels within the same model years. Different bulb technologies like LED and HID options can offer improved brightness and longevity compared to standard halogen bulbs. When selecting replacement bulbs, consider factors such as brightness levels measured in lumens and color temperature to ensure optimal visibility and safety while driving at night. When purchasing replacement bulbs, genuine Kia parts are backed by a Kia factory warranty for added reliability.
Accessing the Headlight Assembly
Accessing the headlight assembly requires different approaches depending on your Sportage’s model year. For 2016-2022 models, you’ll remove the radiator grille cover first by loosening its fasteners and pulling it forward. Next, remove two 10mm bolts from the assembly’s front, one 12mm bolt from the rear, and three 10mm bolts underneath. Pull up the headlight mounting bar to release the housing, then disconnect the electrical connector.
Later models require bumper cover removal as the primary access method. Remove bumper cover clips and 10mm bolts, pull clips from the fender liner, and unscrew corner bolts. Work the bumper off carefully, checking for hooked clips. For 2023-2024 Sportage models equipped with 2.5L engines, the headlight assemblies use specific lamp assembly configurations that differ from previous generations. Before starting either procedure, disconnect your battery and prop the hood securely.
Removing the Old Headlight Bulb
With the headlight assembly accessible, you’ll now locate the bulb retention mechanism at the rear of the housing. Identify your retention type: spring clip, twist-lock socket, or plastic tab. For spring-clip designs (common on 2010–2015 H11 low-beams), depress the clip inward and pivot away from the bulb to unhook. Twist-lock sockets require a 1/4 turn counterclockwise rotation before pulling straight back. Before applying bulb removal techniques, disconnect the electrical connector by depressing its retaining tab and pulling the connector body—never the wires—straight back. Connector preservation requires careful handling; wiggling risks terminal damage. Note the bulb’s orientation features (locator tabs/pins) to avoid forcing during extraction. Wear gloves to prevent skin oils from contaminating the glass, and support the assembly to prevent drops. Different types of headlight bulbs, including halogen, LED, or HID variants, may have specific extraction requirements depending on your Kia model. If the headlight fails to function after bulb replacement, the issue may stem from a faulty headlight relay located in your vehicle’s fuse box. On models like the 2018 Kia Sportage, the headlight connector follows a simplified disconnecting process that makes bulb access straightforward.

100% New & Genuine Osram Made in Germany - Pack of 2 bulbs.
Installing the New Replacement Bulb
Once the old bulb is removed and the socket area inspected, retrieve the new replacement from its packaging without touching the glass envelope. Wear nitrile gloves to prevent skin oils from contaminating the halogen surface. Verify the bulb’s orientation tabs match the socket’s keyed flange—this guarantees proper bulb alignment techniques. Insert the bulb straight into the housing without forcing; the pins must seat fully until the flange contacts the socket. Engage the spring clip or twist-lock mechanism as originally configured. Reconnect the electrical connector until you hear an audible click. Reinstall the rubber dust cover and rotate it one-quarter turn to lock. For beam adjustment tips, park seven meters from a wall and verify the cutoff approximates the factory position. After installation, turn on the ignition and activate the lights to confirm that both high beam and position lamp function correctly.
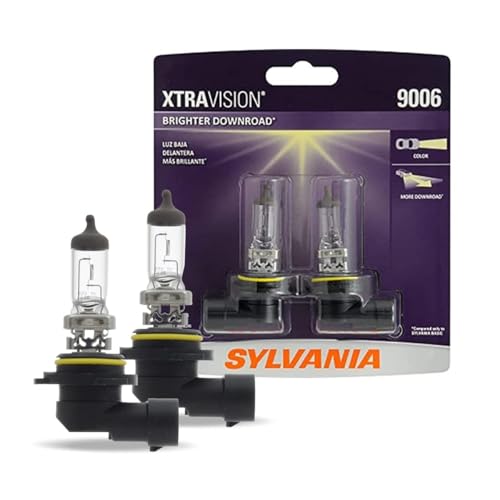
Lights Dim Over Time, Replace In Pairs: Your lights are a pair, one is never turned on without the other. If one bulb burns out, the other isn't far behind. Replace your 9006 XtraVision Halogen bulbs in pairs for optimum performance

Lights Dim Over Time, Replace In Pairs: Your lights are a pair, one is never turned on without the other. If one bulb burns out, the other isn't far behind. Replace your H7 XtraVision Halogen bulbs in pairs for optimum performance.

Lights Dim Over Time, Replace In Pairs: Your lights are a pair, one is never turned on without the other. If one bulb burns out, the other isn't far behind. Replace your 9003 XtraVision Halogen bulbs in pairs for optimum performance.
Reconnecting Components and Securing the Assembly
After confirming the ignition key is removed and all power sources are off, align the electrical connector’s keyed tabs with the corresponding slots on the bulb socket. Push firmly until you hear an audible click indicating full engagement. Inspect connector pins for corrosion or debris; clean with electrical contact cleaner if needed. For bulb retention, position the bulb’s alignment tabs to match housing slots, then compress the retaining spring and snap both anchor points into place. Verify firm spring tension—the bulb shouldn’t move when gently pushed. Reinstall the dust cover by aligning tabs and rotating clockwise until locked. Ascertain the seal sits flush against the housing rim. Replace mounting bolts to manufacturer torque specifications, hand-starting then tightening sequentially. Before testing, ensure the car is positioned on a stable surface to prevent any movement during the verification process. To avoid oils from skin shortening bulb life, consider wearing gloves during the final assembly steps. Consult your vehicle manual for the color temperature rating of the replacement bulb to ensure optimal nighttime visibility. Test headlight operation before final reassembly.
Essential Tools and Handling Precautions
Before you begin the replacement procedure, gather the necessary equipment to complete the job efficiently. Your tool selection should include a flathead screwdriver for prying covers, a socket wrench set for retaining clips, and a flashlight for engine bay visibility. You’ll also need dielectric grease for rubber seals and protective gloves.
Proper bulb handling is critical to replacement success. Never touch the glass surface with bare hands, as skin oils cause premature bulb failure. Always wear gloves when installing H11B, H7, or 9003 bulbs. Turn off the engine and allow the headlight assembly to cool completely before starting work. Disconnect the battery when accessing electrical connectors. Work in a well-lit area to prevent installation errors and guarantee all three tabs align correctly during bulb insertion. Different bulb types including LED offer varying brightness levels and longevity that can impact your replacement choice. For headlights that are foggy or oxidized, consider using UV protectant sealants to maintain clarity alongside your bulb replacement. Replacing bulbs regularly ensures vehicle safety and visibility on the road.


Enables boots to be removed from spark plugs and distributor caps

BULB GREASE POUCH 4 G 100
Testing Your New Headlight Installation
Testing your newly installed headlight guarantees proper function and confirms correct installation before returning the vehicle to service. Turn on your vehicle’s headlights and verify both beams activate simultaneously. Check bulb alignment by positioning the Sportage 25 feet from a wall; the beam pattern should illuminate evenly without dark spots or excessive scatter. Assess light intensity by comparing both headlights—they’ll match in brightness if installed correctly. Switch between low and high beams to confirm proper filament operation in dual-filament bulbs. Set your multimeter to voltage mode and probe the bulb’s base contacts; you’ll read approximately 12-14 volts during operation. If light intensity appears dim or flickering occurs, disconnect and reseat the bulb firmly in its housing. Consider upgrading to LED or HID options if you want improved brightness and longevity compared to standard halogen bulbs. Verify the connector locks securely. Wear protective gloves when handling the bulb to prevent oil from your skin from damaging the glass surface.
Common Issues and Solutions
Even with proper installation, your Kia Sportage’s headlight system can develop issues that require troubleshooting. When you encounter dashboard LED warning indicators displaying a yellow triangle with “Check headlight LED,” inspect for dimming, flickering, or complete outage on either side. These headlight troubleshooting tips address common failures: check ground wire connections for corrosion, especially after front-end work; verify both headlights illuminate evenly, as dimming indicates burned-out bulbs or faulty grounds; examine wiring harness connectors for moisture intrusion. If connectors show signs of corrosion, use electrical contact cleaner to restore proper terminal function. If one headlight fails, replace both bulbs simultaneously to maintain balanced illumination and lifespan. For flickering lights, replace the ground wire first before replacing LED modules. Since LED assemblies integrate into the housing, complete replacement becomes necessary when modules fail. Consult your dealer for diagnostic confirmation.

【Dual-Color Signal Lighting】: This LED daytime running light strip provides bright white illumination for enhanced road visibility and automatically switches to amber when signaling. The switchback LED strip design helps improve vehicle recognition during lane changes, turns, and nighttime driving, adding an extra layer of driving awareness.

Applicable models:The headlights assembly replacement for 2017-2022 Kia Sportage AWD,Only suitable for this model, please check your model before purchasing.

Fitment: Headlight assembly compatible with 2017 2018 2019 2020 2021 2022 Kia Sportage EX/LX