To smoke your headlights, start by thoroughly cleaning the surface with automotive shampoo and degreasing with 70–90% isopropyl alcohol. Choose between vinyl wrap or spray tint products—vinyl offers precision while spray provides easier application. Apply your chosen method in thin, even layers, working from the center outward to prevent bubbles. Puncture any air pockets with a needle and smooth immediately. Trim excess material carefully along the headlight’s contour, then seal with a UV-protective coating to prevent oxidation. The following sections detail each technique to guarantee professional, long-lasting results.
Preparing Your Headlights for Tinting
Before you apply any tint film or spray coating, you must establish a contamination-free surface that guarantees proper adhesion and a uniform finish. Start with automotive shampoo and a microfiber wash mitt to remove loose dirt, then degrease using 70–90% isopropyl alcohol until no oily residue remains. Employ clay bar with lubricant to eliminate embedded contaminants. These cleaning techniques prevent film lifting and bubbling.
Conduct thorough damage assessment by inspecting for deep scratches, oxidation, or yellowing. Sand heavily degraded lenses starting with 400-grit, progressing to 1500–2000 grit, then buff with cutting compound and polish to restore optical clarity. For optimal results, apply a protective clear coat after polishing to prevent rapid re-oxidation of the lens surface. Replace cracked assemblies rather than concealing structural damage. Dry lenses completely with lint-free microfiber and allow solvents to flash-off before proceeding. To maintain long-term clarity after your tinting project, consider applying a UV protectant coating to guard against future oxidation and yellowing. If you plan to use spray tint, sanding the headlight lens is a necessary preparatory step to ensure proper paint adhesion.

KIT CONTENTS - Each headlight restoration kit includes (8) Step 1 Oxidation Removing Wipes, (1) Step 2 Sanding Kit, and (2) Step 3 Ceramic Coating Wipes.

KIT INCLUDES: 1 - Disc Pad Holder, 3.25 in (8,2 cm) 6 - 3M Gold Sanding Discs 500 Grit, 3 in (7,6 cm) each 4 - 3M White Finishing Discs 800 Grit, 3 in (7,6 cm) each 1 - 3M Trizact Refining Disc 3000 Grit, 3 in (7,6 cm) 2 - 3M Quick Headlight Clear Co

KIT INCLUDES: 1 - 3M Trizact Refining Disc 1000 grit, 3 in/7.6 cm 1 - 3M Trizact Refining Disc 3000 grit, 3 in/7.6 cm 2 - 3M Quick Headlight Clear Coat Wipes 1 - Foam Pad with 3M Hookit Attachment, 3 in/7.6 cm 1- Disposable Glove
Choosing the Right Tinting Method
Once your headlight surface achieves pristine condition, you’ll select from five distinct tinting methods—each engineered with specific film compositions that determine optical properties, longevity, and regulatory compliance. Dyed films offer cost-effective matte finishes but fade under UV exposure. Metalized options provide superior durability and heat rejection, though they’re unsuitable for vehicles with sensitive electronics. Carbon tinting materials deliver excellent UV protection without signal interference, maintaining light visibility through non-reflective particles. Hybrid films balance performance and affordability by combining dyed and metalized layers. Ceramic films represent premium tinting materials, blocking 99% UV rays while preserving ideal light visibility—critical for nighttime safety. Your selection must prioritize adequate light transmission percentages that comply with local vehicle lighting regulations while achieving your desired aesthetic effect. It’s important to note that non-compliant aftermarket modifications are generally prohibited for street-registered vehicles in most states. When comparing options, consider how lumens and light output affect both the tinting appearance and your vehicle’s nighttime driving performance. Regular maintenance using soft, microfiber cloths prevents scratches that compromise tint appearance and functionality.

Daytime Privacy: This ceramic window tint offers one-way visible effect during the day, letting you see out clearly while blocking outside views for enhanced daytime privacy and security

ULTIMATE GLOSS: By far the glossiest headlight tints modern technology can produce, with a finish that rivals the best gloss paint
Applying Vinyl Wrap to Headlights
Vinyl wrap application demands meticulous surface preparation to achieve bubble-free, long-lasting results. Clean your headlights thoroughly with isopropyl alcohol, then briefly warm them to enhance vinyl characteristics for better conformity. Prepare a slip solution using water and mild soap—this critical lubricant prevents premature adhesion and allows repositioning freedom.
Apply slip solution generously to both the headlight lens and vinyl film’s adhesive side. Place the wet film onto the lubricated surface, where it’ll float freely for precise alignment. Start pinning from smooth areas, working toward curves using proven application techniques. Squeegee from center outward, applying heat to stretch vinyl around edges. Use specialized tools for tight corners.
Trim excess material along housing edges, then post-heat to 190°F to lock adhesive permanently. Allow the film to dry for at least thirty minutes before wiping away any remaining slip solution with a clean microfiber towel.
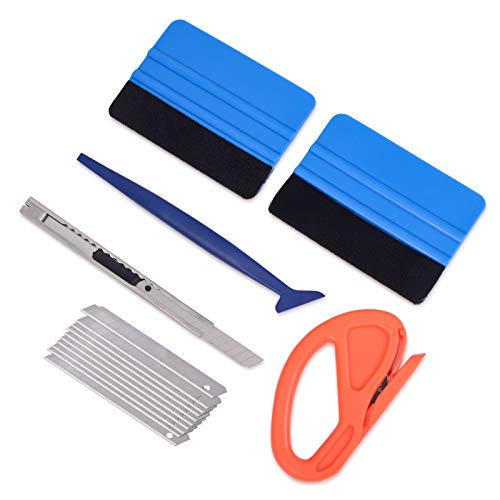
MULTIFUNCTIONAL SET: A set of professional tool kit for both professional and DIY wrappers. Suitable for application of B0BTPHLPBCall types of window tint,decals,signs, wrap film and car vinyl cutting.
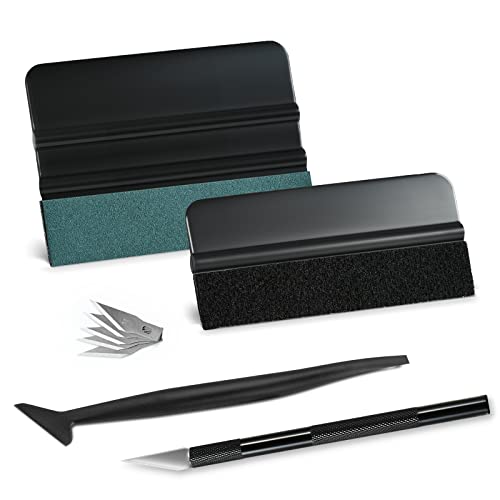
GREAT VALUE 9 IN 1 WINDOW FILM APPLICATION TOOLS: this window tint kit includes 2 kinds of vinyl wrap squeegee, 1pc long stick micro squeegee, 1pc craft knife and 5 spare sharp blades for replacement.

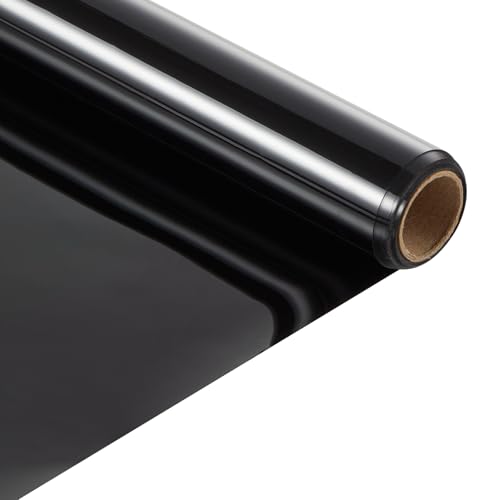
Premium Material : Compared to other light films , our light films are made of premium vinyl material . With strong protection function, scratch resistance, strong and durable, protect the headlight aging, prevent cracks , etc .
Using Spray Tint Products
Anyone seeking an alternative to vinyl wrap can achieve headlight tinting through aerosol spray products, which offer simplified application but demand strict attention to surface preparation and coating technique. Select automotive-grade spray tinting formulas with coverage options ranging from peelable (temporary) to permanent finishes. Before application, thoroughly clean lenses with isopropyl alcohol and mask surrounding bodywork completely. Apply multiple thin coats from 10–16 inches away, maintaining steady overlapping passes with manufacturer-specified flash time between layers. Build opacity gradually to avoid runs while controlling final darkness. Verify local lighting laws regarding light transmission limits before proceeding. Always wear respirator protection and work in well-ventilated areas due to solvent exposure. Consider applying compatible UV-resistant clear coat after curing for enhanced durability and lens protection. Allow adequate curing time for adhesion before exposing the headlights to moisture or extreme conditions. Avoid applying direct sunlight exposure as this can cause the spray to dry too quickly and create an uneven finish.
Use to add a translucent tint to automotive tail lights

CUSTOMIZE YOUR VEHICLES – Dupli-Color Custom Wrap Lens Tint Removable Paint is specifically formulated for automotive customization. It’s dry to the touch in 30 minutes and can be handled in 1 hour.

【High-Quality】Car light protection film is made of scratch-resistant and tear-resistant vinyl material. Waterproof and sunproof, with strong light transmittance, it will not affect the original light source, and has good adhesion, effectively protecting the car lights from scratches and aging.
Removing Bubbles and Trimming Excess Material
Eliminating air bubbles and precisely trimming excess material determines whether your vinyl headlight tint achieves a professional appearance or reveals amateur installation. For effective bubble management, puncture remaining bubbles with a needle to release trapped air, then smooth the film immediately using minimal pressure to avoid lens damage. Work methodically across the surface, repeating as needed for multiple small bubbles.
Execute trimming techniques by cutting excess vinyl with a sharp razor blade held at a low angle, following the headlight’s contour precisely to prevent scratching. Remove trimmings carefully to avoid adhesive residue. Complete your installation by inspecting for residual bubbles, verifying even trim along all seams, and testing headlight function to guarantee no material blockages exist. To ensure long-term clarity, consider restoring headlight lens clarity if the underlying lens shows signs of yellowing or fogging before applying your tint. Perform visual inspections during different weather conditions to check for any gaps or misalignments that could allow moisture penetration beneath the tint film. After installation, apply a UV sealant to protect the vinyl from oxidation and yellowing over time.
Final Touches and Long-Term Care
After completing your vinyl installation, shift your focus to preserving the headlight’s appearance and functionality through systematic maintenance strategies. Clean your headlights weekly using soap and water for 10-15 minutes, removing residue with a soft washcloth. Wipe dry with a microfiber towel to prevent water spots. Apply protective coatings like ceramic glass or headlight protection film to guard against UV damage and oxidation. Park under shade or use film covers when garages aren’t available to minimize sun exposure. Inspect headlights weekly for foggy appearance or cloudiness indicating early oxidation. If complications arise, use headlight restorer or vinegar for defogging, then buff until clear. Modern headlights made from polycarbonate acrylic require special attention as they are particularly susceptible to UV damage. For optimal long-term protection, consider applying UV sealants specifically designed to prevent headlight degradation and maintain clarity. Choosing quality replacement bulbs with improved longevity can also enhance your lighting system’s overall durability during the maintenance period. Reapply protective layers based on your vehicle retention timeline, ensuring long-term clarity and protection against environmental damage.