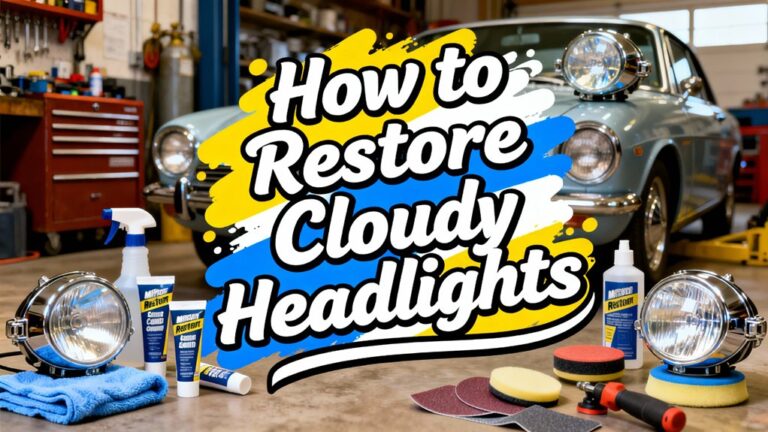
To clean scratched headlights, you’ll start by washing the lens thoroughly, then wet-sand using progressively finer grits from 1000 to 3000, keeping the surface lubricated with water. Apply polishing compound with a dual-action buffer or microfiber cloth using firm, overlapping passes until clarity returns. Finish by applying a UV-resistant clear coat sealant in thin, even layers with 30-minute intervals between coats. For light scratches, you can use whitening toothpaste as a quick alternative. The complete restoration process includes additional protective measures to guarantee lasting results.
Wet Sanding Technique for Deep Scratch Removal
Wet sanding removes deep scratches and oxidation from headlight lenses through controlled abrasion with progressively finer sandpaper grits. Start by pre-soaking wet/dry sandpaper in water for 10 minutes, then clean headlights thoroughly and tape surrounding areas to protect your vehicle’s paint. Begin with 1000-1500 grit sandpaper, maintaining continuous water lubrication while sanding in one consistent direction with light to moderate pressure for 20-30 minutes. Progress through finer grits—2000, 2500, and 3000—doubling your sanding time at each stage to eliminate scratches from the previous grit. Use a sanding block for even pressure distribution across curved surfaces. After completing grit progression through 3000, your headlights will appear uniformly hazy but smooth, ready for polishing to restore optical clarity. To achieve the best results and maintain long-term clarity, apply a protective clear coat after polishing to guard against future oxidation, with UV-protective coatings helping to maintain clarity for 1 to 3 years depending on climate and maintenance. Keep in mind that wet sanding removes UV protection, which may cause yellowing to reappear within 5-6 months.
Polishing and Buffing to Restore Clarity
The polishing stage transforms your uniformly hazed headlights into crystal-clear lenses through progressive compound application and mechanical buffing. Apply cutting compound to a wool pad, spreading it across the lens before activating your dual-action buffer at medium speed. Execute overlapping horizontal and vertical passes with firm, controlled pressure while maintaining constant pad movement to prevent heat buildup. Shift to foam pads with finer polishing compounds to eliminate swirl marks and enhance reflectivity. These buffing techniques require cooling intervals between stages to avoid warping the plastic lens. For the final polish, you can achieve superior clarity using a felt pad with plastic polish. Remove residue with microfiber cloths and inspect for remaining haze. Immediately seal the restored surface with UV-resistant clear coat to prevent rapid re-oxidation, as unprotected polished headlights deteriorate within weeks.
Applying Protective Clear Coat for Long-Lasting Results
Buffing restores your headlights to factory clarity, but polished plastic begins oxidizing within days without proper protection. Apply urethane-based automotive clear coat designed specifically for polycarbonate surfaces to prevent UV-induced yellowing. First, spray adhesion promoters onto the prepared headlight to enhance bond strength between plastic and clear coat. Allow the promoter to flash off for five minutes. Choose between clear coat types: Euro clear coats offer superior UV resistance, while Universal formulations provide excellent all-weather durability. Apply thin, even coats using horizontal strokes from two feet away, building coverage gradually. Space coats thirty minutes apart, applying three to four layers total. Understanding headlight degradation science helps you select the most effective protective products for your specific climate. The longevity of your protective barrier depends on selecting professional-grade sealers that withstand harsh environmental conditions. Allow twenty-four hours minimum curing time before washing. This protective barrier extends headlight clarity for years. For optimal curing results, place your car in direct sunlight after applying the final coat to accelerate the hardening process.
Quick Fixes Using Toothpaste and Household Products
When professional headlight restoration products aren’t available, toothpaste serves as an effective emergency alternative due to its mild abrasive compounds—specifically silica and calcium carbonate crystals that mechanically remove surface oxidation from polycarbonate lenses. Select whitening toothpaste types containing baking soda for enhanced abrasive action against yellowed haze. Apply a quarter-sized amount directly onto the headlight surface using a microfiber cloth. Execute cleaning techniques by rubbing in tight circular motions for 3-5 minutes per lens, applying consistent pressure throughout. Repeat applications 2-3 times for severe oxidation. You’ll experience manual fatigue during extended rubbing sessions. Remove all residue thoroughly with clean water to prevent sticky buildup that attracts contaminants. To maintain long-term clarity, consider applying a UV protectant sealant after cleaning to protect against future oxidation and yellowing. For more durable results, follow toothpaste cleaning with wet sanding and polishing techniques that provide longer-lasting clarity. Results remain temporary without subsequent UV-protective sealant application, as toothpaste doesn’t provide long-term clarity restoration or damage prevention for automotive polycarbonate surfaces. While toothpaste can work against opaque films, alternative cleaning methods typically deliver superior restoration outcomes.
Safety Precautions and Professional Tips
Before commencing headlight restoration work, you’ll need extensive personal protective equipment to shield yourself from chemical exposure and airborne particulates. Safety goggles, nitrile gloves, and a respirator mask are essential when handling abrasive compounds or solvents. Guarantee adequate ventilation throughout the process.
Master proper sanding techniques by starting with 600-grit sandpaper for moderate oxidation, progressing through 1000, 2000, and 3000-grit stages. Maintain wet-sanding conditions to prevent thermal damage and reduce dust generation. Use consistent directional patterns, switching orientations between grit changes to eliminate swirl marks. Tape off the area around your headlights with masking tape to protect the car’s paint from accidental sanding damage. After completing the sanding process, proceed with polishing with compounds to restore clarity and shine to the headlight surface. Applying a protective clear coat or wax after polishing will prevent rapid re-oxidation and maintain the restored appearance of your headlights.
Apply UV-resistant clear coat in thin, controlled layers, allowing manufacturer-specified drying intervals. Test all products on inconspicuous areas first to verify compatibility. Mask adjacent paintwork with precision tape to prevent accidental damage during restoration procedures.