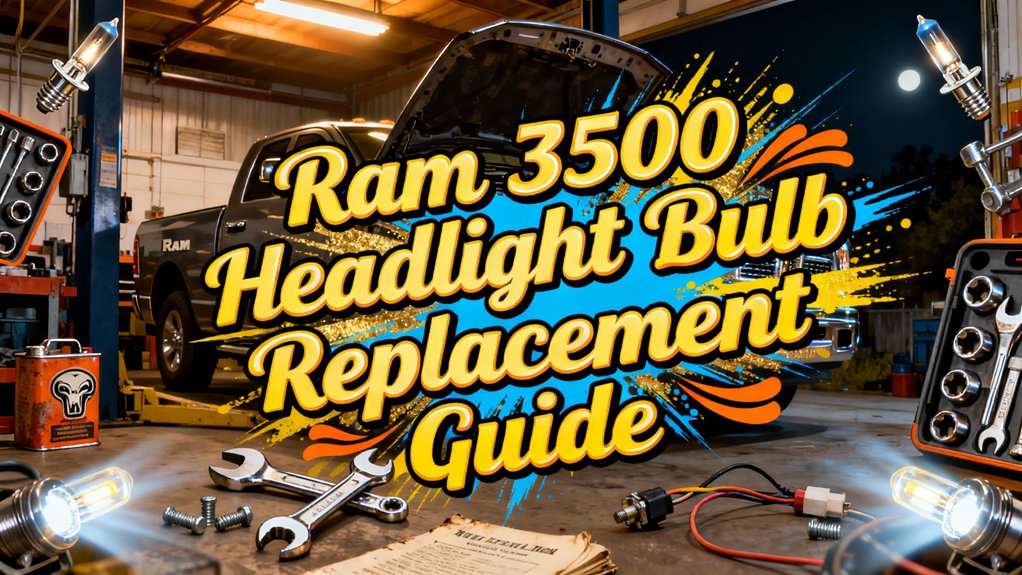
To replace your Ram 3500 headlight bulb, you’ll need a 10mm socket wrench and flathead screwdriver. First, identify your bulb type—2009-2012 models use H11 low beams and 9005 high beams, while 2013-2023 models vary between H11 and 9005 configurations. Turn off your engine, remove the four 10mm grille bolts, detach plastic push pins, and pull the headlight assembly forward. Disconnect the electrical connector, remove the rubber dust cover, twist out the old bulb counterclockwise, and install the new bulb without touching its glass surface. Our detailed guide below covers LED upgrades and troubleshooting techniques.
Tools and Materials You’ll Need
Before starting your Ram 3500 headlight bulb replacement, gather the essential tools to confirm efficient work and prevent mid-job interruptions. You’ll need a 10mm socket wrench with extension bars to access bolts securing the headlight assembly, plus an 8mm socket for model-specific cover bolts. A flathead screwdriver removes plastic pushpins, while needle-nose pliers handle electrical connectors.
For replacement materials, verify bulb compatibility with your specific Ram 3500 model year before purchasing OEM or aftermarket options. Consider upgrade options such as LED and HID conversions that offer improved visibility and longer lifespan compared to standard halogen bulbs. Wear protective gloves to prevent skin oils from contaminating the new bulb and to protect against sharp edges. Keep replacement clips available for damaged pushpins. Ensure the electrical connector is properly unplugged before attempting to remove the old bulb.
Essential safety equipment includes a flashlight for visibility, protective eyewear, and a stable work surface. A magnetic tray helps organize bolts and hardware during disassembly to prevent losing small components. Proper tool maintenance confirms reliable performance throughout the procedure.
Identifying the Correct Bulb Size for Your RAM 3500
Determining your Ram 3500’s correct headlight bulb size requires identifying your truck’s specific model year and headlight housing configuration. Generation specifics vary greatly: 2009-2012 models use H11 low beams and 9005 high beams, while dual-bulb systems employ H13. The 2013-2018 generation splits based on projector (9005) versus reflector (H11) housings for low beams. Models from 2019-2023 primarily utilize H11 or factory LED equivalents.
Verify bulb compatibility by cross-referencing your owner’s manual with the bulb type codes stamped on your existing bulb base. Factory LED headlights aren’t serviceable with aftermarket bulbs—dealer replacement is required. Examine whether your housing uses projector or reflector optics, as this determines proper bulb selection for 2013-2018 trucks. Always confirm plug configuration matches OEM specifications before purchasing replacement bulbs. Consider lumens output and color temperature when evaluating upgrade options to ensure improved visibility and safety. For trucks equipped with four headlight configurations, the bulb requirements differ from standard two-headlight systems found on base models. Worn or stripped adjustment screws can compromise headlight alignment, affecting your vehicle’s visibility and potentially blinding other drivers on the road.
Preparing Your Vehicle for Bulb Replacement
Proper preparation guarantees safe and efficient headlight bulb replacement on your Ram 3500. Begin by implementing essential safety precautions: turn off the engine and headlights completely, engage the parking brake, and allow components to cool if recently operated. Confirm vehicle positioning on a dry, level surface away from direct sunlight to prevent glare and overheating.
Gather required tools including Phillips and flathead screwdrivers, clean lint-free gloves, and replacement bulbs matching manufacturer specifications. Inspect the headlight assembly for cracks or moisture damage. Verify connector cleanliness and check for corrosion on wiring. Consult your vehicle owner’s manual for the specific bulb number and detailed instructions for your Ram 3500 model. Avoid touching new halogen bulbs with bare fingers as this can cause damage and reduce bulb lifespan.
Wear safety goggles throughout the process. Keep a small container nearby for screws and clips. Position all tools within easy reach to minimize movement during installation.
Accessing the Headlight Assembly
Accessing the Ram 3500 headlight assembly requires systematic removal of the front grille and protective components. Begin by extracting four 10mm bolts from the grille’s top edge using a ratchet with proper extension. Remove plastic push pins securing the upper shroud with a flathead screwdriver or trim removal tool, keeping clips organized for reinstallation. Locate and remove 10mm headlight housing bolts—typically positioned along the side near the grille and atop the assembly. Reach behind to release white plastic locking tabs until they click, then disengage any speed clips by prying their center portions. Pull the assembly forward carefully, disconnecting electrical connectors once accessible. This process preserves proper headlight alignment and facilitates thorough assembly maintenance. Remove the rubber dust cover by twisting counterclockwise to expose bulb housings. The entire procedure takes approximately 5 minutes per side when performed systematically.
Removing the Old Headlight Bulb
With the dust cover removed and the bulb housing exposed, you’ll now release the white locking clip that secures the bulb within the headlight assembly. Push the clip upward until the opening aligns with the bulb’s protruding knob. If stuck, carefully use a flathead screwdriver to pry it open without damaging plastic components.
Next, grasp the electrical connector and depress its locking tab. Wiggle slightly if resistant, then pull straight off without twisting. Inspect for corrosion requiring cleaning.
Remove the bulb by pulling straight back, or turn counterclockwise if twist-lock equipped. Handle only the base to prevent skin oil contamination affecting bulb compatibility. Understanding color temperature differences between halogen and LED options will help you select the right replacement bulb for your needs.
Before proceeding, check for moisture or dirt in the socket. Use compressed air to clean thoroughly. Apply dielectric grease on connections to protect against corrosion and ensure secure electrical contact. While the assembly is apart, inspect for any wear that may have developed over time. Following these safety precautions prevents damage and guarantees proper installation of your replacement bulb.
Installing the New Headlight Bulb
Before inserting the replacement bulb, verify its base type matches the original—typically H11, 9005, or 9006 for Ram 3500 models. Align the bulb tabs with the headlight housing slots, ensuring proper bulb orientation for peak light output. Avoid touching the glass surface with bare hands to prevent premature failure from skin oils. Insert the bulb and twist clockwise until it locks securely into position.
For LED bulbs, position cooling fans or heatsinks according to manufacturer specifications, confirming adequate clearance within the housing. The built-in driver design with thin plate construction allows for easier fitment in tight spaces. Connect the wiring harness firmly until it clicks, establishing a stable electrical connection. Test functionality immediately by activating the headlights. If the bulb doesn’t illuminate, reverse the connector plug due to polarity sensitivity. For added safety, consider replacing bulbs in pairs to ensure balanced illumination across both headlights. Once confirmed operational, reinstall the dust cover completely, ensuring rubber seals seat properly to prevent moisture intrusion and maintain the integrity of your headlight assembly.
Reassembling the Headlight Components
Once the new bulb installation is complete and operational, gather all removed components for systematic reassembly. Position the headlight assembly into its mounting location, confirming tabs align with factory slots. Push evenly until white release tabs engage securely on both sides. Reinstall 10mm bolts at top and bottom mounting points, tightening evenly to avoid cracking plastic housings. Replace plastic clips on radiator covers and wheel well access panels.
Connect factory wiring harnesses and DRL connectors until fully seated and locked. Test low beam, high beam, and indicators before proceeding. Avoid applying dielectric grease to connectors, as this causes warranty complications. Reinstall grille components and radiator cover, securing all fasteners. Use an 8mm socket to make any necessary aiming adjustments to the headlights. Perform headlight alignment verification and final inspection. These assembly tips guarantee proper fitment and electrical function throughout the restoration process.
Upgrading to LED Headlight Bulbs
Upgrading your Ram 3500’s halogen headlights to LED bulbs delivers markedly brighter illumination, extended operational lifespan exceeding 25,000 hours, and reduced power consumption from the vehicle’s electrical system. Your 2019-2024 Ram 3500 requires H11 LED bulbs for low beams and 9005 LEDs for high beams in halogen-equipped models. LED advantages include whiter light output, minimal heat generation protecting headlight assemblies, and enhanced nighttime visibility. Brightness comparison reveals LEDs greatly outperform halogen bulbs while consuming less energy.
Select aftermarket LED kits designed specifically for Ram 2500/3500 to guarantee direct fitment without modification. Verify bulbs feature integrated cooling fans or heat sinks with adequate clearance within the housing. Your 2019-2024 model typically doesn’t require CANbus decoders, simplifying installation. Confirm compatibility before purchasing, as aftermarket assemblies may necessitate different bulb sizes. Note that factory LED lights cannot be changed or upgraded through aftermarket options.
When to Replace the Entire Headlight Assembly
While replacing individual bulbs addresses most headlight issues, certain conditions demand complete assembly replacement to restore proper illumination and maintain vehicle safety. Replacement signals include visible cracks in the lens or housing that compromise waterproofing, persistent moisture accumulation indicating breached seals, and yellowing that reduces light output beyond bulb correction. Warping from heat damage affects bulb alignment, while missing mounting tabs create unstable installations.
Electrical failures present additional replacement signals: flickering persists after bulb changes, corroded connectors prevent reliable power delivery, and damaged internal reflectors diminish beam focus. Age-related degradation from UV exposure, road salts, and temperature fluctuations typically necessitates headlight assembly replacement after 8-10 years. Assemblies with integrated LED arrays or malfunctioning adaptive systems aren’t serviceable as individual components. Cracked or fogged assemblies also fail safety inspections and violate regulatory compliance standards. When components become damaged during removal, ensure you have both hands available to prevent breaking the ball-and-socket mechanism that secures the assembly. Proper connector maintenance and handling of correct bulb types during any service work can extend the life of your headlight system.
Testing and Troubleshooting Your New Headlights
After installing new headlight bulbs in your Ram 3500, systematic verification confirms proper operation and identifies potential electrical or installation issues before road use. Test all functions—low beam, high beam, and turn signals—immediately after installation. For LED bulbs with cooling fans, listen for fan operation indicating proper power delivery. Use a multimeter for voltage measurement at bulb contacts with headlights on; readings near 12 volts confirm adequate electrical supply. Perform continuity testing on circuits showing malfunction by checking resistance through bulb contacts. Set the multimeter to resistance (ohms) mode to properly test the headlight filament for continuity. After confirming electrical function, applying UV sealant protection can help prevent future oxidation and clouding of your new headlights. If warning errors appear with aftermarket LED bulbs, connect an OBD diagnostic tool to access the body control module. Follow manufacturer software procedures to reprogram headlight settings from halogen to LED mode. Ensure your headlights emit white or yellow light that is clearly visible and meets brightness standards for safe road use. Visually inspect beam pattern and brightness at 25 feet to guarantee proper alignment and output.


