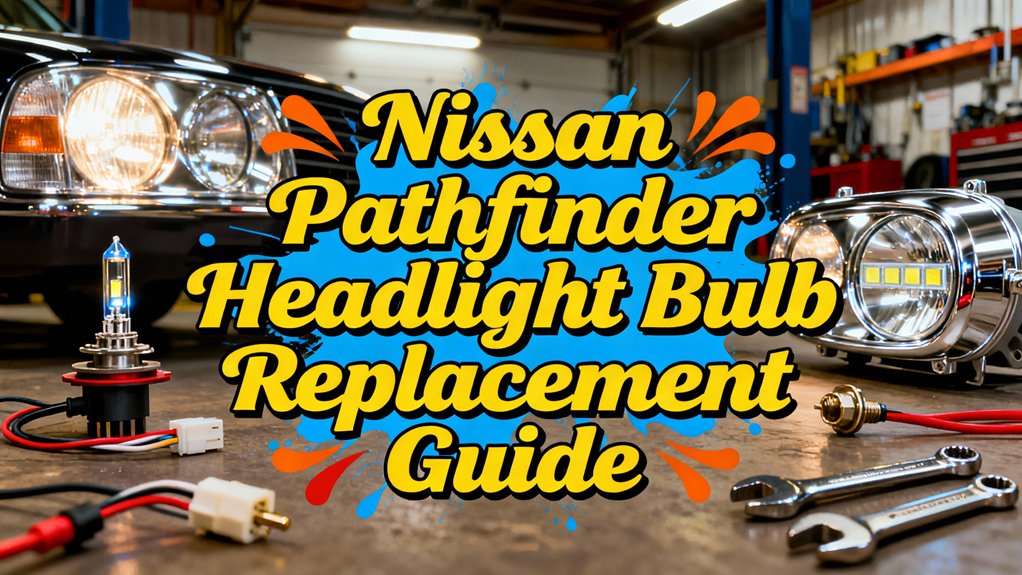
To replace your Nissan Pathfinder‘s headlight bulbs, you’ll first identify the correct type for your model year—2005-2010 models use 9007/HB5 dual-beam bulbs, while 2013-2020 models require H11 low beams and 9005 high beams. Park on level ground, disconnect the battery’s negative terminal, and access the bulb housing from behind the headlight assembly. The passenger side’s accessible through the air filter box, but you’ll need to remove the battery for driver-side replacement. Rotate the retaining collar counterclockwise, disconnect the electrical connector, and install your new bulb without touching the glass. We’ll cover testing procedures and upgrade options ahead.
Understanding Your Pathfinder’s Headlight Bulb Types
When replacing your Pathfinder’s headlights, you’ll need to identify the correct bulb types for your specific model year. The 2005-2010 models primarily use 9007/HB5 dual-beam bulbs for both high and low beams, while 2013-2020 models separate these functions with H11 low beams and 9005/HB3 high beams. Model variations affect compatibility considerably—2017-2020 versions accept interchangeable H11/H8/H9 bulbs for low beams. Standard halogen specifications include 55 watts at 12.8 volts for H11 and 65 watts for 9005 bulbs. Fog lights consistently use H11 across model years. Understanding these bulb types prevents purchasing errors and guarantees proper fitment. LED upgrade options exist for most sockets, offering plug-and-play installation with reduced power consumption at 14 watts while delivering 1400-2400 lumens depending on the configuration. When evaluating bulb options, it’s important to consider beam pattern quality to ensure safe and effective illumination on the road. Additionally, proper installation techniques help avoid damaging the headlight assembly and creating glare for oncoming traffic. Consulting the bulb size chart for your specific model year ensures you select compatible replacements and avoid costly mistakes.
Gathering the Necessary Tools and Materials
Before accessing your Pathfinder’s headlight bulbs, assemble the proper tools to complete the replacement efficiently. Your tool organization should include a 10mm socket with ratchet, T20 socket for trim screws, flathead screwdriver for grille clips, and socket extensions for tight spaces. Add trim tools for plastic panel removal and a quarter-turn tool for square retainers.
For material selection, acquire model-specific replacement bulbs—verify compatibility for your year (2013-2020 variants differ). Choose halogen or direct-fit equivalents from AutoZone, ensuring proper lead wire orientation. Budget approximately $294.95 for headlight assemblies if full replacement becomes necessary beyond bulb changes. Consider factors like lumens output and color temperature when comparing aftermarket options for improved visibility and performance.
Essential safety equipment includes gloves to prevent skin oils from contaminating bulb glass and safety glasses for debris protection. Keep your old bulbs as emergency spares post-removal. No specialized electrical tools are required—connectors use slide-off designs with squeeze-tab releases and simple twist mechanisms. For headlights that have become cloudy over time, applying a UV sealant or clear coat after bulb replacement can help protect the lens from future oxidation and maintain clarity.
Preparing Your Vehicle for Bulb Replacement
To guarantee safe and efficient headlight bulb replacement, you’ll need to secure your Pathfinder properly before accessing any components under the hood. Park on level ground and engage the parking brake. Shift the transmission to park and turn off the engine completely. These safety tips prevent vehicle movement during the procedure.
Pull the hood release lever under the dashboard, then reach beneath the hood to disengage the secondary latch. Lift the hood fully and secure it with the prop rod. For best access during vehicle maintenance, disconnect the negative battery terminal first, followed by the positive terminal. Use a 10mm wrench for loosening the terminal connections. Remove the battery retaining bracket if necessary. Inspect the battery tray and headlight area for corrosion or debris. Wear safety glasses and gloves throughout the process to protect yourself from potential hazards during maintenance.
Replacing the Passenger Side Headlight Bulbs
The passenger side headlight bulb requires maneuvering around the air filter box, which restricts hand access more than the driver side assembly. Reach behind the air box with your left hand to locate the electrical connector at the headlamp’s rear. Push the tab down with your thumb and wiggle the connector free. Grip the plastic retaining collar and turn counterclockwise to loosen, then pull the bulb straight out. These passenger side headlight difficulties sometimes necessitate reaching from the front of the air box for better collar manipulation. Insert the new H11 bulb flat and flush, avoiding glass contact with your fingers. Skin oils can cause premature burning and reduced bulb life. Like Jeep Wrangler replacements, having the necessary tools such as screwdrivers on hand will make the job easier and faster. A loose or corroded wiring connection at the headlamp connector can affect bulb performance, so ensure all connections are clean and secure. Turn the collar clockwise to lock, then snap the wiring harness securely onto the bulb base.
Replacing the Driver Side Headlight Bulbs
While the passenger side presents air box constraints, driver side headlight replacement demands complete battery removal to establish adequate workspace. Disconnect the negative terminal using a 10mm wrench, then remove the battery and retaining bracket secured by 10mm nuts. Locate the headlight housing behind the battery compartment and identify the white plastic retaining ring. Push down the retaining clip, then grip the ring and rotate counterclockwise by hand—no tools required. Pull the bulb straight out and disconnect the electrical harness by pressing the tab. Install the new H11 low beam or 9005 high beam bulb without touching the glass, ensuring proper bulb alignment within the socket. Avoid touching the glass part of the bulb with fingers to prolong bulb life. When selecting replacement bulbs, compare them to your original bulbs to ensure you have the correct bulb type for your specific model year and headlight configuration. Turn the retaining ring clockwise to lock, reconnect the harness, then reinstall the battery.
Completing the Reassembly Process
Successful bulb installation marks only half the job—meticulous reassembly guarantees lasting performance and prevents premature failure. Begin by torquing all mounting bolts to manufacturer specifications and reinstalling plastic push-clips in their original positions. Verify alignment tabs seat flush to prevent stress fractures. Restore headlight sealing by fully seating rubber dust covers and grommets around bulb sockets, creating a water-tight barrier against moisture ingress.
Next, secure electrical connections until you hear an audible click, confirming full engagement. Inspect connector pins for corrosion and apply dielectric grease to terminals. Route harnesses using factory clips to avoid contact with hot surfaces. Avoid overtightening screws during reassembly to prevent component damage. Consider that OEM replacements and aftermarket upgrades each offer distinct advantages in terms of warranty coverage and longevity. Reattach the bumper cover, ensuring all alignment with fenders and headlights, then insert screws to secure the bumper corners.
Finally, cycle through low beam, high beam, and turn signals to verify function. Check beam aim against a wall and confirm no dashboard warnings appear before road testing.
Testing Your New Headlight Bulbs
After completing reassembly, proper testing validates bulb function and prevents diagnostic headaches down the road. Start with visual inspection: turn headlights on in a dark area facing a flat vertical surface to verify beam cutoff, symmetry, and hotspot location. Compare left and right patterns to detect mis-aimed assemblies or defective bulbs. Check for steady filament glow without flicker—intermittent illumination indicates poor contact or bulb failure.
For performance testing, use a multimeter in continuity mode to confirm filament integrity before installation; expect 0.5–2 Ω resistance across halogen terminals. On-vehicle, probe the harness connector with headlight switch ON to verify 12–14 V supply. Check ground continuity from socket to chassis. A beeping sound indicates the bulb has good continuity and the filament is intact. Document beam position to maintain proper aim after replacement.
Troubleshooting Common Issues
Even properly installed headlight bulbs can fail to perform due to electrical faults, environmental factors, or component degradation. Your headlight maintenance routine should include voltage testing with a multimeter to identify power supply issues. Inspect wiring connections behind the headlight assembly for looseness or discoloration, tightening and cleaning corrosion as needed. Check your fuse box for blown fuses that interrupt circuit continuity. Battery terminal corrosion greatly impacts headlight performance, requiring thorough cleaning for peak function. If you’re experiencing flickering, secure all connectors and examine terminals for corrosion buildup. LED headlight flickering may also result from voltage fluctuations in your vehicle’s electrical system that disrupt steady illumination. Condensation inside housings, particularly on Pathfinder R51 Xenon models, indicates potential HID ballast failure—this moisture infiltration often necessitates complete ballast replacement. Regular electrical checks prevent minor connection issues from escalating into costly repairs. Persistent problems after completing these basic troubleshooting steps indicate a need for expert assistance.
Upgrade Options and Cost-Saving Tips
When upgrading your Pathfinder’s headlights, you’ll find three primary pathways: halogen bulbs with enhanced output, LED conversion kits, and HID/Xenon systems—each offering distinct performance characteristics, installation requirements, and cost implications. For LED vs HID decisions, verify bulb fitment (H11 or 9005/9006), headlight housing type (projector or reflector), and electrical compatibility with your model’s CANbus monitoring. A cost comparison shows LED kits ranging $30–$400 while HID conversions run $60–$250 plus installation. Budget options frequently sacrifice beam pattern quality despite high lumen claims. Select color temperatures strategically: 3000–4300K improves visibility in adverse weather, while 5000–6500K produces whiter light but increased glare. Premium LED options like the SL2 Pro deliver 2400 lumens per bulb with integrated cooling systems and compact designs that eliminate external drivers. Prioritize kits preserving legal cutoff geometry over raw output specifications to maximize road safety and compliance.


