To replace your Lexus ES 350 headlight bulb, first identify your system type—most models use H11 halogen bulbs, while some feature Xenon D4S HID units. Park on level ground, disconnect the battery’s negative terminal, and access the headlight assembly through the engine compartment. Remove the rubber dust cover by twisting counterclockwise, disconnect the electrical connector, and release the spring clip retainer. Handle the new bulb with clean gloves, align the notches properly, and secure everything before testing both beam functions for proper operation and troubleshooting.
Understanding Your ES 350 Headlight System
Before replacing any bulb in your Lexus ES 350, you need to identify whether your vehicle uses halogen or HID headlamps, as the two systems differ greatly in adjustment mechanisms and service procedures. Halogen headlight types feature a single adjustment screw because the low and high beams move together as one unit. HID systems require two separate adjustment screws since the beams operate independently. This distinction affects both your replacement approach and bulb compatibility requirements. When selecting replacement bulbs, consider the brightness levels, color temperature, and longevity of different options to ensure optimal visibility for your driving conditions.
Your ES 350’s model year determines which system you’ll encounter. The 2007-2012 models came equipped with either configuration, while 2013-2018 versions support multiple engine types across different chassis codes. Verify your specific headlamp assembly type before purchasing replacement bulbs, as genuine Lexus parts maintain precise factory specifications for peak performance and safety. All genuine Lexus headlamp components are covered under Lexus factory warranty for quality assurance.
Gathering the Right Tools and Materials
Having identified your headlight system type, you’ll need the correct replacement bulb and a few basic items to complete the job safely. For bulb compatibility, verify your ES 350’s specific requirements: H11 bulbs work for most models, while 2007 versions use Xenon D4S for low beams, and 9005 halogen options like Sylvania XtraVision fit high beams. Your 2009 owner manual (page 431) details exact wattage specifications.
Essential protective gear includes clean cloth or gloves—never touch the glass surface with bare hands, as skin oils cause premature bulb failure. You’ll need a basic screwdriver to loosen headlight assembly cover screws. Before beginning work, pull the hood release lever located inside the cabin to access the engine compartment. To ensure proper installation, familiarize yourself with handling connectors and clips before removing the old bulb, as these components require careful management for a secure fit. LED upgrade options provide improved visibility and durability compared to stock halogen bulbs, making them a worthwhile investment for enhanced nighttime driving safety.
Replacement options range from AutoZone’s stocked Sylvania LED Ultra 9005LEDHPBX2 ($99.99) to dealership purchases. Note: high-discharge bulbs require professional dealer service per manufacturer guidelines.

Perfect Focused Beam: RENO H11 with a clear beam pattern, preventing glare for oncoming vehicles. No dark spots, no shadows, ensuring a wider and farther view at night

Lights Dim Over Time, Replace In Pairs: Your lights are a pair, one is never turned on without the other. If one bulb burns out, the other isn't far behind. Replace your H11 XtraVision Halogen bulbs in pairs for optimum performance.
Safety Precautions and Pre-Work Checklist
When replacing your Lexus ES 350’s headlight bulb, proper safety protocols protect both you and your vehicle’s electrical system. Begin by parking on level ground, engaging the parking brake, and turning off the engine completely. Allow adequate cooling time if you’ve recently driven.
Essential safety equipment includes clean gloves to prevent skin oils from contaminating the bulb glass and safety glasses for eye protection. Never touch the bulb’s glass surface with bare hands, as fingerprints reduce lifespan and performance.
Conduct pre installation checks by disconnecting the battery’s negative terminal and verifying all lights are off. Clear your workspace around the headlight assembly, ensuring adequate lighting for visibility. Inspect the replacement bulb for damage before proceeding, matching it exactly to your original specification. Having proper tools like a ratchet readily available before you begin will streamline the replacement process and prevent unnecessary delays. Consider using trim tools to safely remove any front bumper cover or trim pieces that may obstruct access to the headlight assembly.
Accessing the Headlight Assembly
With your safety preparations complete, you’ll need to access the headlight assembly to reach the bulb socket. Begin by pulling the hood release lever inside your cabin, then lift the hood fully and secure it with the prop rod. Locate the headlight assembly positioned behind the front grille structure.
For basic access techniques, identify the plastic rear cover on the headlight housing. Use a screwdriver to loosen the Phillips head screws securing this cover, then twist it counterclockwise to remove. This exposes the bulb socket and wiring harness for straightforward replacements. To protect the bulb from contamination, wear gloves during the entire replacement process. Before reinstalling, verify the low beam alignment to ensure proper headlight positioning for safe night driving.
If deeper access is required, you’ll need to remove the front bumper cover. Start by extracting underbody shield screws, fender liner fasteners, and bottom bumper screws. Release the upper grille clips before carefully pulling the bumper forward. Once you have access to the headlight assembly, you may need to disconnect the wire connector linking the main housing to the LED components.
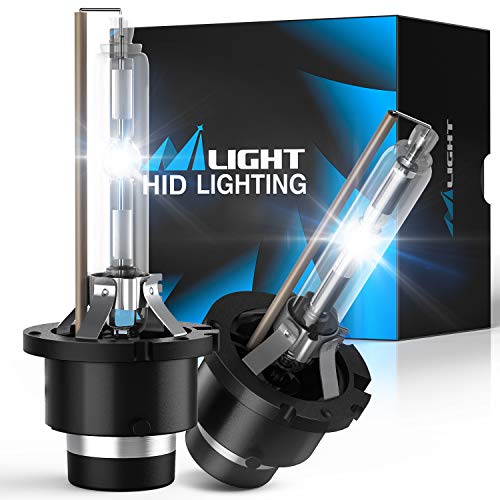
Excellent brightness: D4S HID bulbs features a 6000K Diamond white, and its light output is 150% brighter than other bulbs for brilliant downward reflection
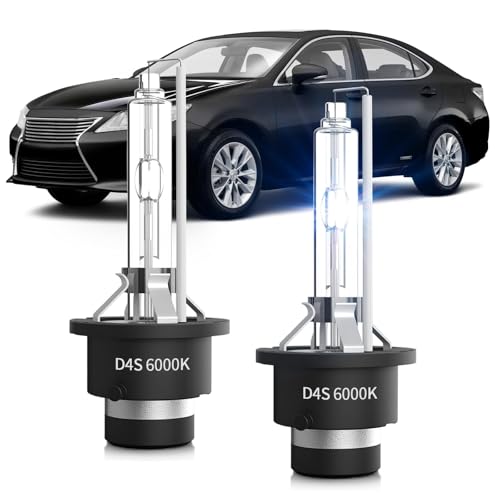
Vehicle-Specific Fitment: This D4S HID bulb is specifically designed for 2007-2015 Lexus ES350 GS350 GS450H / 2010-2015 RX350 RX450H / 2007-2017 LS460 models equipped with factory D4S xenon headlight bulbs. It directly replaces OEM D4S HID bulb and is NOT compatible with halogen or LED headlight assembly.

Upgrade to 1:1 OEM size D4S HID bulbs that fit perfectly for 07 08 09 10 11 12 13 14 15 le-xus gs450h gs 450h bi-xenon high/low dual beam projector headlights(Note: Never fit halogen bulbs, nor any single high beam), ensuring hassle-free installation without modifications or tools—ideal for drivers seeking a direct, reliable replacement that matches factory specifications
Removing the Old Headlight Bulb
Locate the rubber dust cover on the back of the headlight assembly and remove it by twisting counterclockwise until it releases from its notched position. Once exposed, disconnect the electrical connector by pushing inward slightly, then rotating counterclockwise until the arrow indicator disengages. Pull the connector straight off. Next, release the bulb retainer by pushing the metal spring clips toward the center and down, then flip them aside. Carefully pull the bulb straight out, noting the notch orientation on the base for alignment tips during reinstallation. Avoid touching the glass with bare fingers to prevent oil contamination. Different bulb types require matching these alignment slots precisely, with H11 and 9005 bulb sizes being commonly specified for various models. The driver’s side offers tighter clearance due to washer fluid obstruction. Consider replacing both bulbs simultaneously, as headlights dim up to 20% before complete failure. Popular aftermarket options like LED and HID technologies can provide enhanced visibility and improved performance compared to standard halogen bulbs. Ensure you have the necessary tools ready before beginning the removal process to maintain a smooth workflow.

High Visibility to Avoid Risk: With 68,000LM ultra-high brightness, Marsauto H11 9005 fog bulbs is brighter than other bulbs, providing a wider, clearer and further lighting range to keep night and highway driving safe
![TOPIK H11 9005 Bulbs, [𝐋𝐚𝐭𝐞𝐬𝐭] 900% Ultra Brighter 𝟴𝟰,𝟬𝟬𝟬𝐋𝐌, H16/H9/H8 HB-3 Light Bulbs, Plug-N-Play, 1:1 Same Size, No Flicker, 99% Canbus Ready, Pack of 4](https://m.media-amazon.com/images/I/51MnaNHaJKL._SL500_.jpg)
【Superior Night Visibility】TOPIK latest 9005/HB3+H11/H9 LED bulbs are equipped with latest chips and a 900% brightness & 6500K cool white color temperature, delivering brighter, more penetrating illumination. It significantly expands your field of vision—seeing farther down the road and wider across lanes—for safer nighttime driving.

Superior 900% Brightness Boost - OXILAM H11 9005 bulb produces 9X times the output of factory halogens with crisp 6500K white light, significantly enhancing nighttime visibility and driving confidence
Installing the New Bulb Correctly
Before inserting the new bulb, handle it exclusively by its plastic base or metal connector to prevent skin oils from contaminating the glass surface—this contamination creates hot spots that greatly reduce bulb lifespan and can cause premature failure.
Locate the alignment notch inside the housing to determine proper bulb orientation. Position this notch at the top, matching any guide marks before insertion. Push the bulb straight into the socket without forcing, ensuring a flush fit against the housing. Once seated completely, swing the retaining clip upward until it locks securely around the bulb base. Reconnect the electrical connector firmly, rotating clockwise if threaded. Replace the dust cover and turn on your headlights to verify operation. Check the beam pattern to confirm proper alignment before reassembling any panels you removed. Like oxidized headlights, yellowed bulb housings can compromise light output and may benefit from headlight restoration to maintain visibility. To ensure optimal HID headlight system performance, consider changing headlights in pairs to maintain consistent light intensity across both sides of your vehicle and verify that all connectors and wiring are properly secured during reassembly.

2pcs packaged; Replacement part number: 66144 66140 85140 85415 (If there is any problem in the product,please feel free to contact us)
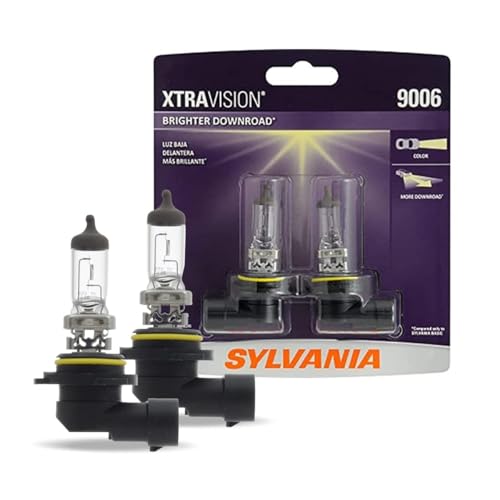
Lights Dim Over Time, Replace In Pairs: Your lights are a pair, one is never turned on without the other. If one bulb burns out, the other isn't far behind. Replace your 9006 XtraVision Halogen bulbs in pairs for optimum performance

Year-Specific Differences and Considerations
Understanding your ES 350’s model year is critical because Lexus made substantial changes to the headlight system between generations. Year comparisons reveal that 2007-2012 models primarily use Xenon D4S HID bulbs requiring ballasts and spring-loaded retention mechanisms, while some configurations feature H11 halogen bulbs with simpler twist-lock installation. Pre-2007 ES300/ES330 models employ different HID ballast systems with three-bulb-per-side configurations separating bright and dim functions.
Consult your owner manual’s bulb specifications chart—page 431 for halogen systems, page 354 for basic replacement guidance. HID systems dramatically increase replacement complexity post-2006, requiring tighter workspace navigation and precise notch alignment. The 2011 ES350 specifically demands battery cover and access panel removal on the driver’s side. Always verify your exact bulb type before purchasing replacements, as halogen and HID systems aren’t interchangeable. For high discharge headlight bulb replacement not covered in the manual, contact a dealer for professional assistance to ensure safety and proper installation.
Testing and Troubleshooting After Replacement
After completing your bulb replacement, you’ll need to verify proper installation through systematic testing before reassembling all components. Turn on your headlights and check both low and high beam functions separately, confirming even illumination that matches the opposite side. This post installation verification guarantees bulb compatibility and proper seating within the socket.
If you encounter issues, swap bulbs between sides to isolate whether the problem stems from the bulb or assembly. Check for secure connector attachment and inspect your bulb compatibility checklist—mismatched specifications cause uneven color output. Test electrical connections with a multimeter if illumination fails completely. For HID systems showing delayed startup or persistent failure, professional diagnosis is necessary, as ballast issues require specialized equipment beyond standard troubleshooting procedures. Pay attention to color temperature consistency between your new bulbs and existing lighting to ensure uniform beam appearance across your vehicle. Additionally, ensure you avoid touching the bulb glass with bare hands during installation, as skin oils can damage the bulb and reduce its lifespan.

IMPORTANT: The same model car may be equipped with different lamps bulb: halogen/LED or xenon lamps/bulb. Our bulb only for Stock D4S Xenon HID Headllight. Even if system display"Fit", it is not suitable for halogen/LED Headlight Assembly

IMPORTANT: The same model car may be equipped with different lamps bulb: halogen/LED or xenon lamps/bulb. Our bulb only for Stock D4S Xenon HID Headllight. Even if system display"Fit", it is not suitable for halogen/LED Headlight Assembly