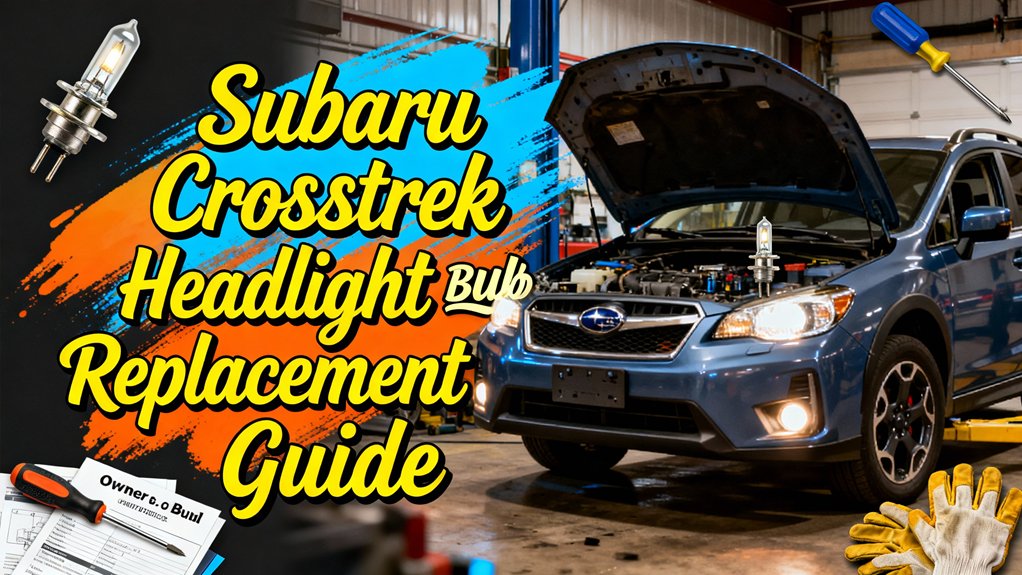
To replace your Subaru Crosstrek‘s headlight bulb, first identify your model year’s bulb type—H11 for 2013-2015 low beams or D2R for 2016+ HID systems. You’ll need a flat-bladed screwdriver, T20 Torx tool, and nitrile gloves to prevent oil contamination. After parking on level ground and disconnecting the battery, remove the air duct on the driver’s side or intake snorkel on the passenger’s side to access the bulb assembly. Turn the bulb counterclockwise, disconnect the wire connector, and install the new bulb without touching the glass. The following sections provide detailed troubleshooting and verification steps.
Identifying the Correct Bulb Type for Your Model Year
Before you purchase replacement bulbs, confirm your Crosstrek’s exact model year and trim level to guarantee compatibility. Model year differences greatly impact bulb specifications. For 2013-2015 models, you’ll need H11/H8/H9 for low beams and 9005/HB3 for high beams. Starting in 2016, some trims feature factory HID systems requiring D2R bulbs instead of halogen H11s. The high beam remains 9005/HB3 across all generations. Check your owner’s manual or examine the existing bulb before ordering replacements. HID-equipped vehicles have distinctly different headlight assemblies than halogen models. Bulb compatibility depends on your specific configuration, as aftermarket modifications may differ from factory specifications. The fog light bulbs use H11 bulbs consistently from 2016 through 2023 model years. Understanding color temperature and beam pattern differences between bulb types can help you select replacements that provide optimal visibility for your driving conditions. Cross-reference your VIN with manufacturer charts to verify the correct bulb type and avoid purchasing incompatible replacements.

Lights Dim Over Time, Replace In Pairs: Your lights are a pair, one is never turned on without the other. If one bulb burns out, the other isn't far behind. Replace your H11 XtraVision Halogen bulbs in pairs for optimum performance.

【Visual Enhancement】: The OKOENIEO H11 headlight bulb are 200% brighter than other halogen bulbs, providing drivers with a wider and farther field of vision. Offering a greater visibility, they allow drivers to spot deer, wildlife, falling rocks, or obstacles ahead of time, ensuring safer nighttime driving.
Gathering the Necessary Tools and Materials
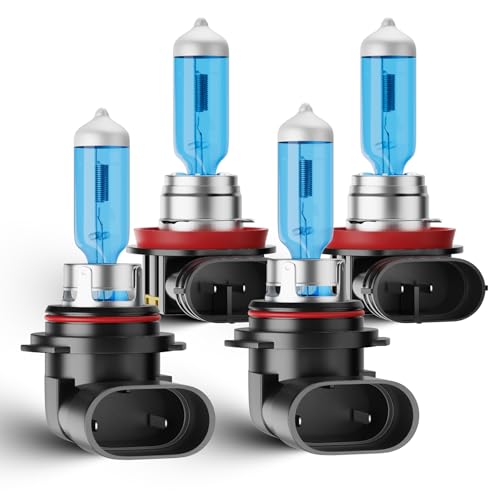
To complete this headlight bulb replacement successfully, you’ll need specific tools and materials ready before starting work. Proper tool selection begins with a flat-bladed screwdriver for prying fender liner clips and removing push rivets. You’ll also need the correct replacement bulbs—H11 bulbs for low beams and 194 peanut bulbs for marker lights. A T20 Torx tool may also be necessary depending on your vehicle’s configuration.
Material preparation includes nitrile or latex gloves to prevent skin oils from contaminating the bulb glass, which can cause premature failure. Keep cleaning materials handy: isopropyl alcohol, lint-free wipes, and clean cloths for removing any oils if you accidentally touch the glass surface. Understanding beam pattern quality will help you evaluate the performance of your replacement bulbs once installed. Optional plastic clip tools and push rivet tools make fender liner removal easier without damaging components. Having everything assembled beforehand guarantees efficient, contamination-free installation. The entire process is simple and quick when you have all materials organized in advance.

⭐【Super Bright H11 Bulbs】Our H11 headlight bulbs deliver over 1000LM brightness and a 3800K color temperature, ensuring optimal visibility in foggy and rainy conditions. Upgrade your automotive headlight bulbs for safer nighttime driving.

See the Road in a New Light: Get 900% the brightness of halogens with a powerful 50,000-lumen beam. The AUXITO H11 light bulbs illuminate more road ahead, giving you the clarity to spot hazards sooner.
Preparing Your Vehicle for Bulb Replacement
Proper vehicle preparation establishes a safe foundation for headlight bulb replacement and prevents potential hazards during the procedure. Begin by parking your Crosstrek on level ground and engaging the parking brake firmly. Turn off the engine and allow it to cool completely. Following essential safety precautions, locate the hood release lever under your dashboard and pull it to disengage the primary latch. Move to the front, release the secondary latch, and secure the hood with its support rod.
For detailed vehicle maintenance, disconnect the negative battery terminal using a wrench, turning counterclockwise. Wrap the terminal in cloth to prevent accidental contact. Remove any obstructions blocking headlight access, including air ducts or fender liner clips. Clear debris from the work area and wear gloves to avoid contaminating the new bulb with skin oils. Using proper tools like a Phillips screwdriver and panel popper will make the removal process more efficient. Gather your replacement bulbs, screwdriver, and panel popper to ensure all necessary tools are within reach before beginning the replacement process.

[Enhanced Visibility] forenner H11/H8/H9/H16 9005/HB3 light bulb feature a dual-sided CSP chip with a 6500K color temperature, delivering brighter, clearer light. Whether you're driving down a dark country road or navigating late-night city streets, this enhanced visibility helps you see farther and wider—so you can feel more confident and secure behind the wheel after dark.
[Exact Fit for your car]: Our lights provide you with a perfect 1:12 Compatible for subaru crosstrek 2016-2022. Enjoy bright and clear lighting with our lights to enhance your driving experience.

[Product Composition]: This product Fit for 2008–2016 Impreza 2.0i/2.5i Base/Premium/Outback Sport (OEM Halogen);2017–2023 Impreza Base/Premium (OEM Halogen), this 4-bulb set includes 2*HB3/9005 high beam bulbs, 2*H8/H9/H11 low beam bulbs,totally 4 Halogen headlight bulbs in the package.【Not Fit: 2008–2014 WRX/STI (OEM D2S HID low beam),2017–2023 Impreza Sport/Limited (Integrated factory headlight assemblies, no replaceable bulbs),2008 entry trim with H4 single bulb headlight】
Replacing the Driver Side Headlight Bulb
With your vehicle secured and the engine compartment accessible, you’ll now access the driver side headlight assembly to replace the bulb. First, remove the air duct by prying the clip and lifting straight up. On 14-17 Crosstrek models, you may need to remove the fender wheel liner for adequate clearance. Navigate your hand between the battery and headlight assembly carefully. For bulb maintenance, disconnect the wire connector by pressing the small latch and pushing downward until released. Turn the H11 low beam bulb counterclockwise to open, then pull out. Avoid touching the glass during installation to extend the bulb’s lifespan. Align the replacement bulb’s grooves and turn clockwise until fastened. LED upgrades offer significant brightness enhancement over stock halogen bulbs for improved visibility. These troubleshooting procedures guarantee proper headlight function. When installing new bulbs, consider using gloves to avoid damage to the bulb surface and ensure optimal performance. Reconnect the connector until you hear a click, then reinstall all removed components. For balanced lighting performance, consider changing bulbs in pairs on both sides of your vehicle.

Wider Visibility: The fog lights emit white light at the same point as the bulb, replacing the dim bulb.

Crisp 6500K Cool White Light: Experience enhanced nighttime visibility with the pure 6500K cool white beam of the H11/H9 bulbs. This daylight-like color temperature improves contrast and clarity, helping H11 H9 light bulb users identify road signs, lane markings, and potential hazards more easily in various driving conditions

[1000% Super Brightness] FAHREN H11 bulb is equipped with 24 high-power chips, delivering up to 10X brighter illumination than stock halogen bulbs. Ditch dull yellow factory lights and upgrade instantly — featuring a pure 6500K cool white beam that sharpens road visibility remarkably. It Daytime Running Light Modules reveals far more road details you’ve never noticed before.
Replacing the Passenger Side Headlight Bulb
Accessing the passenger side headlight assembly requires removing the plastic intake snorkel first. Extract two plastic screw anchors at the front, then lift the snorkel out. You’ll encounter a windshield washer fluid tube obstruction—gently unscrew the rivets with a screwdriver. On recent Crosstrek models, turn the bulb cover counterclockwise to remove it.
Disconnect the wire connector by pushing the small tab button on its side while pulling carefully. Common issues include spinning clips—hold them steady during removal. Turn the H11 low beam bulb counterclockwise to release, then pull it out.
Install the new H11 bulb without touching the glass. Line up the ears and turn clockwise to secure. Snap the connector back until it clicks. Use gloves during handling to prevent skin oils from contaminating the bulb surface. After installation, verify the headlights work by testing both low and high beam functions to ensure proper bulb alignment and connection. For connector issues during installation, professional repairs typically range from $100 to $300, though DIY solutions with proper tools can be more cost-effective. These troubleshooting tips guarantee proper installation and verified headlight function.

[Enhanced Visibility]forenner H11/H8/H9/H16 light bulb features a dual-sided CSP chip, 6500K color temperature for brighter, clearer illumination. This enhances visibility, allowing you to see further and wider while driving at night, ensuring safer travels after dark.

UP to 300% Brighter—Clearer Warm White Light Vision: Littlelucky H11 halogen bulbs output a 3800K,4000LM warm white light, experience up to 300% brighter for clearer vision in low-light and fog etc conditions, enhancing driving safety and visibility

9X Super Brightness: The brightness of SEALIGHT H11 bulbs S3 series is 9X that of traditional bulbs. Whether it is the brightness, illumination width and illumination mileage of the bulb, it has achieved a comprehensive upgrade, giving you an ultimate night driving experience
Reinstalling Components and Securing Connections
Once you’ve removed the old bulb and handled the new H11 replacement, you’ll need to lock everything back into position to restore headlight functionality. Insert the bulb without touching the glass surface, aligning grooves with socket slots. Rotate clockwise until snug. For component alignment, engage the bulb connector until you hear an audible click. Turn the plastic cover clockwise to lock firmly.
For connection verification, push the connector latch and confirm security by wiggling with one hand while holding the tab with the other. Reinstall air intake components by lifting the duct back into position and securing plastic anchors. Check all electrical connectors for proper seating and verify the bulb faces downward matching OEM orientation. Use clip removers or appropriate tools to ensure all retainers are fully engaged before reassembly. Reconnect the battery terminal and verify no tools remain before closing the hood. Testing the headlight before completing your work will confirm the new bulb installation was successful. The entire replacement task should be completed within 5-10 minutes for a straightforward installation.
Testing Your New Headlight Bulbs
Before you close the hood and call the job complete, you’ll need to verify your new H11 bulb functions correctly and produces the proper beam pattern. Turn the ignition to ON and activate the headlight switch, checking for immediate illumination. Use testing equipment like a multimeter to measure voltage at the connector—you should see 12–14.5 V with the switch engaged. Observe the beam pattern against a wall or garage door; proper alignment means a sharp cutoff line with no dark spots or excessive scatter. Check for flickering, which indicates poor connections or incompatible LED drivers. Confirm ground continuity between the connector and chassis to prevent dimming issues that compromise bulb longevity. For additional verification, perform a resistance test using your multimeter to ensure the bulb’s filament remains intact and functional. If the bulb fails to illuminate after these tests, the issue may stem from a faulty headlight relay rather than the bulb itself. Finally, cycle the lights on-off several times to ascertain consistent operation before reassembling components.